Learn how one artist creates a gorgeous painting using water-mixable oils, the rule of thirds, and a squeegee in this five-step demonstration from PleinAir Magazine.
By Beth Bathe
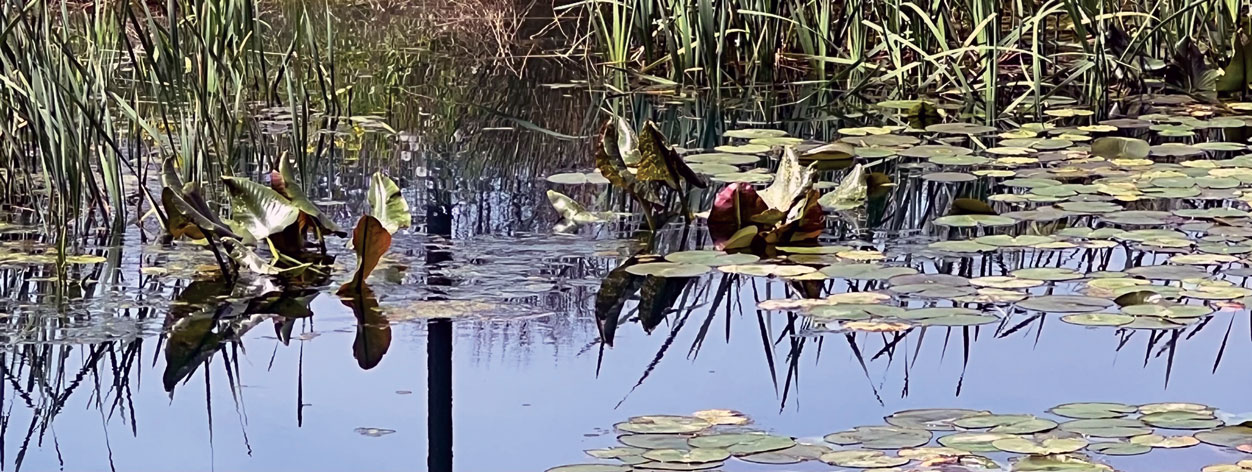
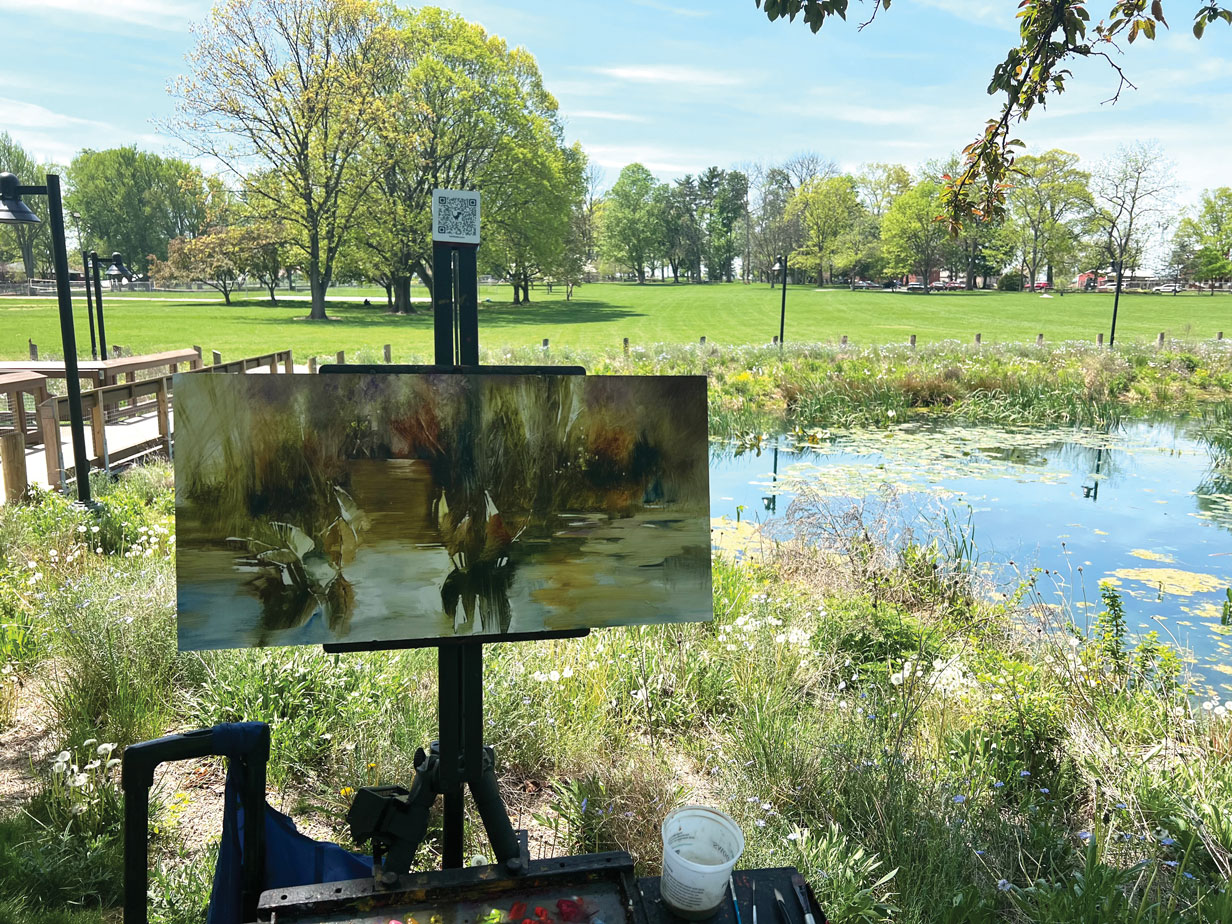
I liked the contrast between the lingering colors of winter grasses and the cool blue reflections on the water — but what truly caught my eye were the plants breaking through the surface and reaching skyward. I zeroed in on that part of the pond to tell a more intimate story about the landscape.
Step 1
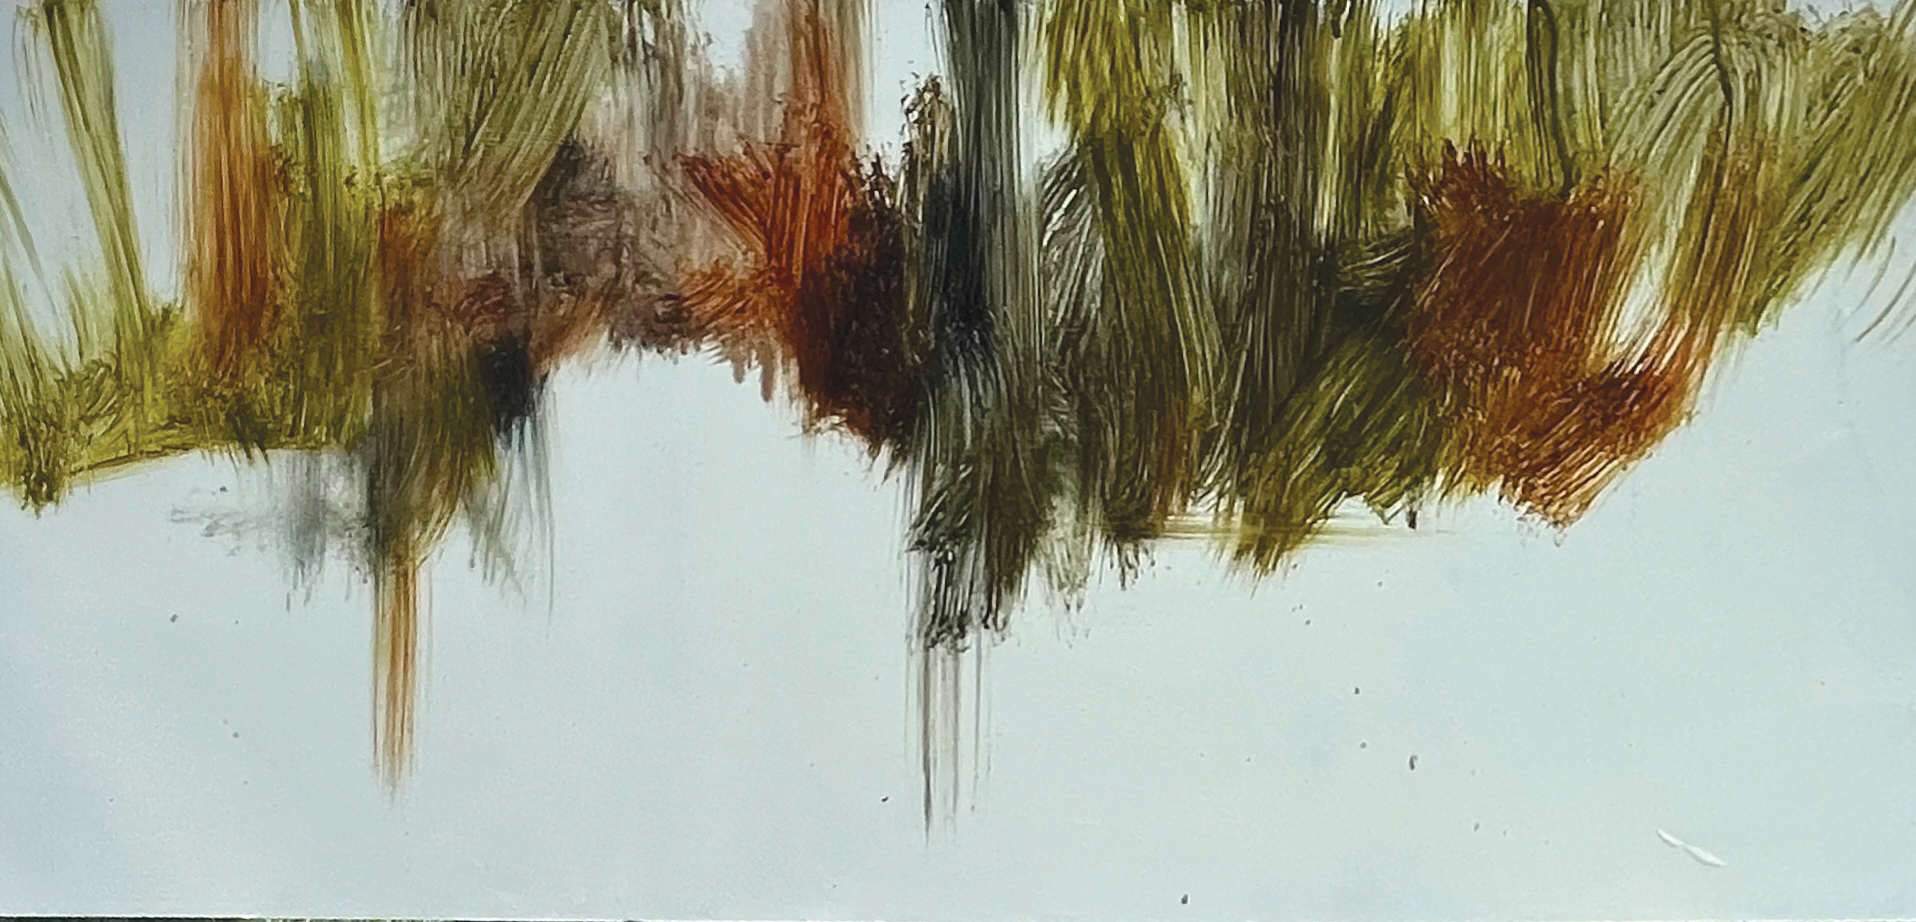
Starting with a white Ampersand Gessobord, I applied a small amount of water-mixable safflower oil with a paper towel over the entire panel — this coating helps me get back to the white substrate when I scrape or wipe away paint, employing a reductive painting technique. Mixing my oils with varying amounts of water, I altered the value and opacity of my paint as I blocked in the dark and light areas of the painting. I used thin, broad-stroke washes, allowing drips to run down the surface.
Step 2
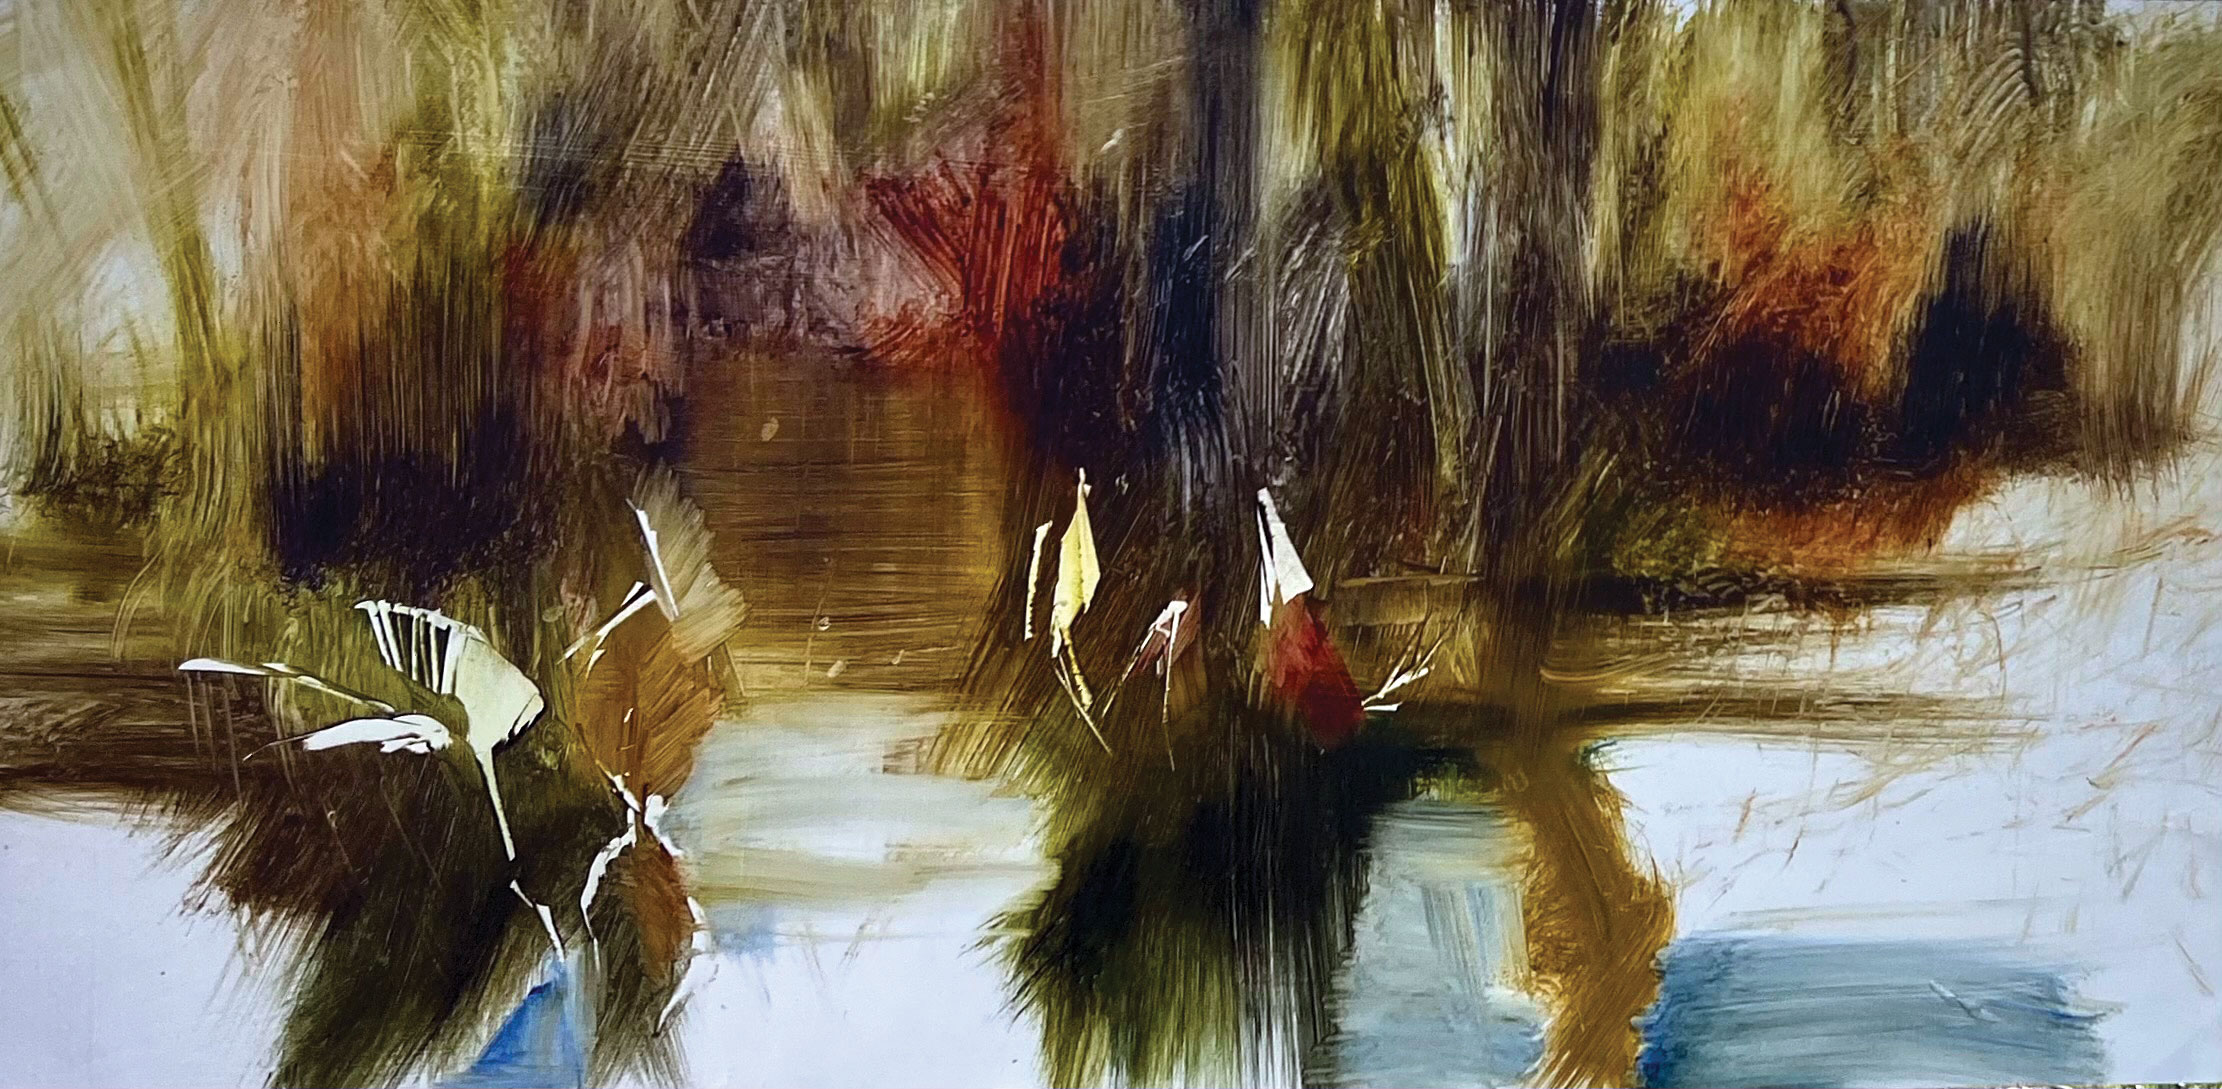
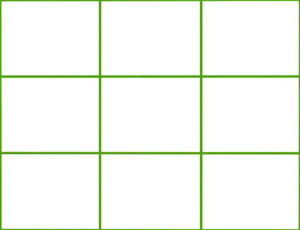
Once I covered the panel, I turned to my rubber squeegees to wipe away or scrape off areas of paint to reveal various lines and shapes. Using my small squeegee like a pencil or carving tool, I “drew” the leaves and stems of the water lilies, allowing the exposed panel to serve as the painting’s whites. By this point, I’d also made the compositional decision to place the lightest part of painting in the lower left quadrant — the “sweet spot” for the rule of thirds.
Step 3
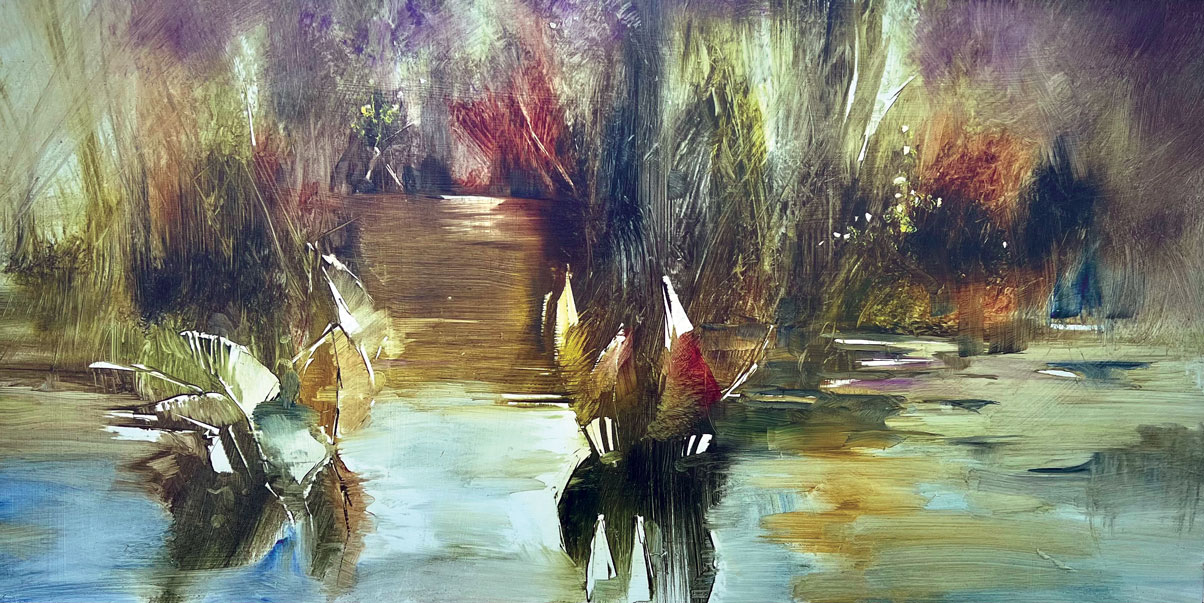
I continued to refine my block-in with squeegees, paper towels, and cotton swabs. (I encourage you to try different tools to create your own mark-making.) I also started to use my brushes to add paint (right from the tube without water) to build up layers, texture, and colors, including touches of violet and raw umber.
Step 4
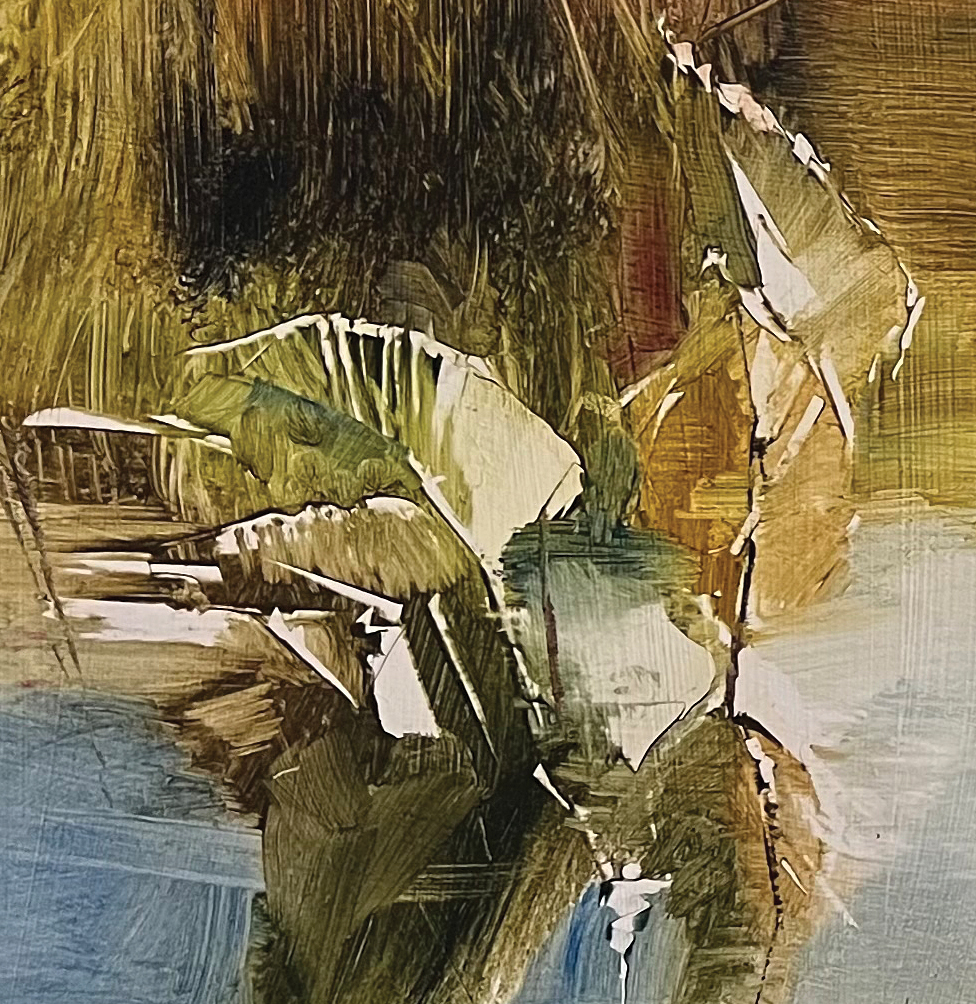
In this detail (above), you can see how I used the tip of my small squeegee to create highlights on the edges of the stems and leaves by lifting paint, and also where I used a small rigger brush to paint the dark stem shadows.
Final Painting
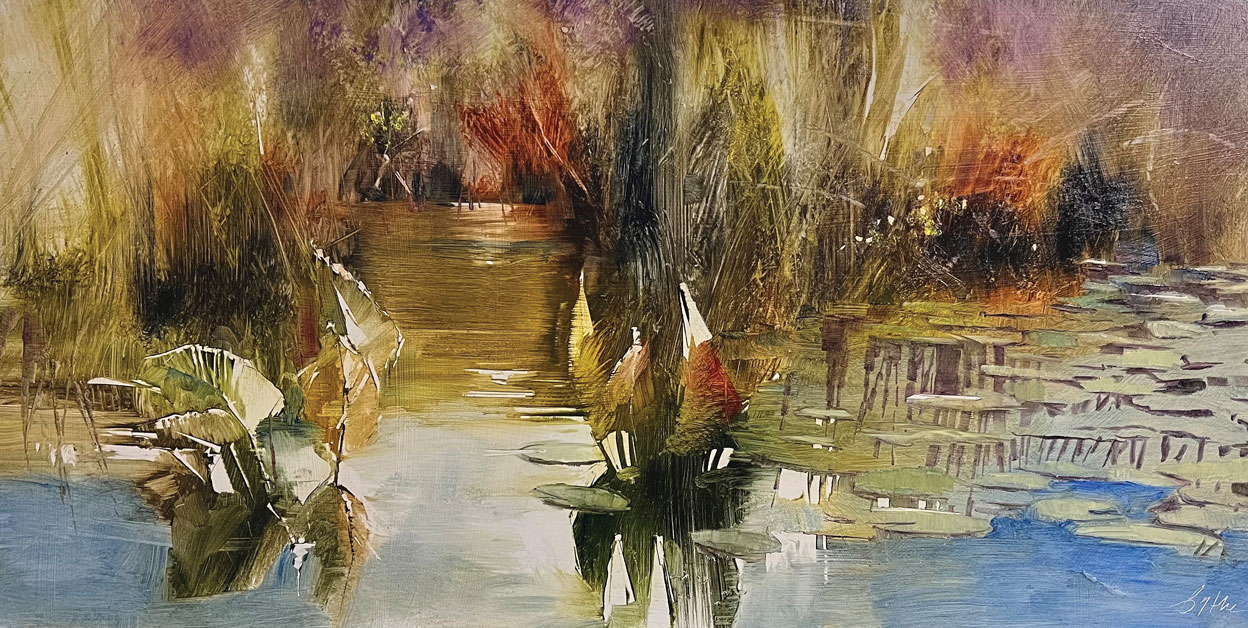
With water-mixable oils, I can continue to alter areas of a painting for several hours, but once the paint sets, it’s impossible to remove with a squeegee. For that reason, I like to wrap up my reductive techniques in one sitting, or alla prima, but I can continue glazing and making other effects for longer. Notice places where I left some of the original drip marks and block-in values visible here, while I refined other areas and included more detail.
My Go-To Gear
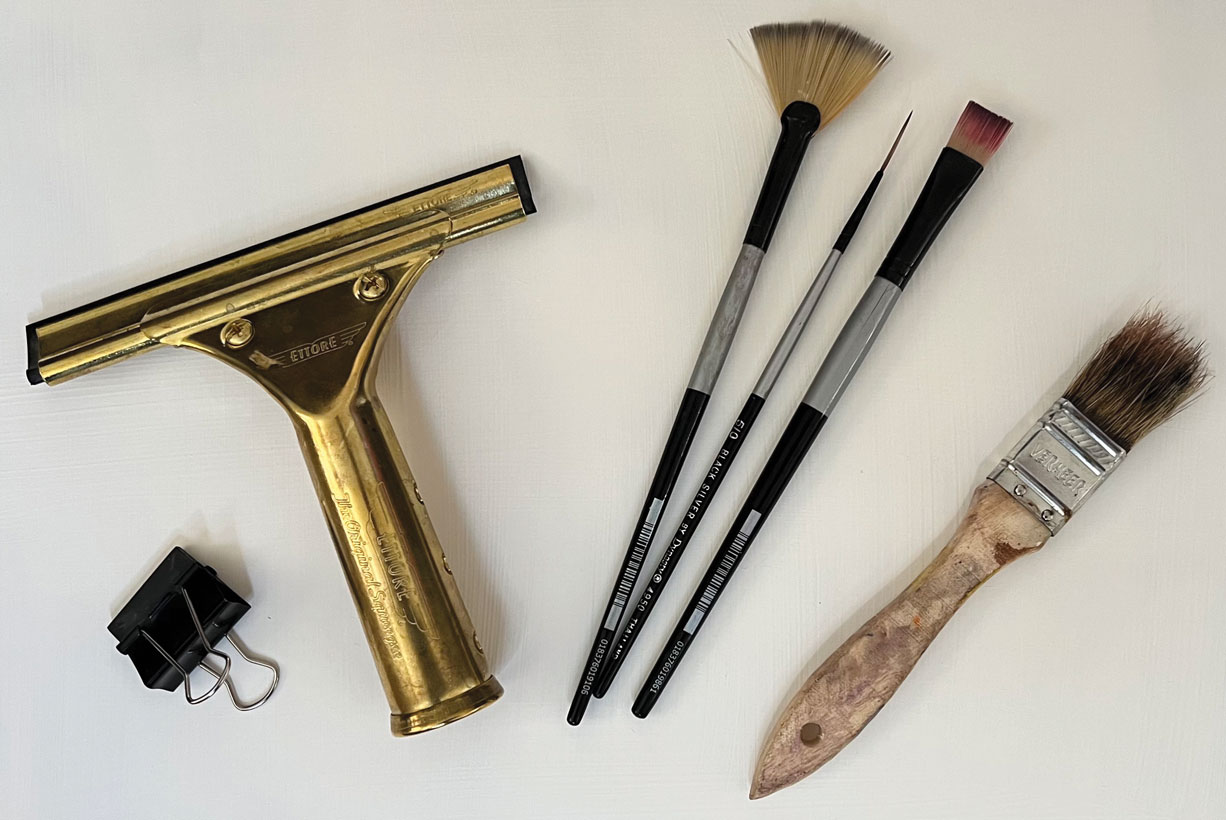
- Tools: (from left to right) a small squeegee I made myself by cutting Ettore Squeegee replacement blades to fit into a small bulldog clip; a 6-inch Ettore brass window-washing squeegee; and assorted synthetic paint brushes — a fan, liner, bright, and 1 1/2-inch chip brush. Not shown are water-mixable safflower oil, paper towels, and cotton swabs.
- Substrate: Ampersand Gessobord, which I glazed with two coats of acrylic white gesso tinted with a small amount of acrylic transparent yellow oxide to make it slightly warmer. I applied one coat with vertical brushstrokes and one with horizontal strokes.
- Paints: Cobra water-mixable oil paints— raw umber, ultramarine blue, Payne’s gray, yellow ochre, transparent red oxide; plus secondary colors — cadmium red medium, bluish gray, and violet
The editorial above is part of a series that spotlights the work of an accomplished plein air artist featured in PleinAir magazine.
Published bi-monthly, PleinAir magazine is focused on landscape paintings by historical and contemporary artists, art collections, events, and the process of creating plein air paintings. Beautifully designed with rich reproductions on high-quality paper, PleinAir features the top artists and artworks from around the world. Start your subscription here.
Story prepared for the web by Cherie Dawn Haas, Editor of Plein Air Today