

by Julie Gilbert Pollard
Preliminary Plein Air Study
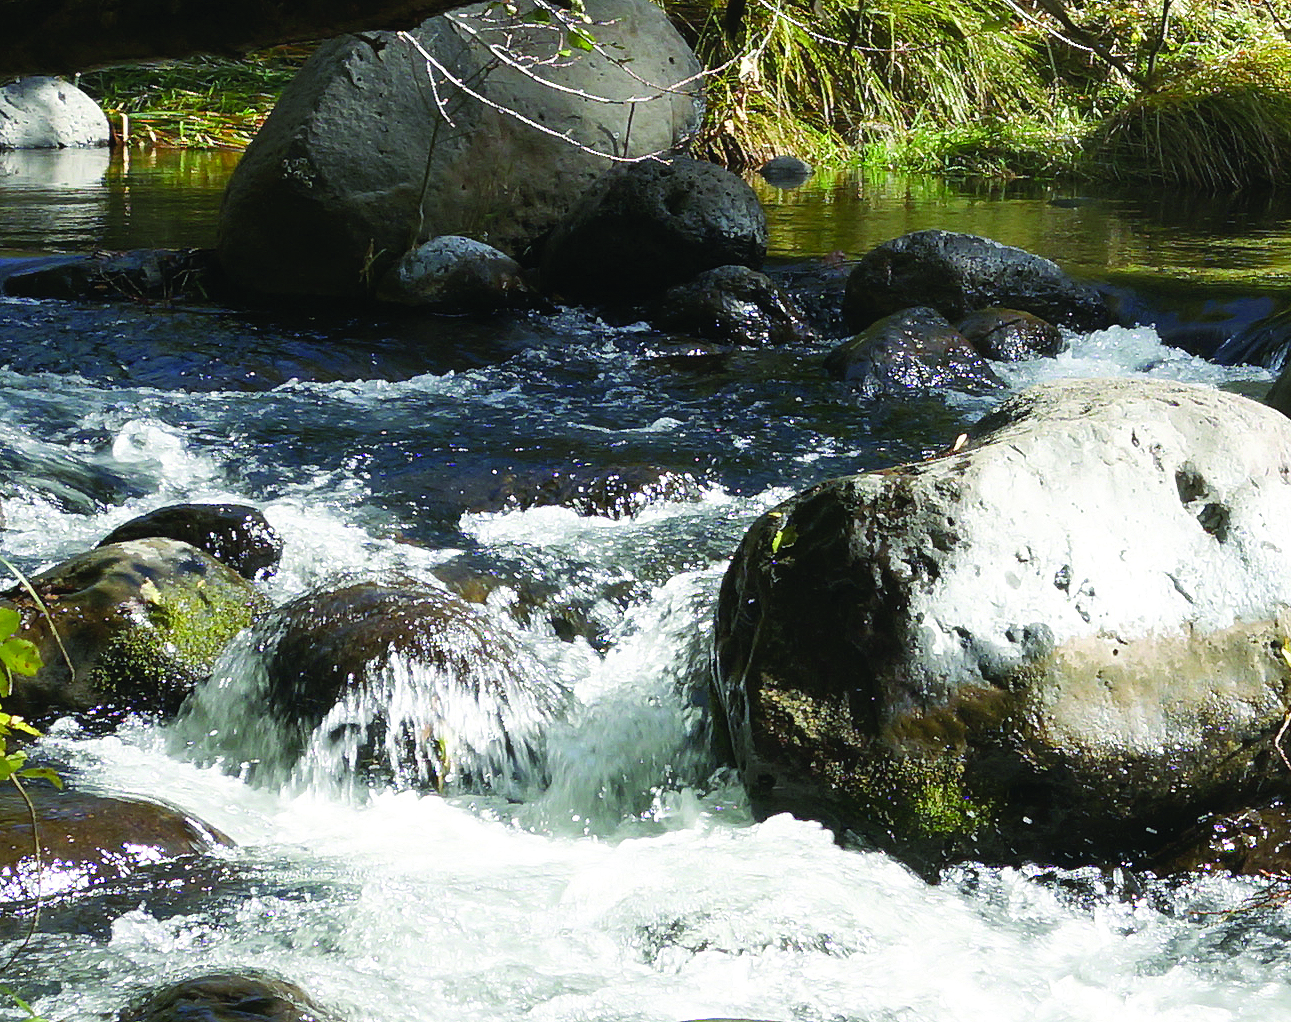
In this example, my study will serve as inspiration — and a point of departure — for a larger, more complex studio piece, but it can also be considered the most basic and simple way to paint a watercolor using the traditional “light to dark” process. Although my goal was not to produce a finished painting, if you’re interested in painting fast and loose, without having to employ multiple layers, various techniques, and complex steps, this process offers a great starting point you can tweak to suit your goals and personal style.
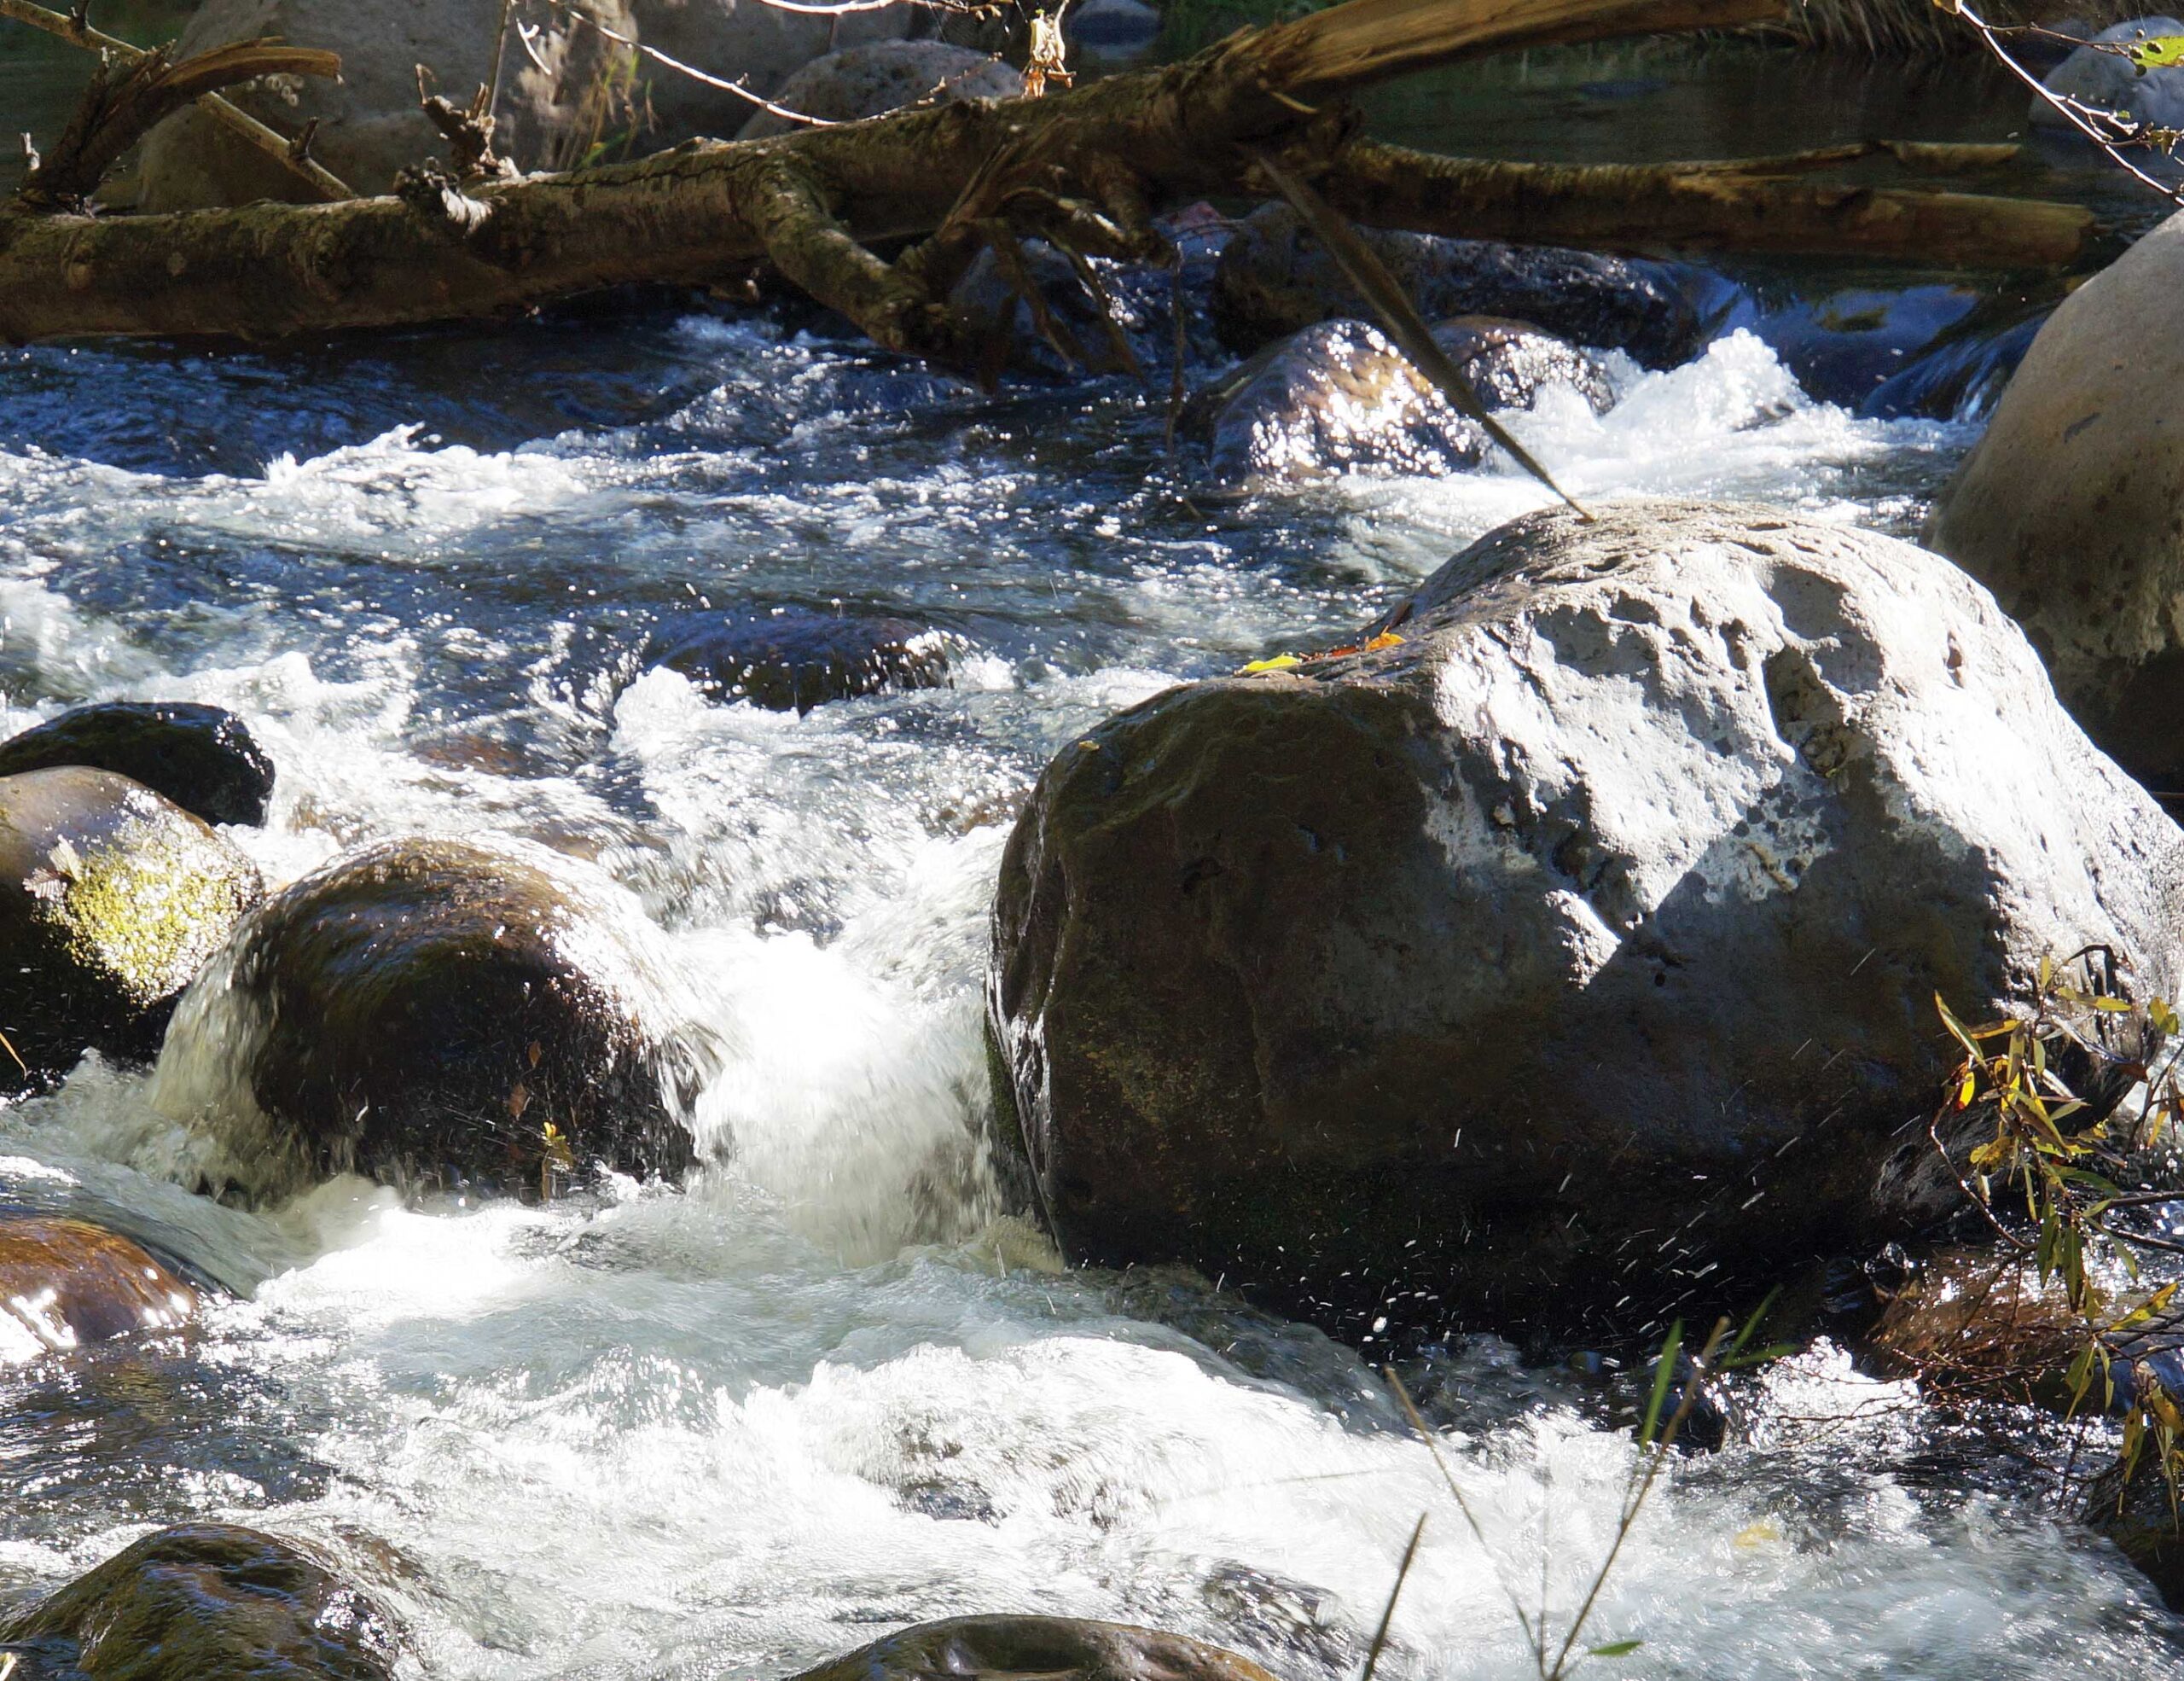

Back in my studio, I’ll use the study and a photo of the same spot, but from a slightly different view and time of day, to make another sketch and painting. For the finished piece, I’ll include more detail and more creative color. Having the simple study as a roadmap can help me find my way if I get bogged down or confused about how to transfer the mental image I have for the painting onto my surface. Continue reading…
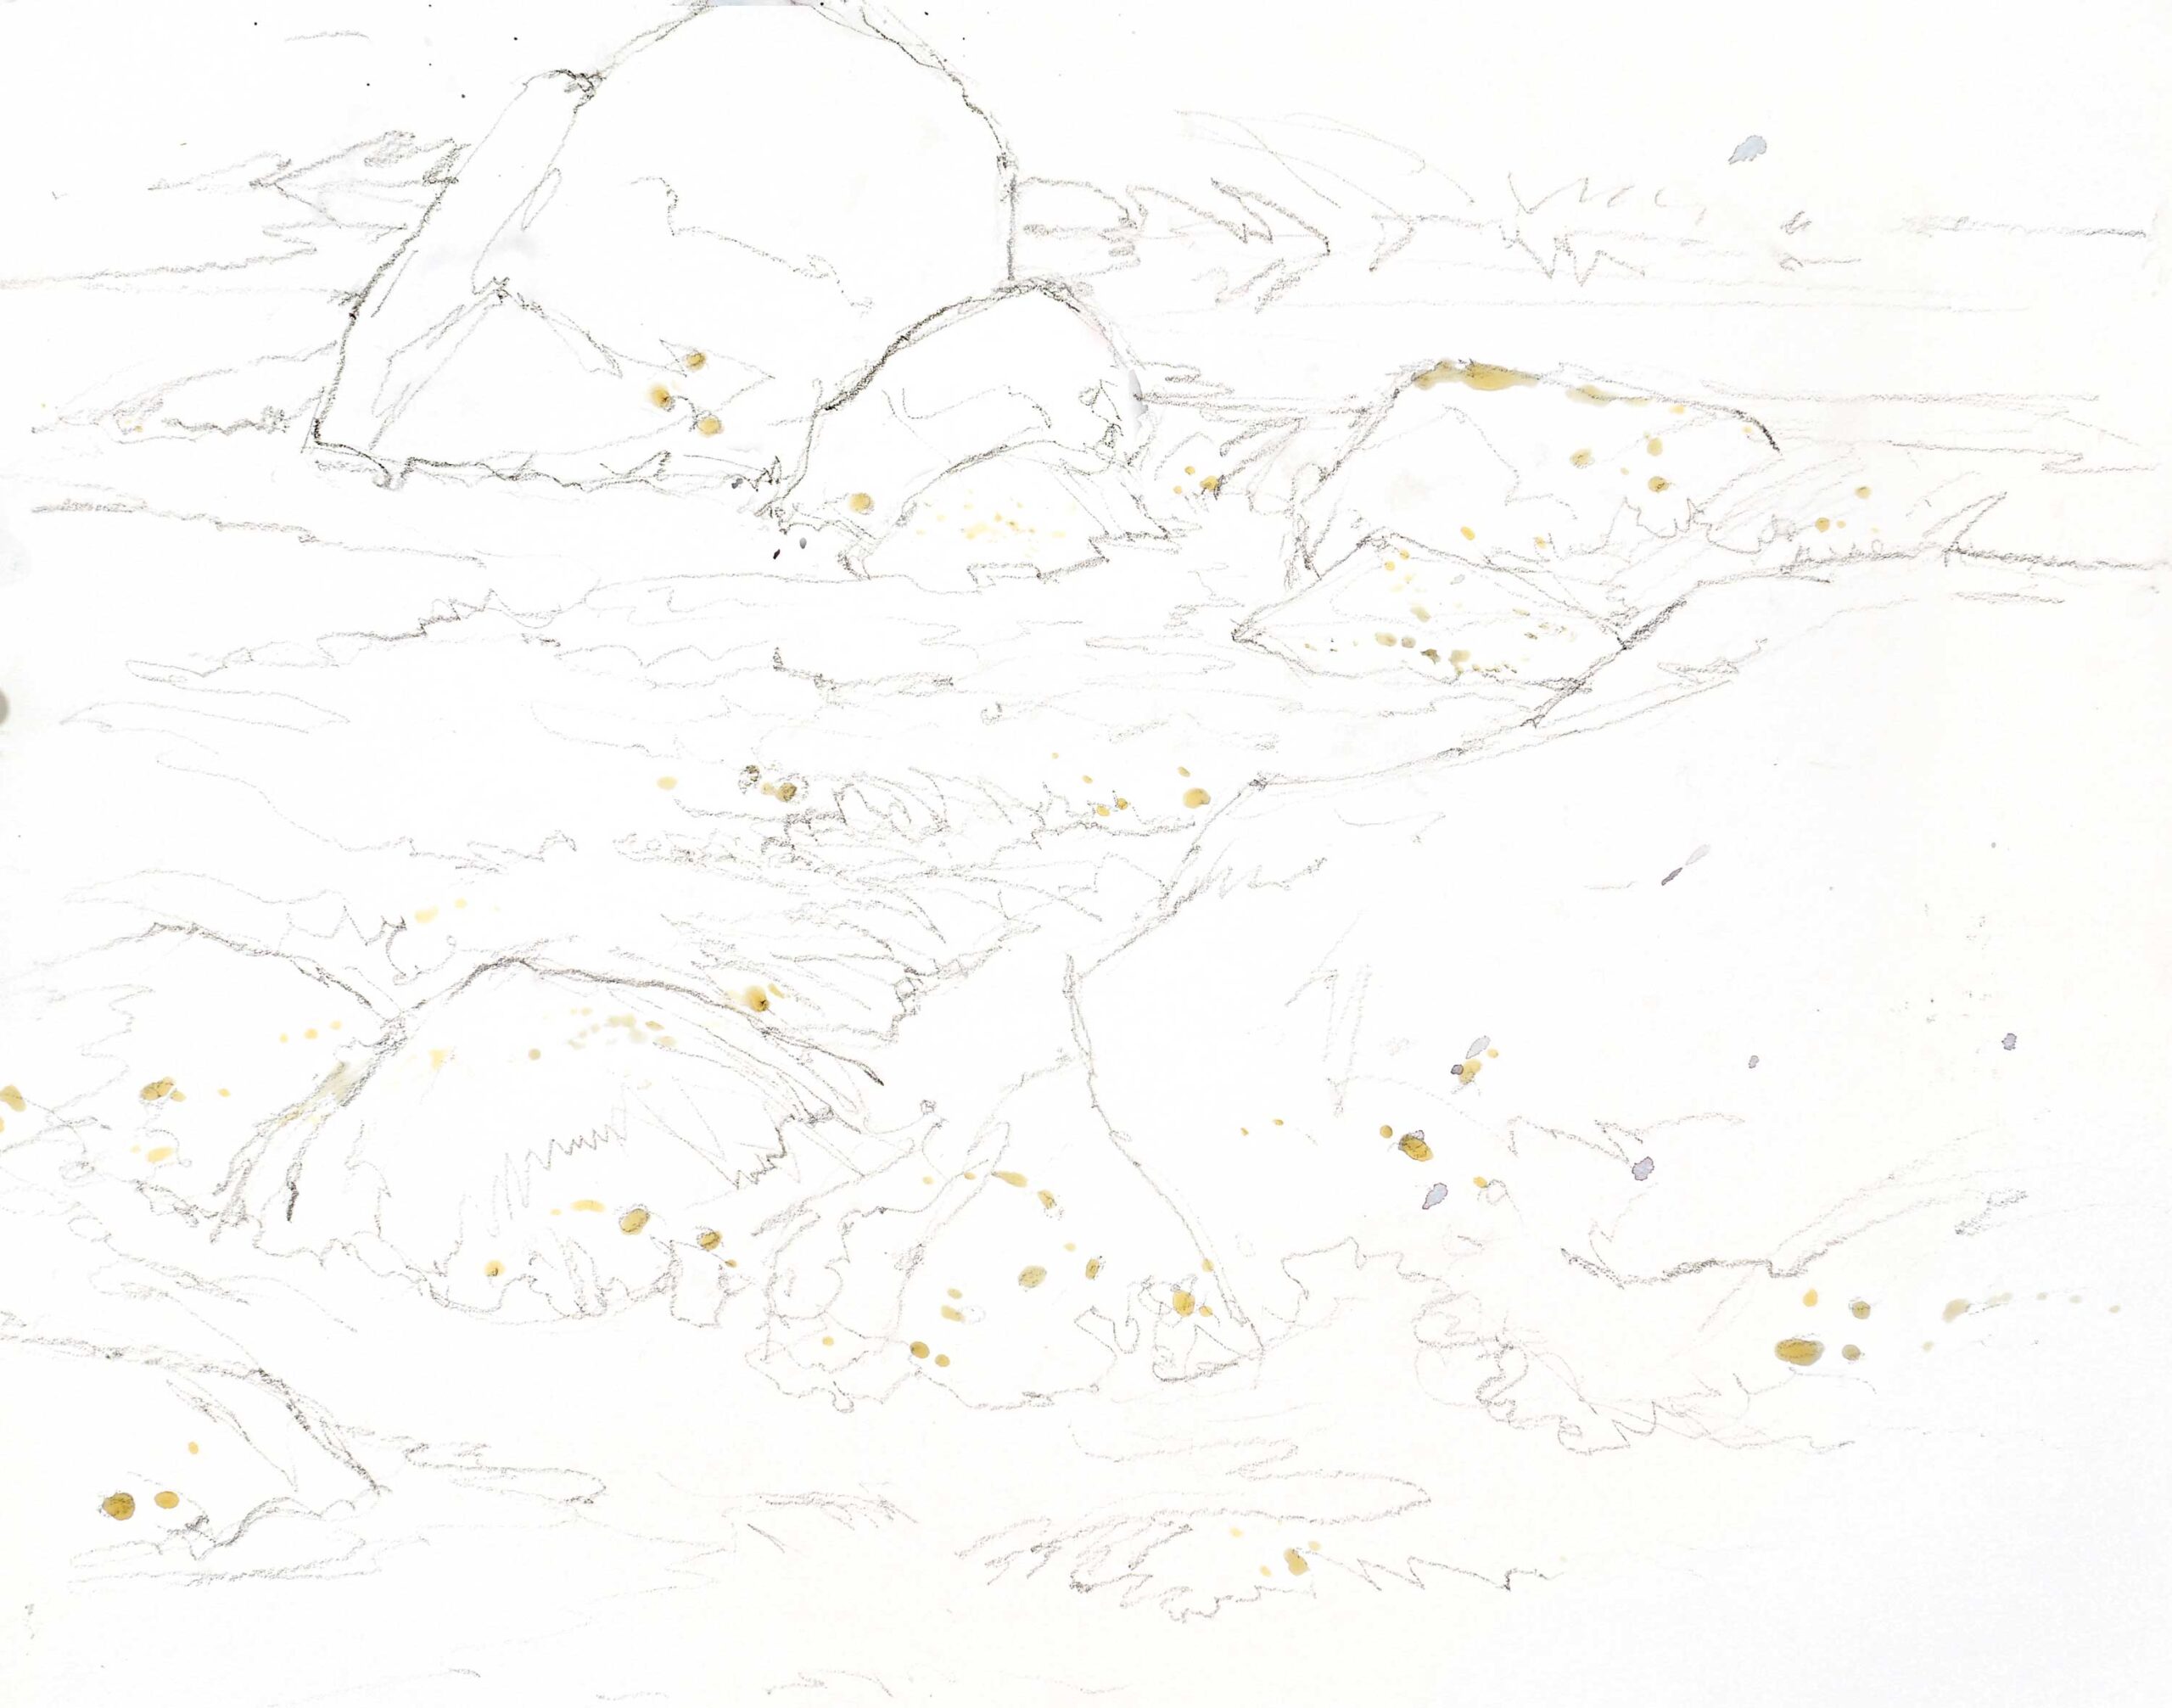
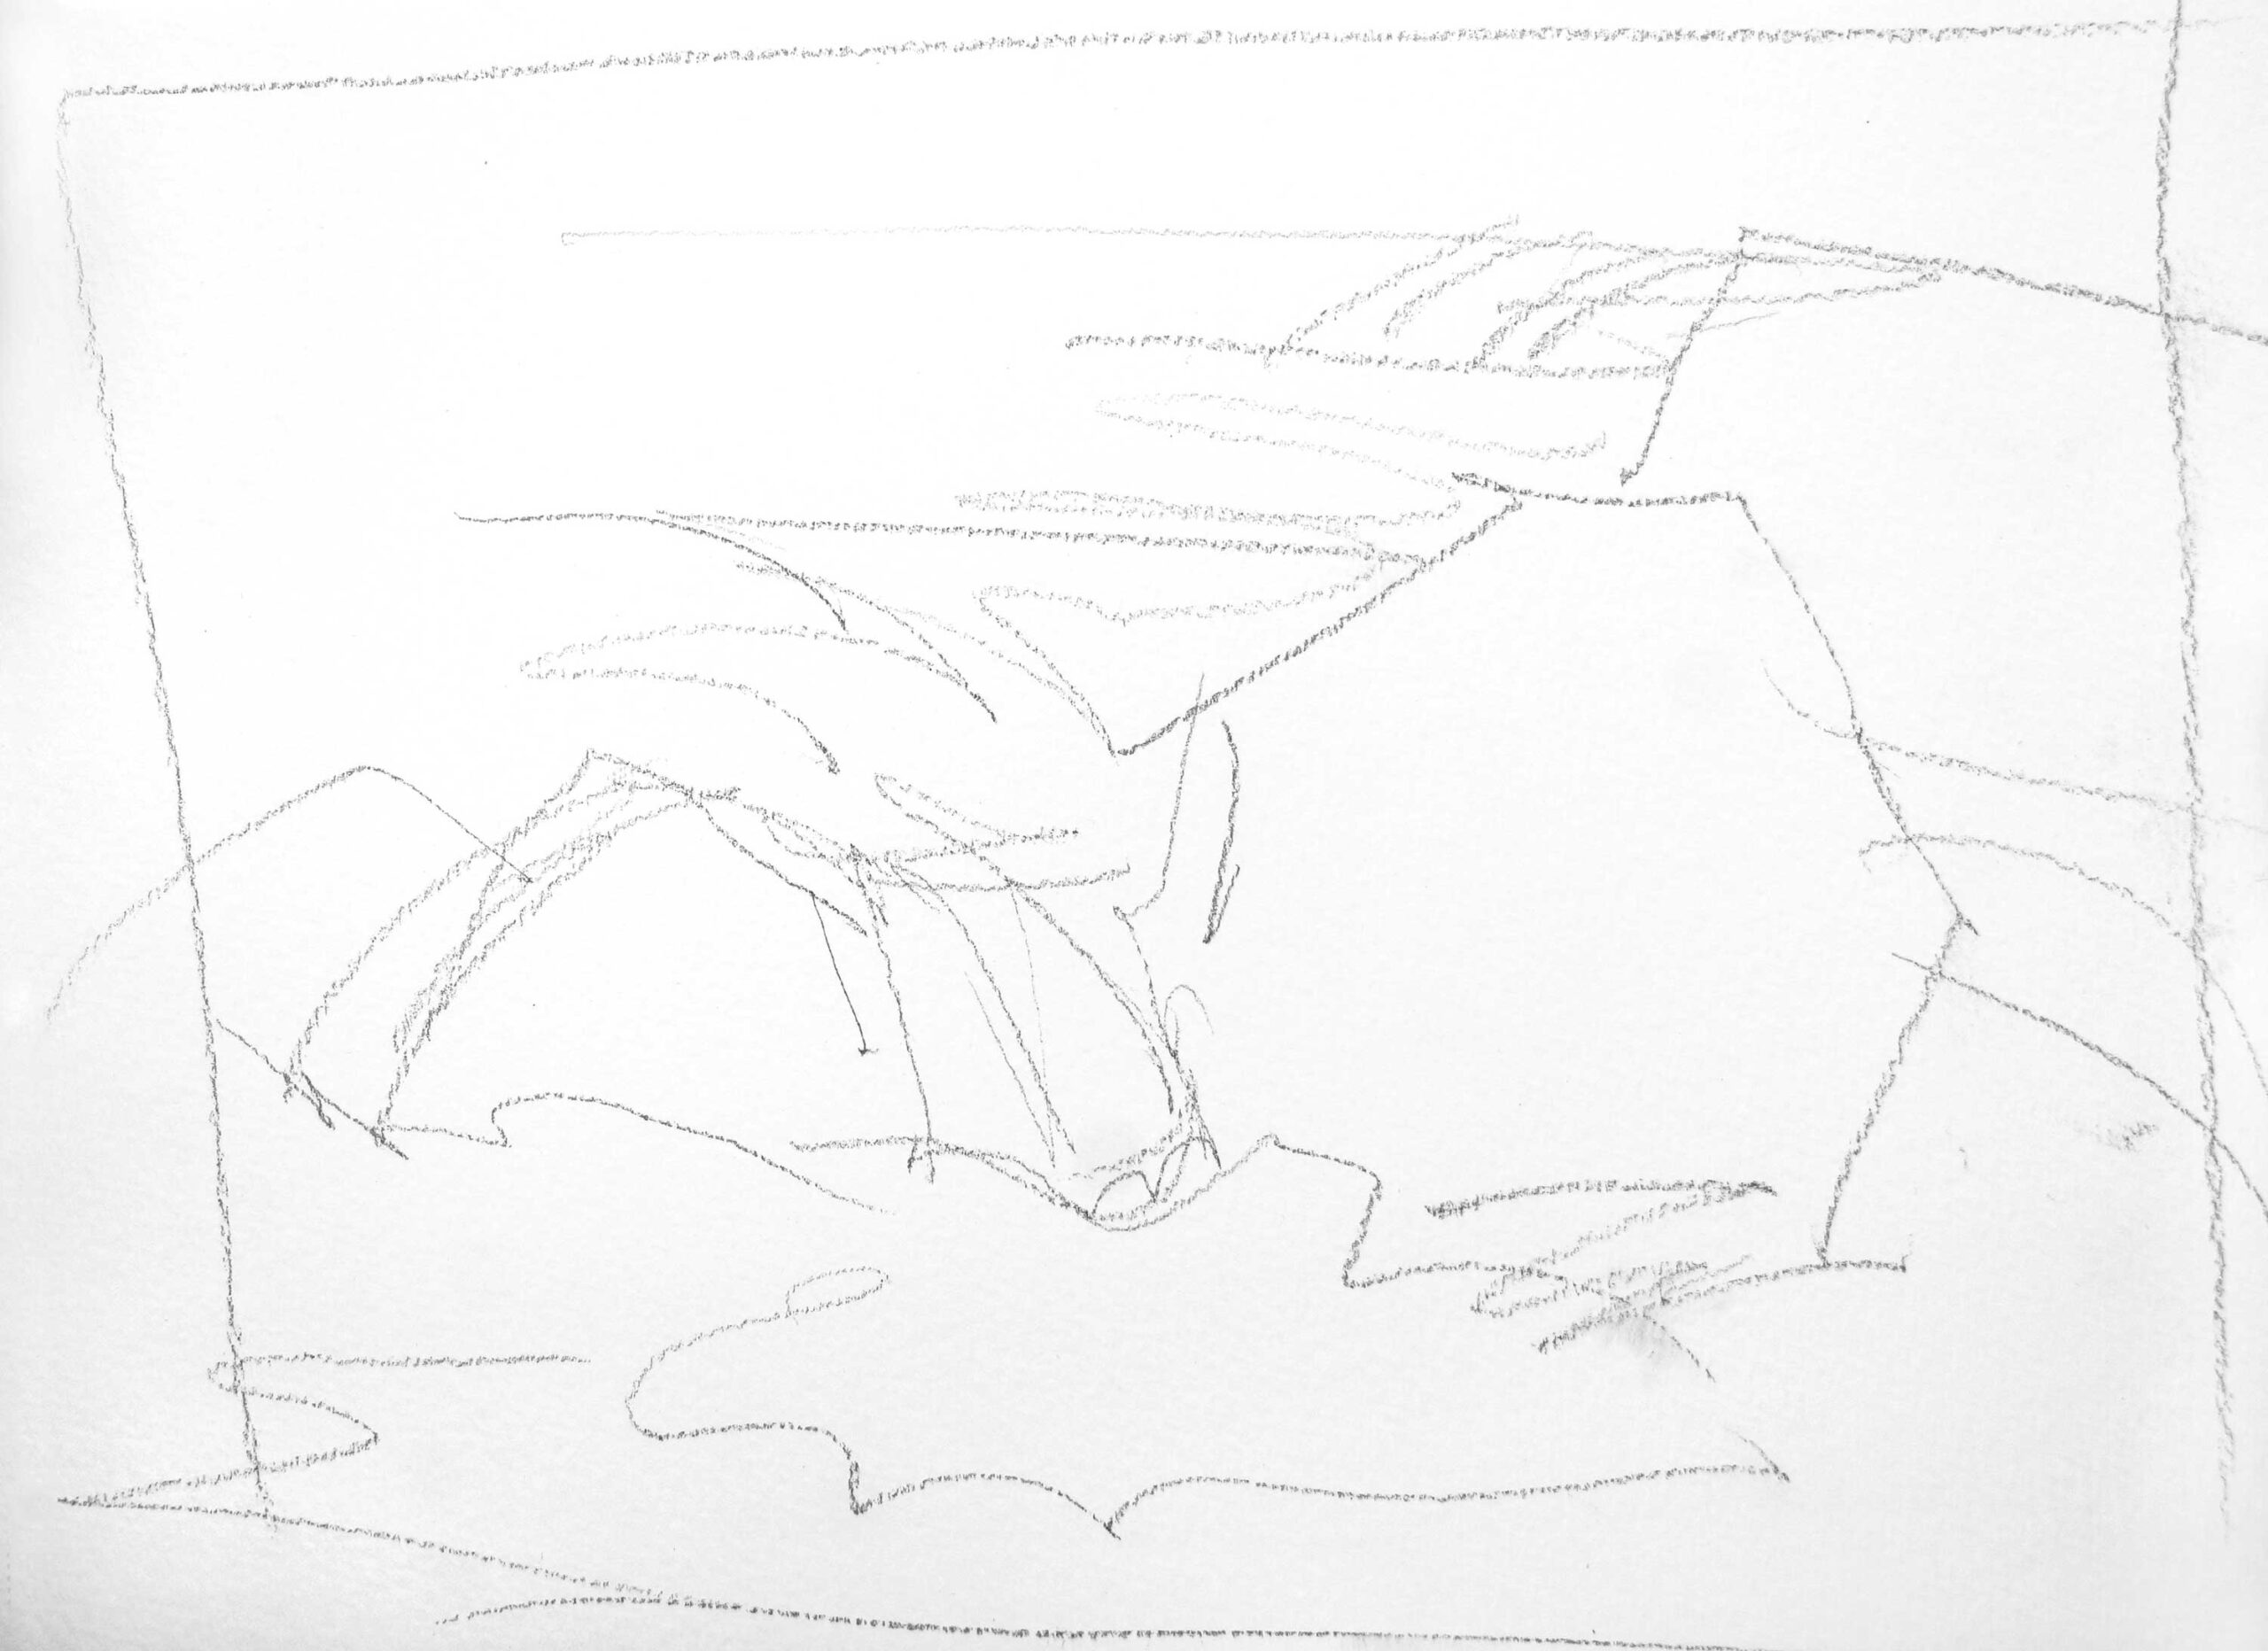
Step 1: To start, I make a drawing, taking care to create an asymmetrical composition. I strategically place several dots of masking fluid to save important areas of the white paper.
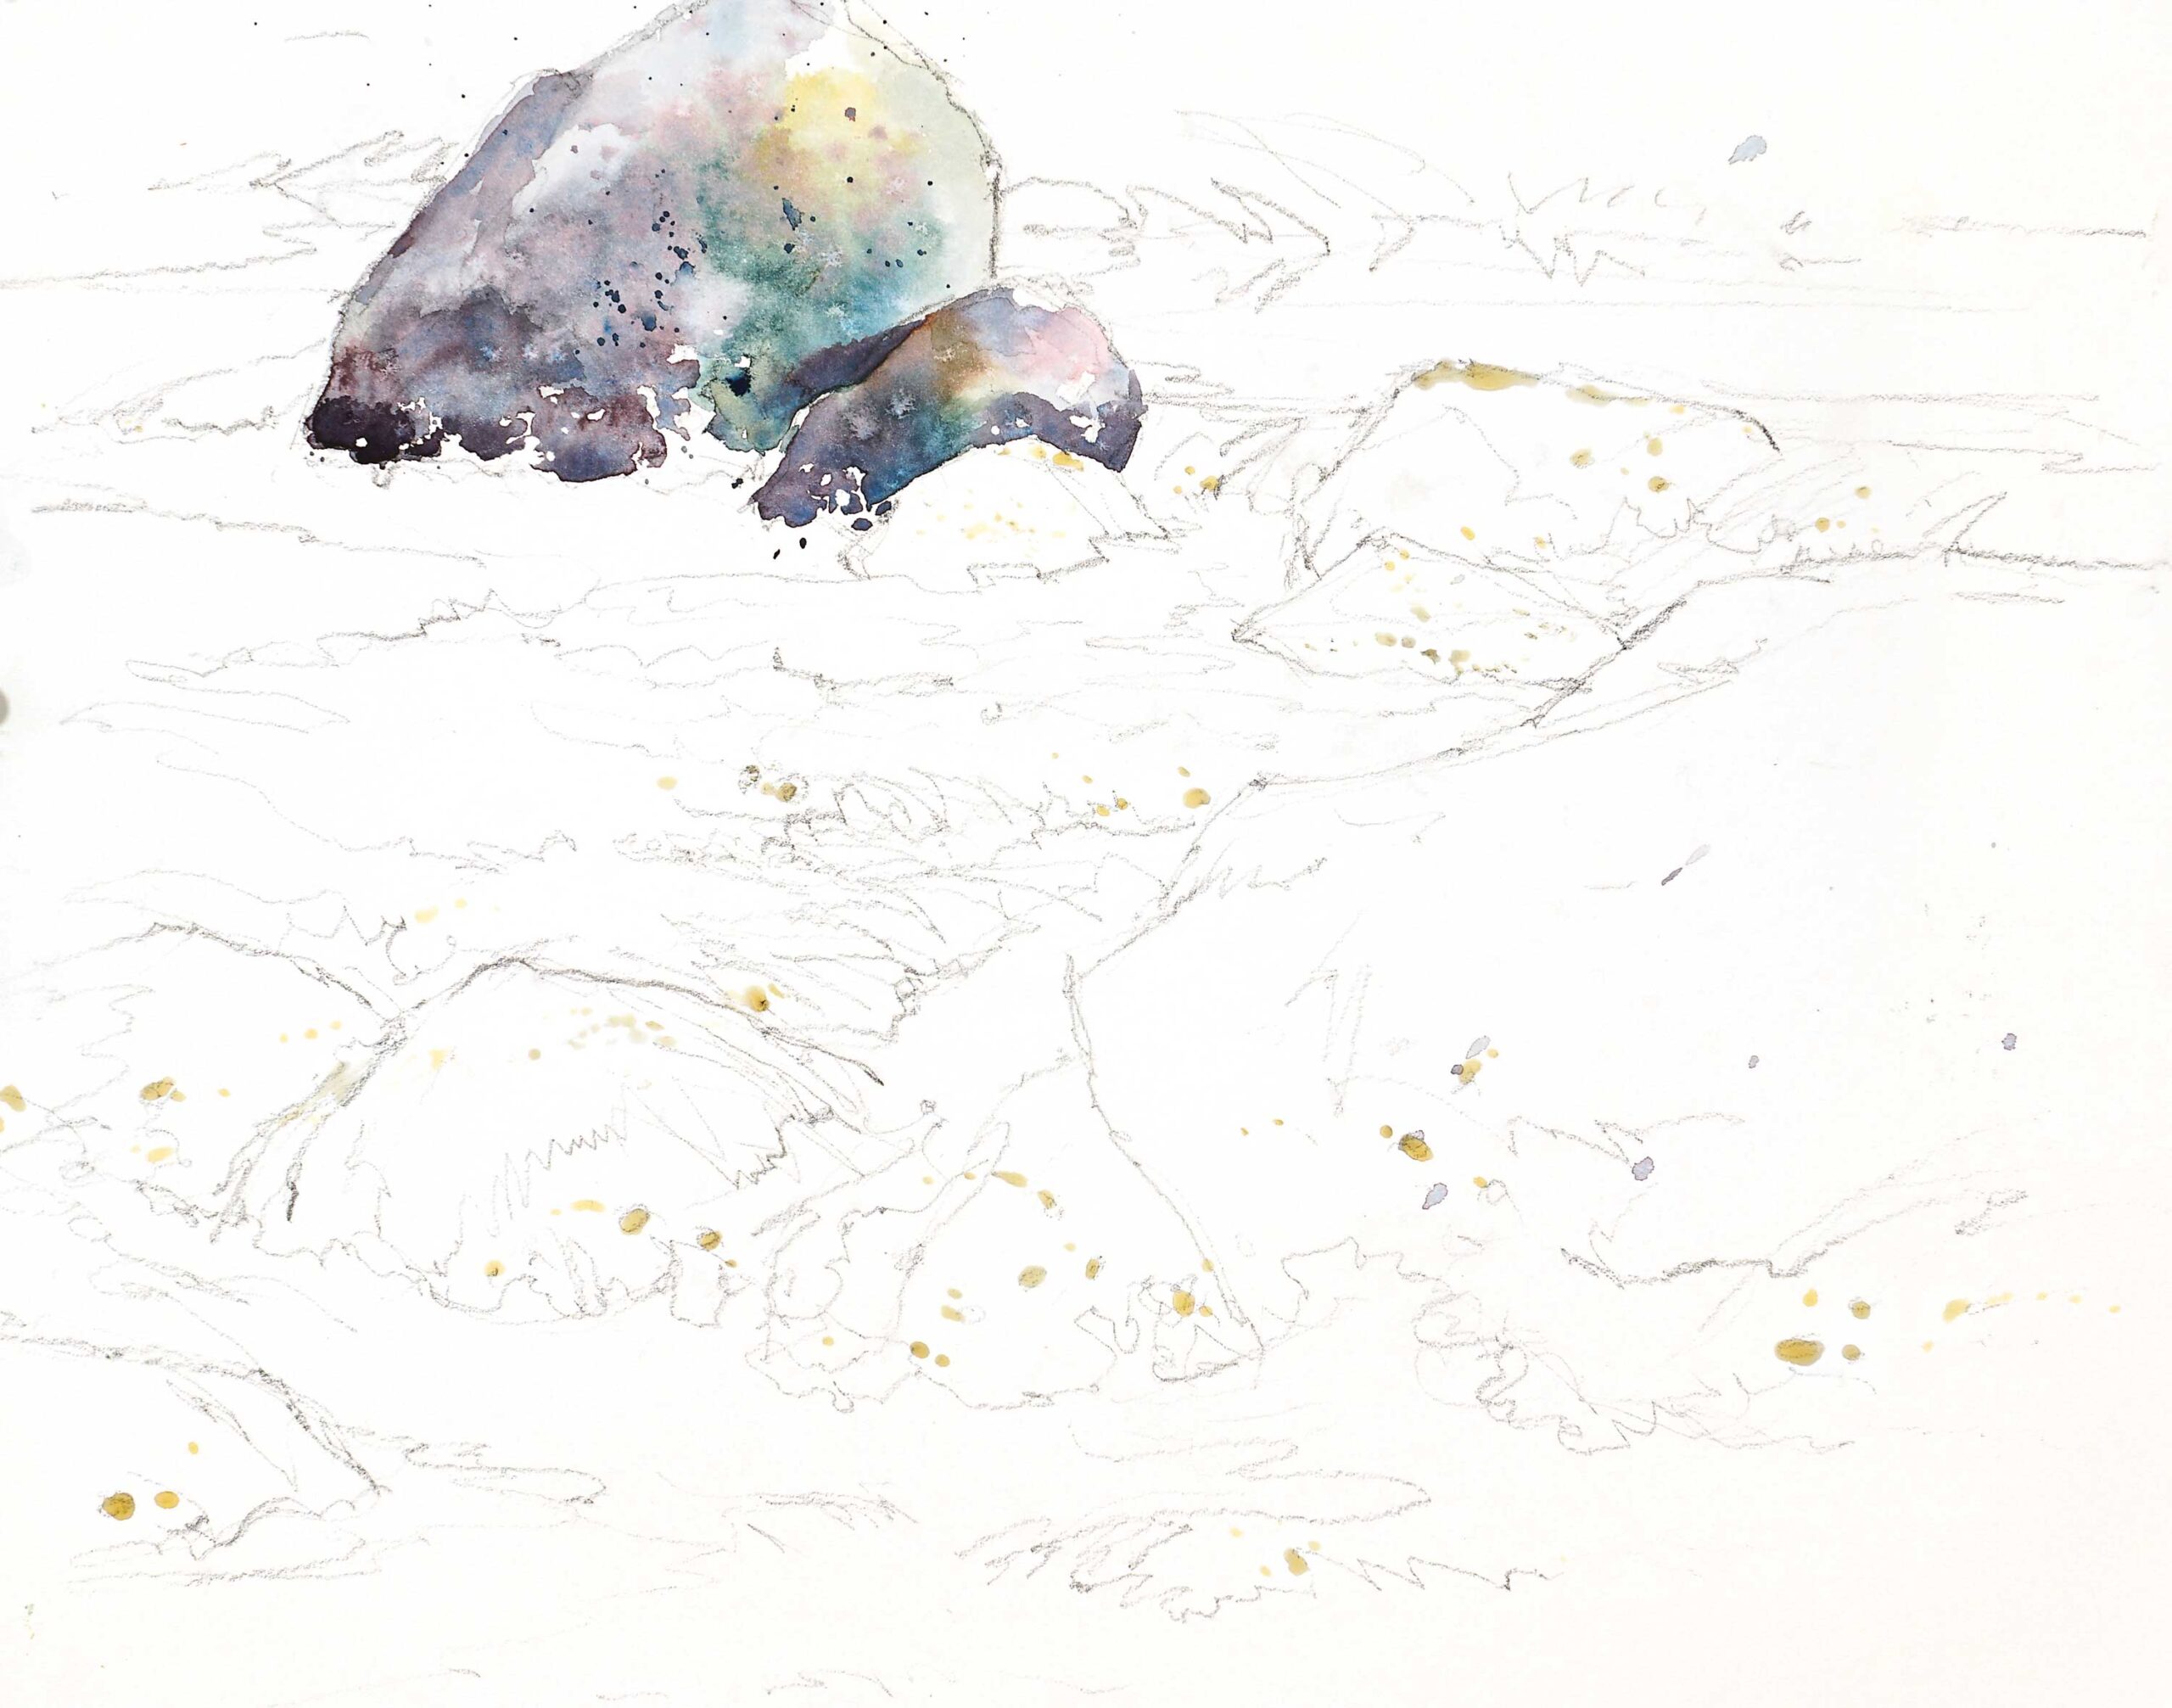
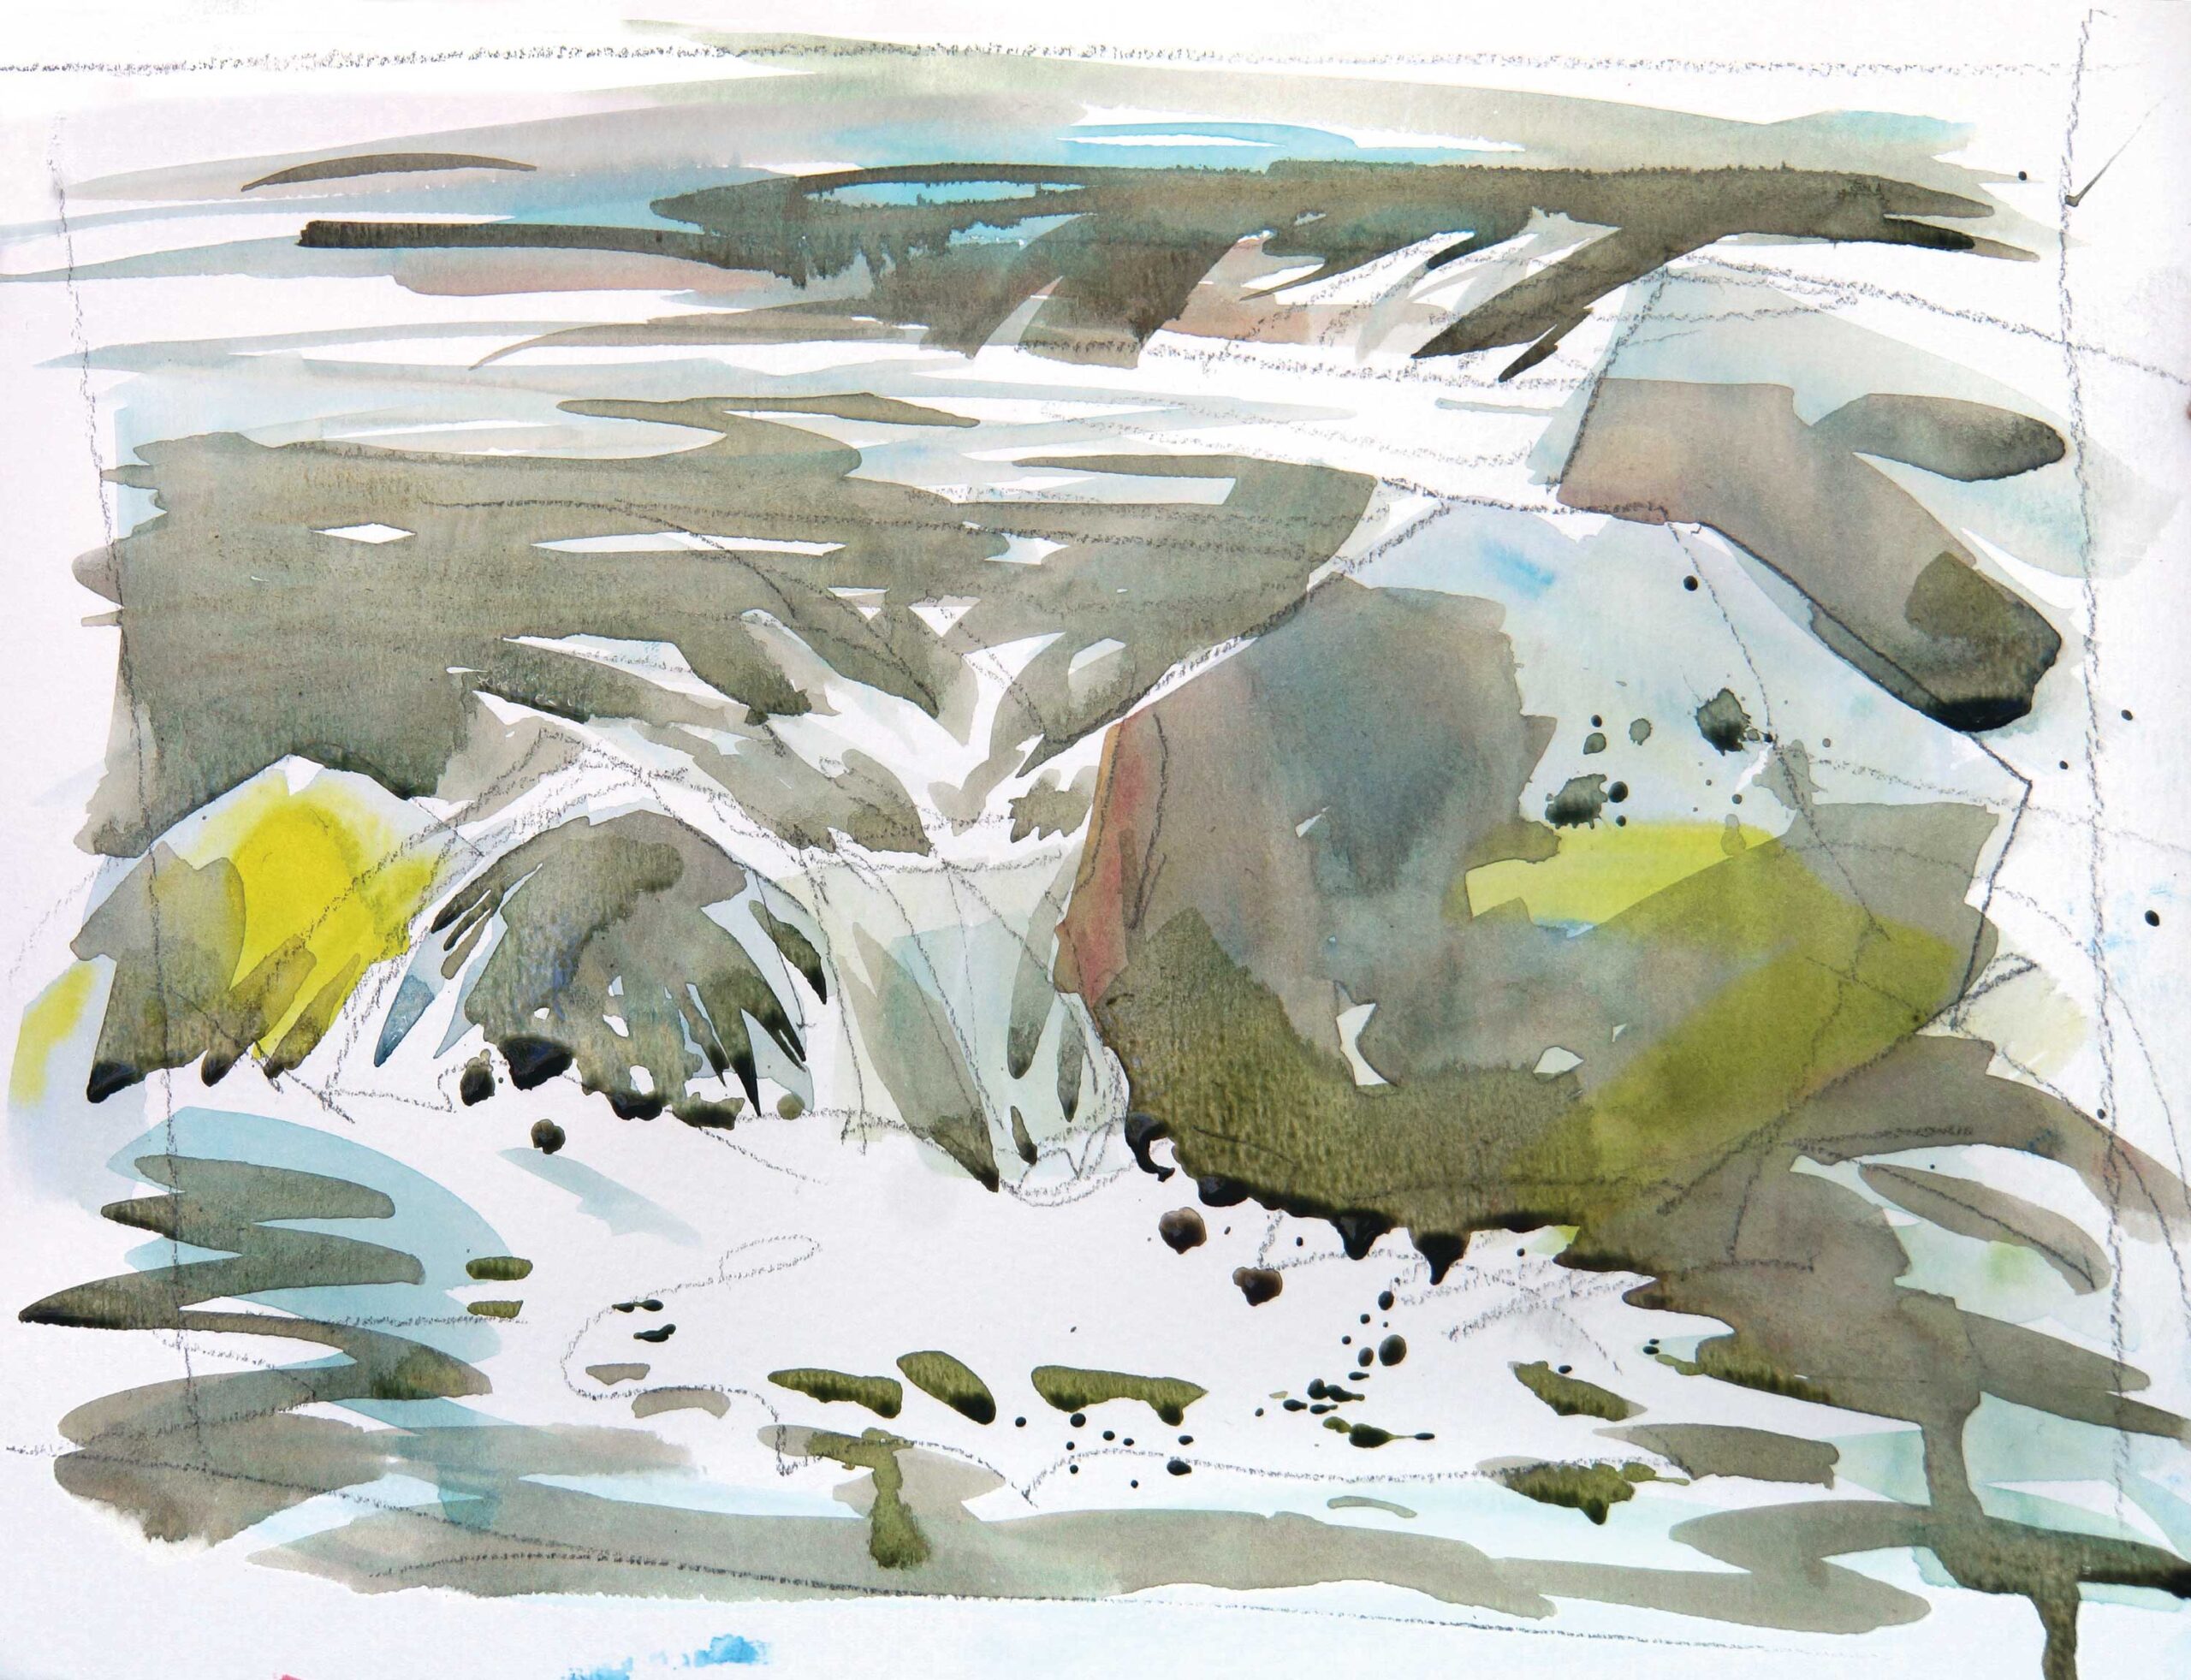
Step 2: Although I sometimes choose an approach arbitrarily, I more often decide on one that seems well-suited to the subject and the ambiance I want the painting to embody. For this piece, I decide to use a more or less “direct approach,” meaning that I’ll finish each area as much as possible before moving on to the next. I begin by painting the topmost rocks. By comparing these rocks with the same rocks in the finished painting, you can see that very little, if any, more work has been done on them.
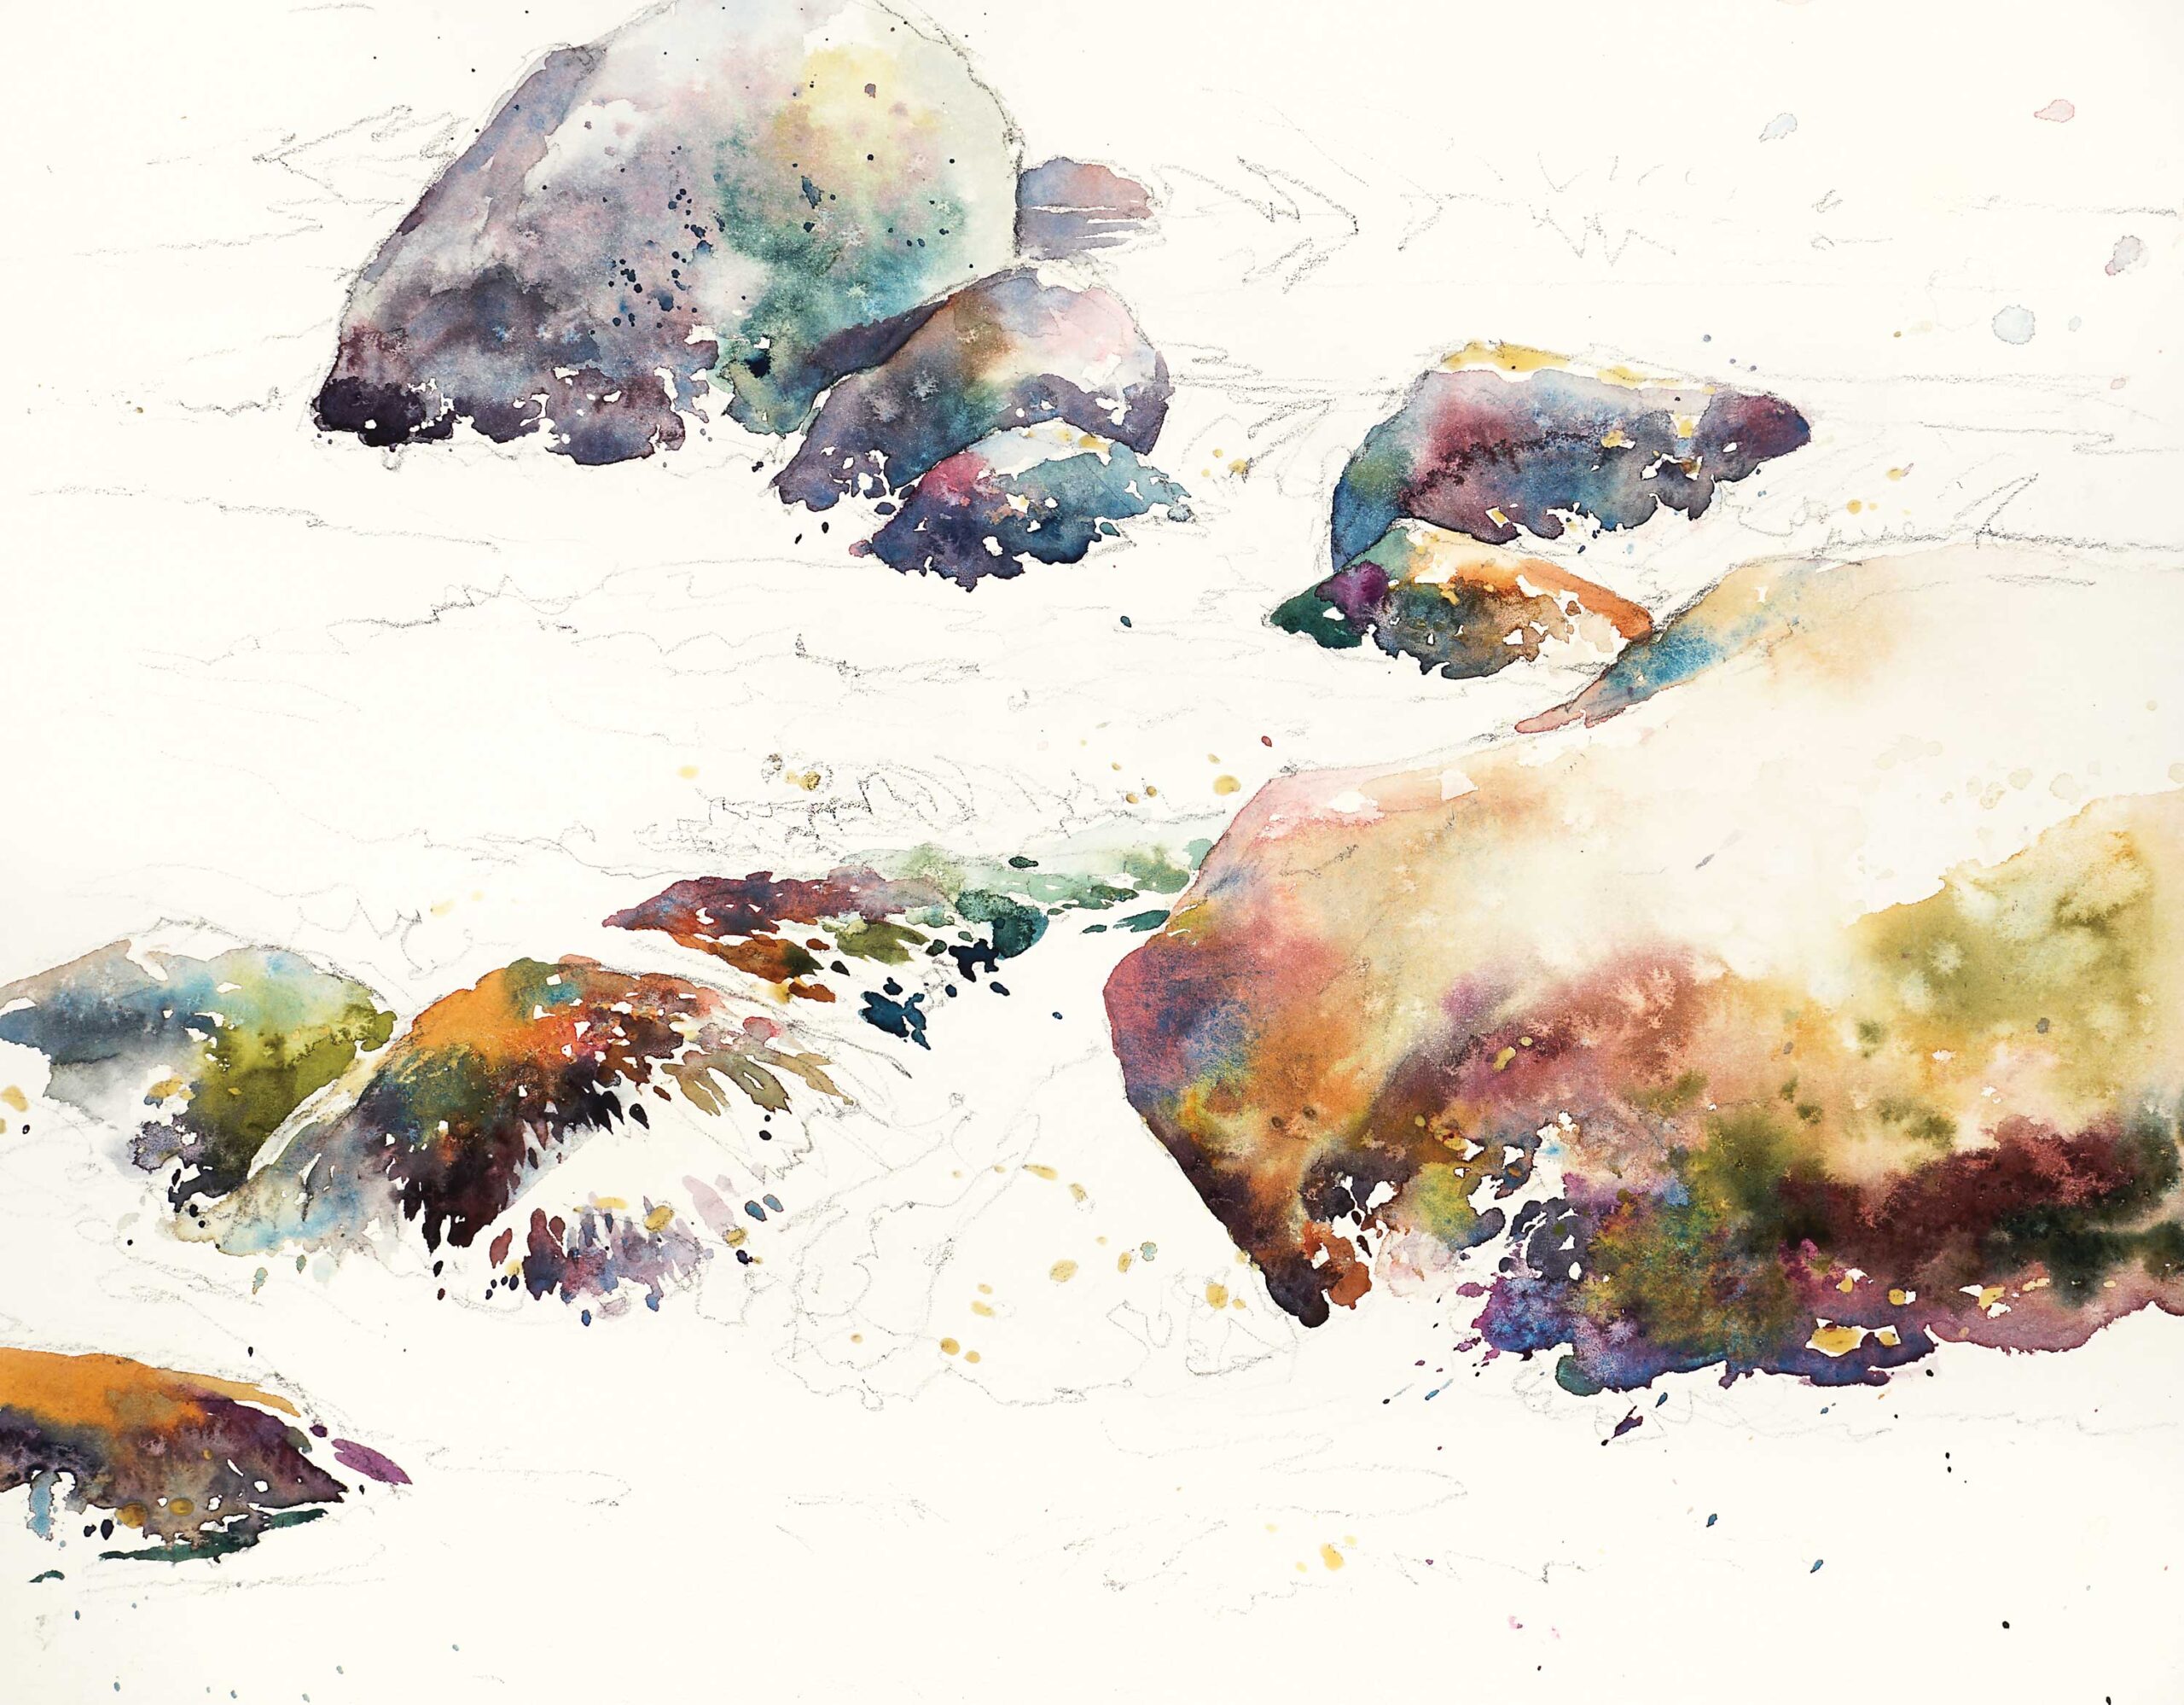
Step 3: I continue painting the rocks, including those partially submerged, using creative, unexpected colors in appropriate values. Using negative painting, I suggest their forms around the whitewater that’s splashing up in front of them. The colors I use may be striking — quite different from the colors actually evident in the scene— but the shapes and values are the critical elements. Color is just icing on the cake.
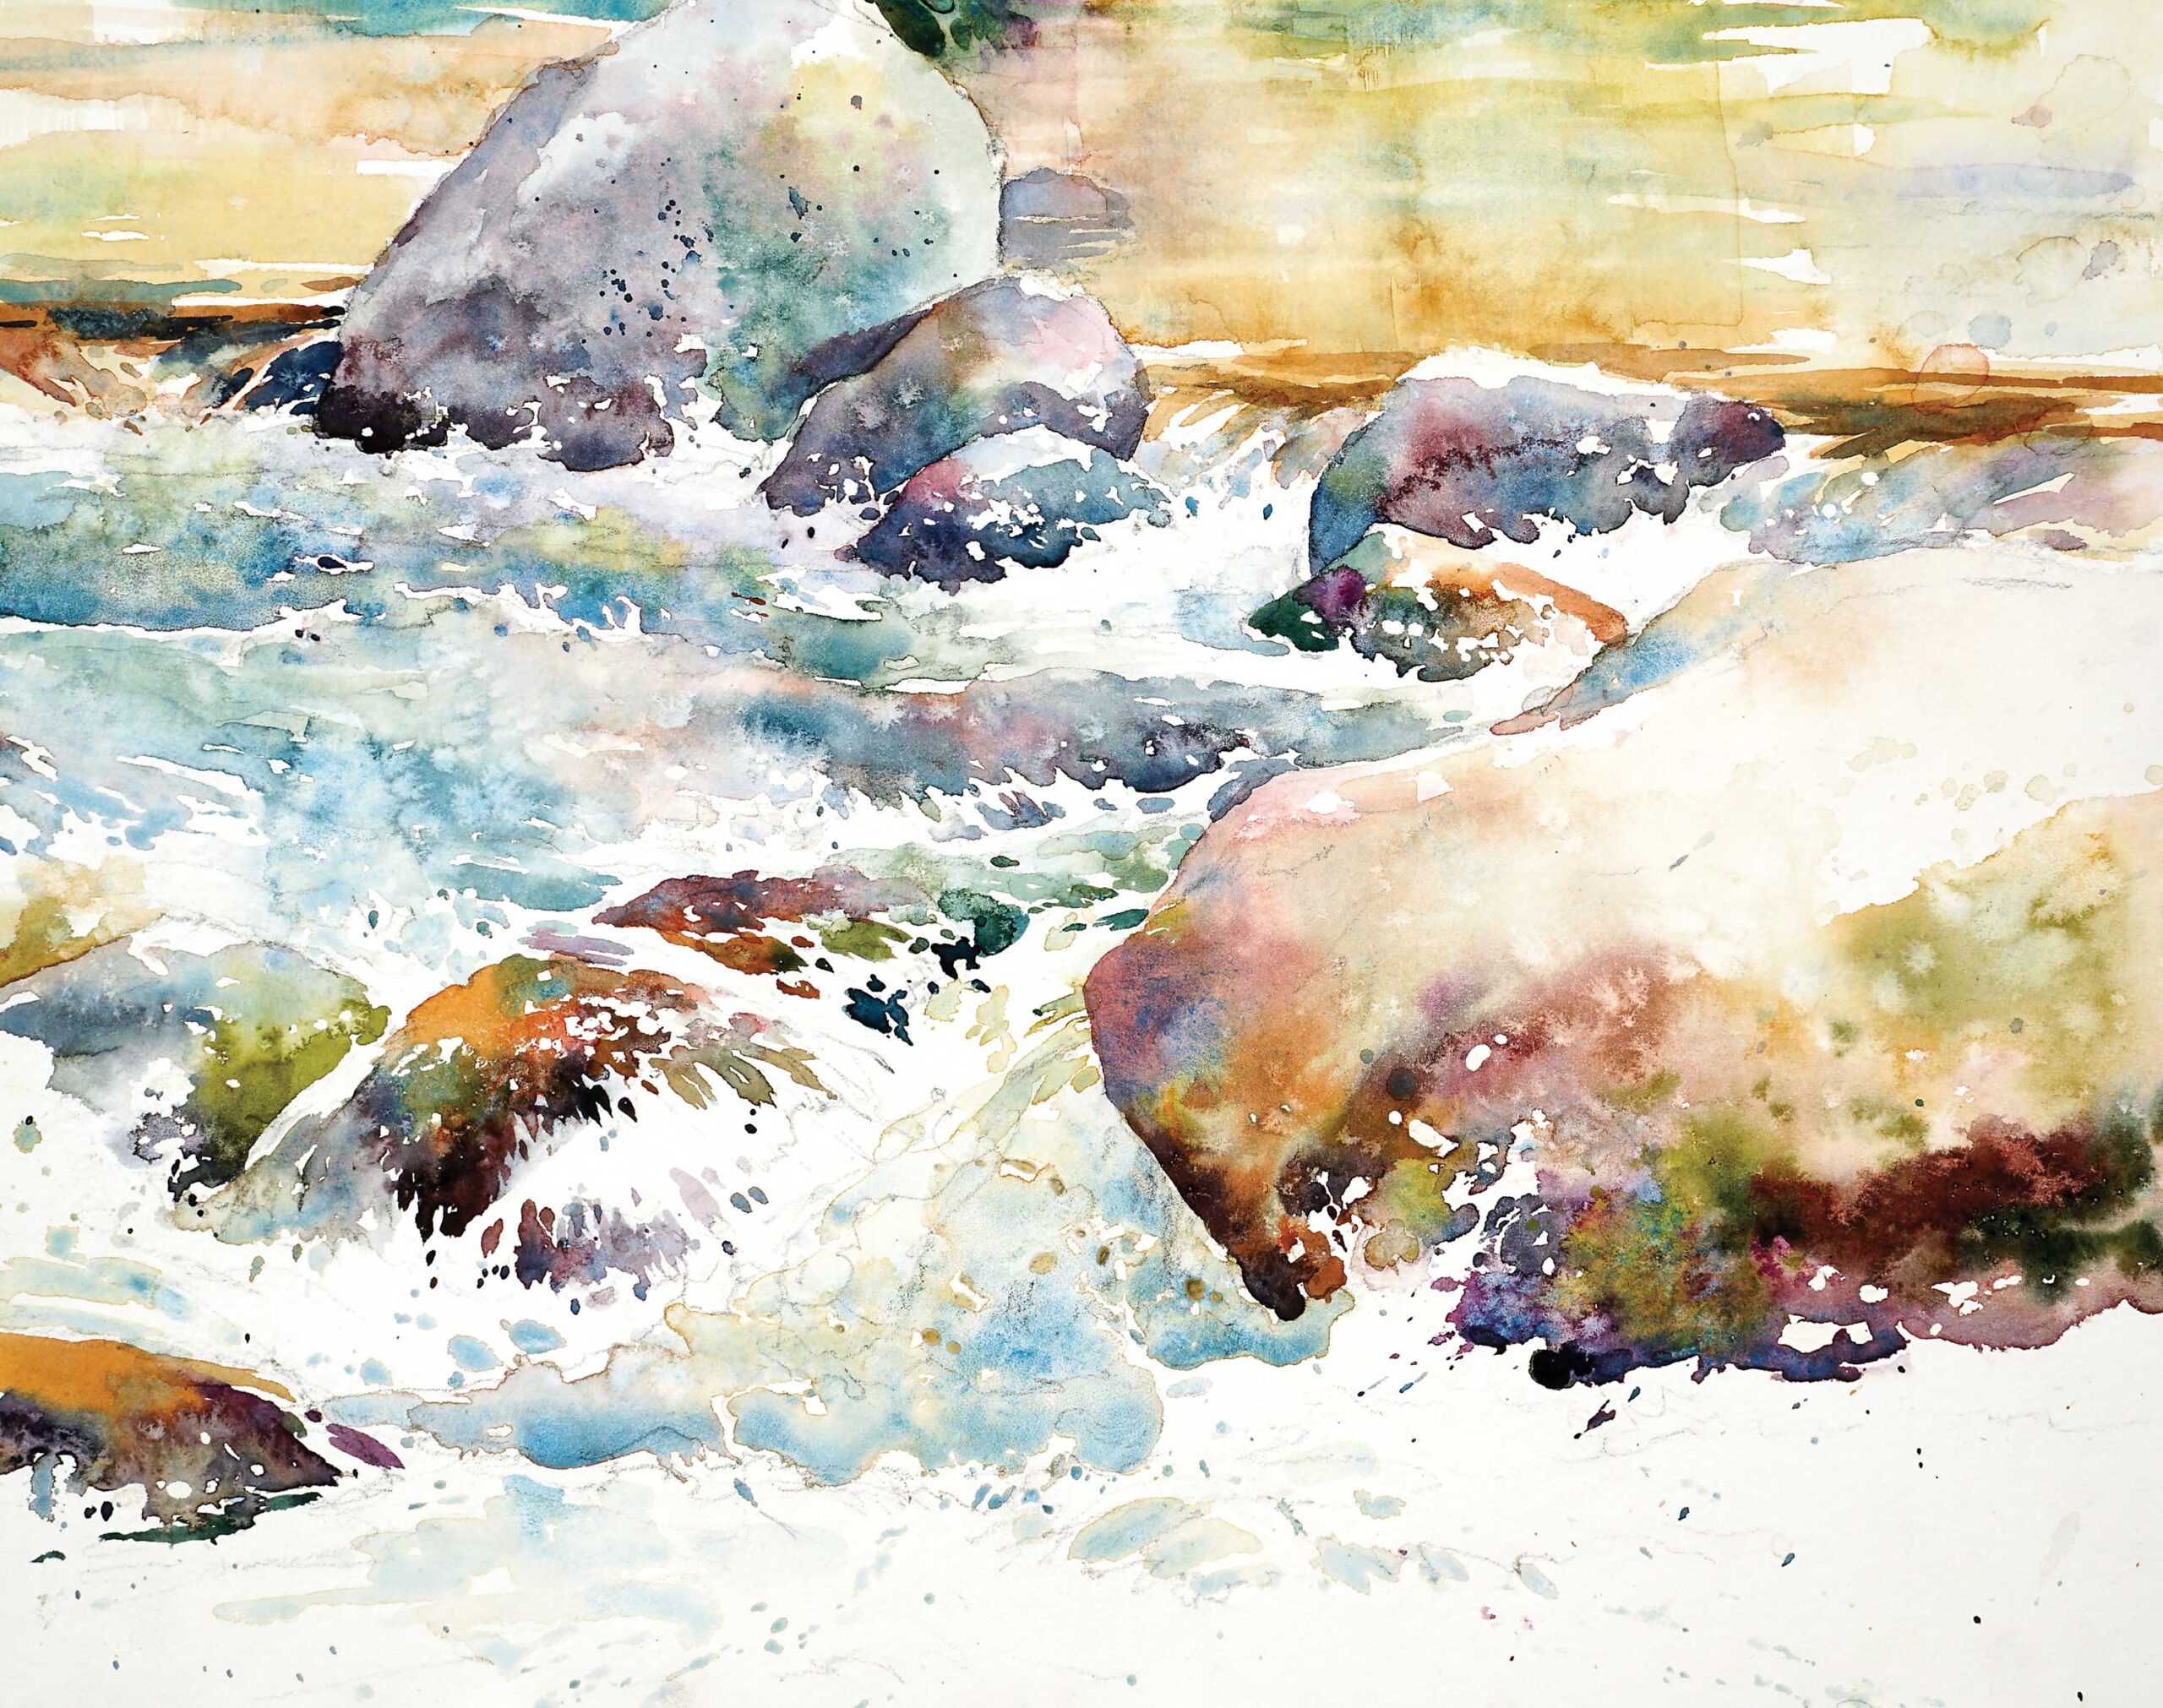
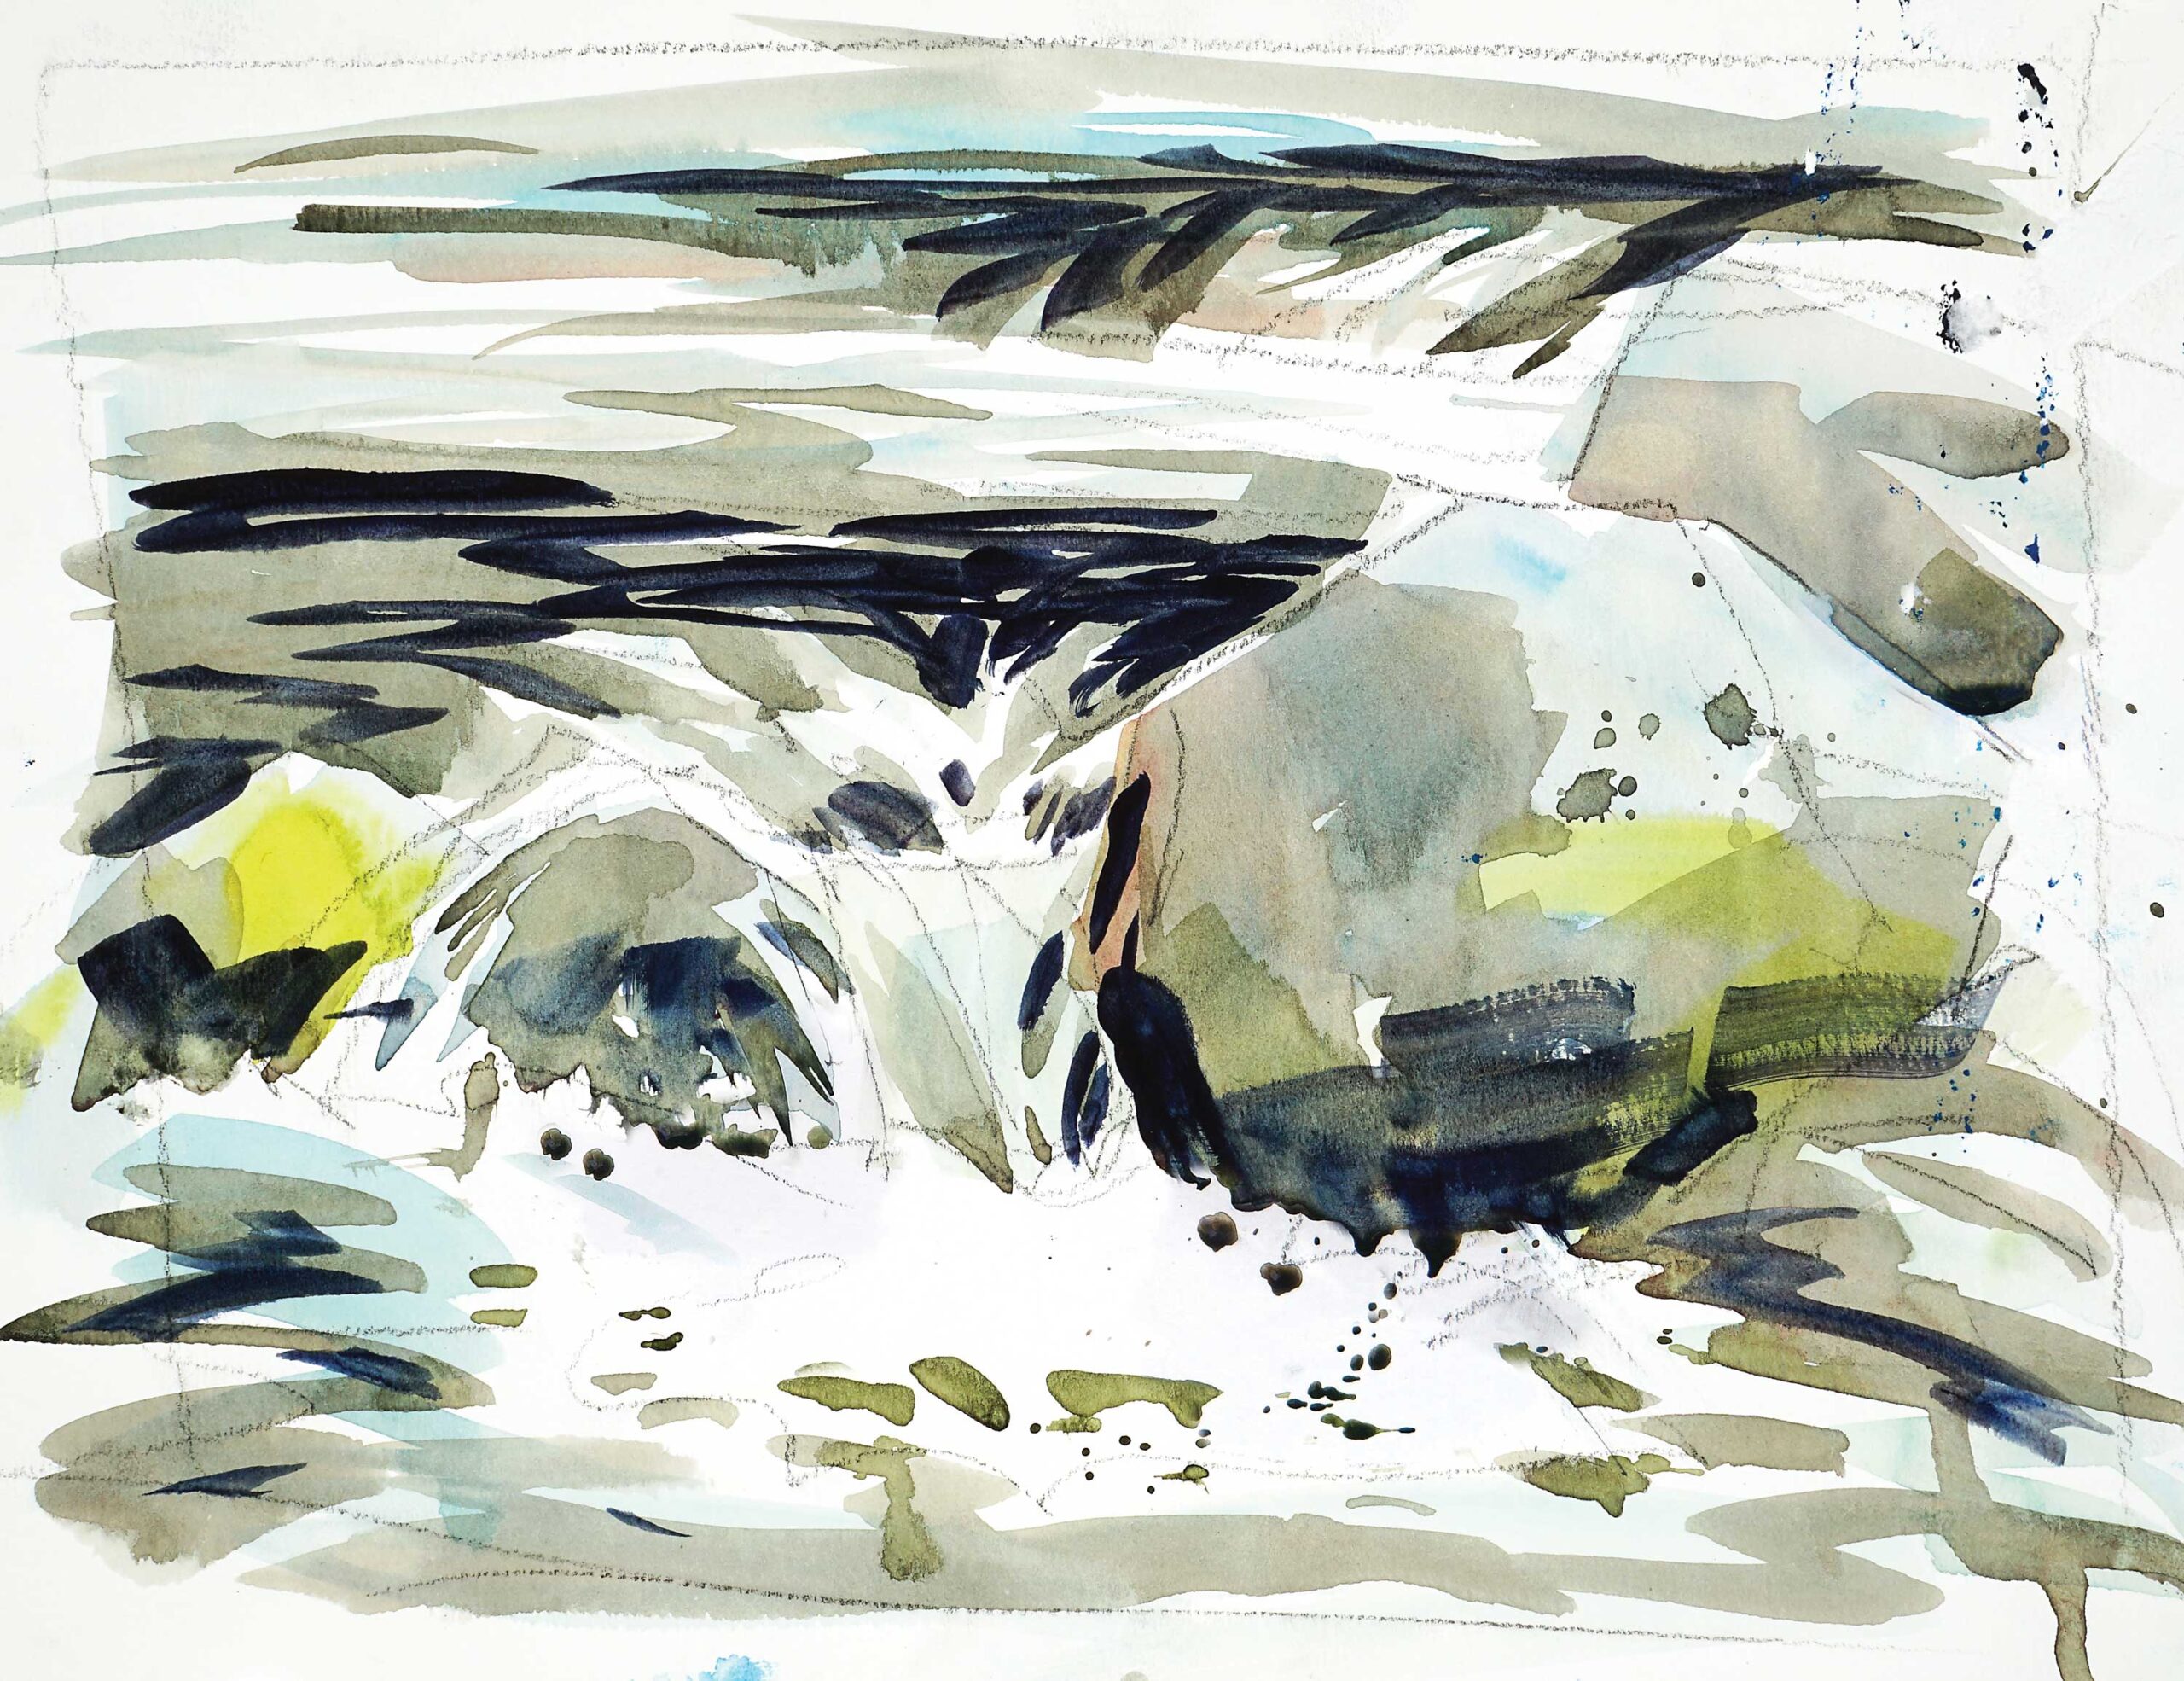
Step 4: I now move into the chaotic water. Although it may appear tumbling and unruly, the water has form and structure, with distinct shapes I identified in the initial drawing. I take each water shape as it comes, using brushstrokes that mimic the rhythm and movement I not only see, but feel.
Final Step: For the finishing touches, I remove the masking and spatter on a few splashes of opaque white where needed for emphasis.
- Learn more landscape painting techniques with Julie Gilbert Pollard’s art video workshops, available here.
- Sign up for the free Plein Air Today newsletter here.
Article prepared for the web by Cherie Dawn Haas, Editor of Plein Air Today


