
Combining gouache and oil might sound unlikely, but the two can form a powerful partnership when handled correctly. Raymond Bonilla treats gouache like a painter’s utility knife: a fast, forgiving tool to build a value and temperature map, and a flexible underpainting that oil paint can sit on top of. The result is a workflow that speeds decision making, reduces solvent use, and gives the finished piece both vibrancy and painterly texture.
This article features a leader in the art community who will be joining us on the faculty of Gouache Bootcamp, February 19, 2026. If you can click a link, you can join this event!
Watch: How to Paint with Gouache and Oil
Why combine gouache and oil?
Gouache is opaque watercolor. It dries fast, is easy to lift with water, and can be used in thin or opaque passages. Oil brings slow drying times, depth of color, and tactile brushwork. Using gouache as an underpainting provides:
- Rapid value blocking — create a readable structure quickly and modify it later.
- Low-to-no solvents initially — avoid heavy thinning and strong fumes while establishing the composition.
- Flexible revisits — gouache can be reworked or lifted after drying, so the artist can pause and return weeks later without losing the underpainting.
- Enhanced color interactions — the color and temperature of the underpainting subtly influence oils placed on top, often making colors read richer.
A common working size to practice on is 9 by 12 inches. The process works on canvas or board, but sealing the surface and mounting any printed drawing with matte medium helps protect the paper beneath and keeps the underdrawing stable.
Step-by-step workflow
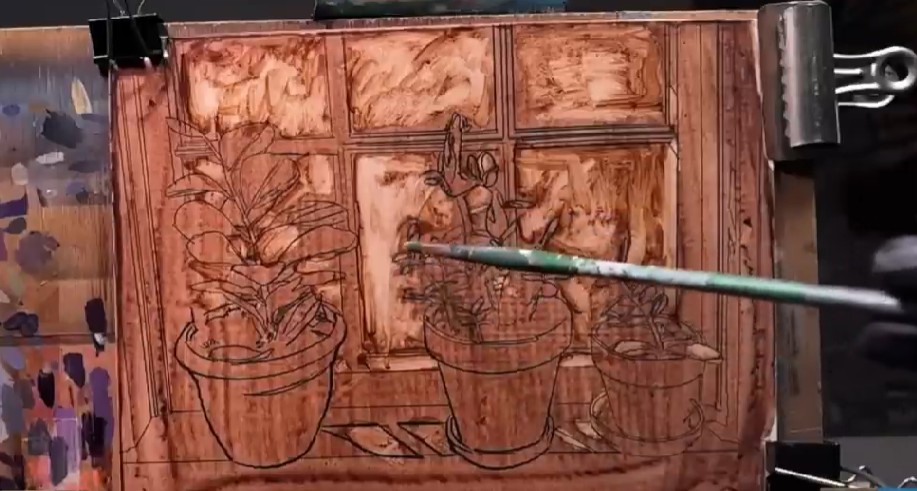
- Create and mount a line drawing. Use a photocopy or printer output of a line drawing and adhere it to the support with matte medium. This gives a reliable map for shapes.
- Lay down a gouache ground. Mix a neutral or warm gouache (burnt umber is a favorite) and cover the surface in an even wash. Keep the value light enough to allow lifting of highlights later.
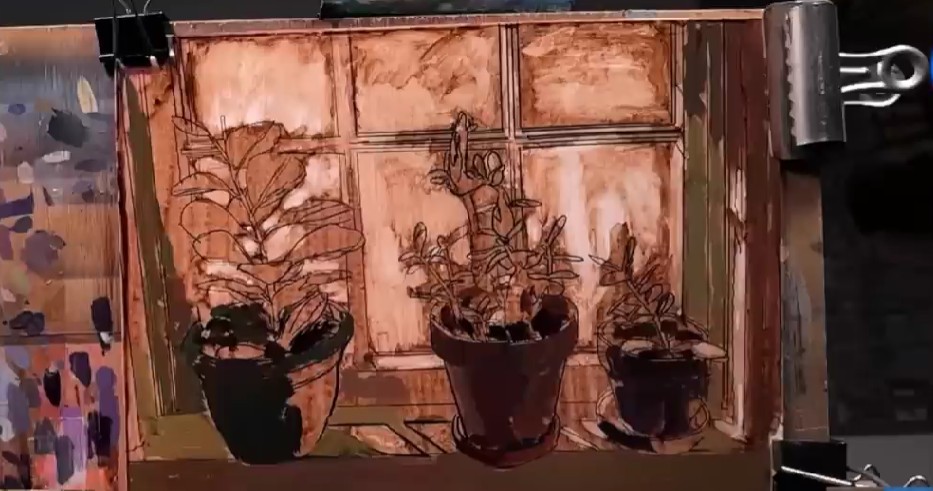
- Lift highlights and build a value map. With a soft brush and carefully controlled water, scrub and lift the gouache to create the lightest areas. This reductive step establishes the light, middle, and dark regions quickly. Finding the right amount of water is crucial: too wet and the wash runs; too dry and it removes too much paint.
- Refine with a paper towel if needed. Use a towel for small transitions and to dry areas. Note that artists often become picky about the towel brand—some textures behave better.
- Apply a thin coat of oil medium. Spread a uniform, thin layer of Liquin or another fast-drying medium across the dried gouache surface. This does two things: it adds a consistent medium for the oil paint to travel on and converts the matte gouache to a glossier finish so the true values read more accurately.
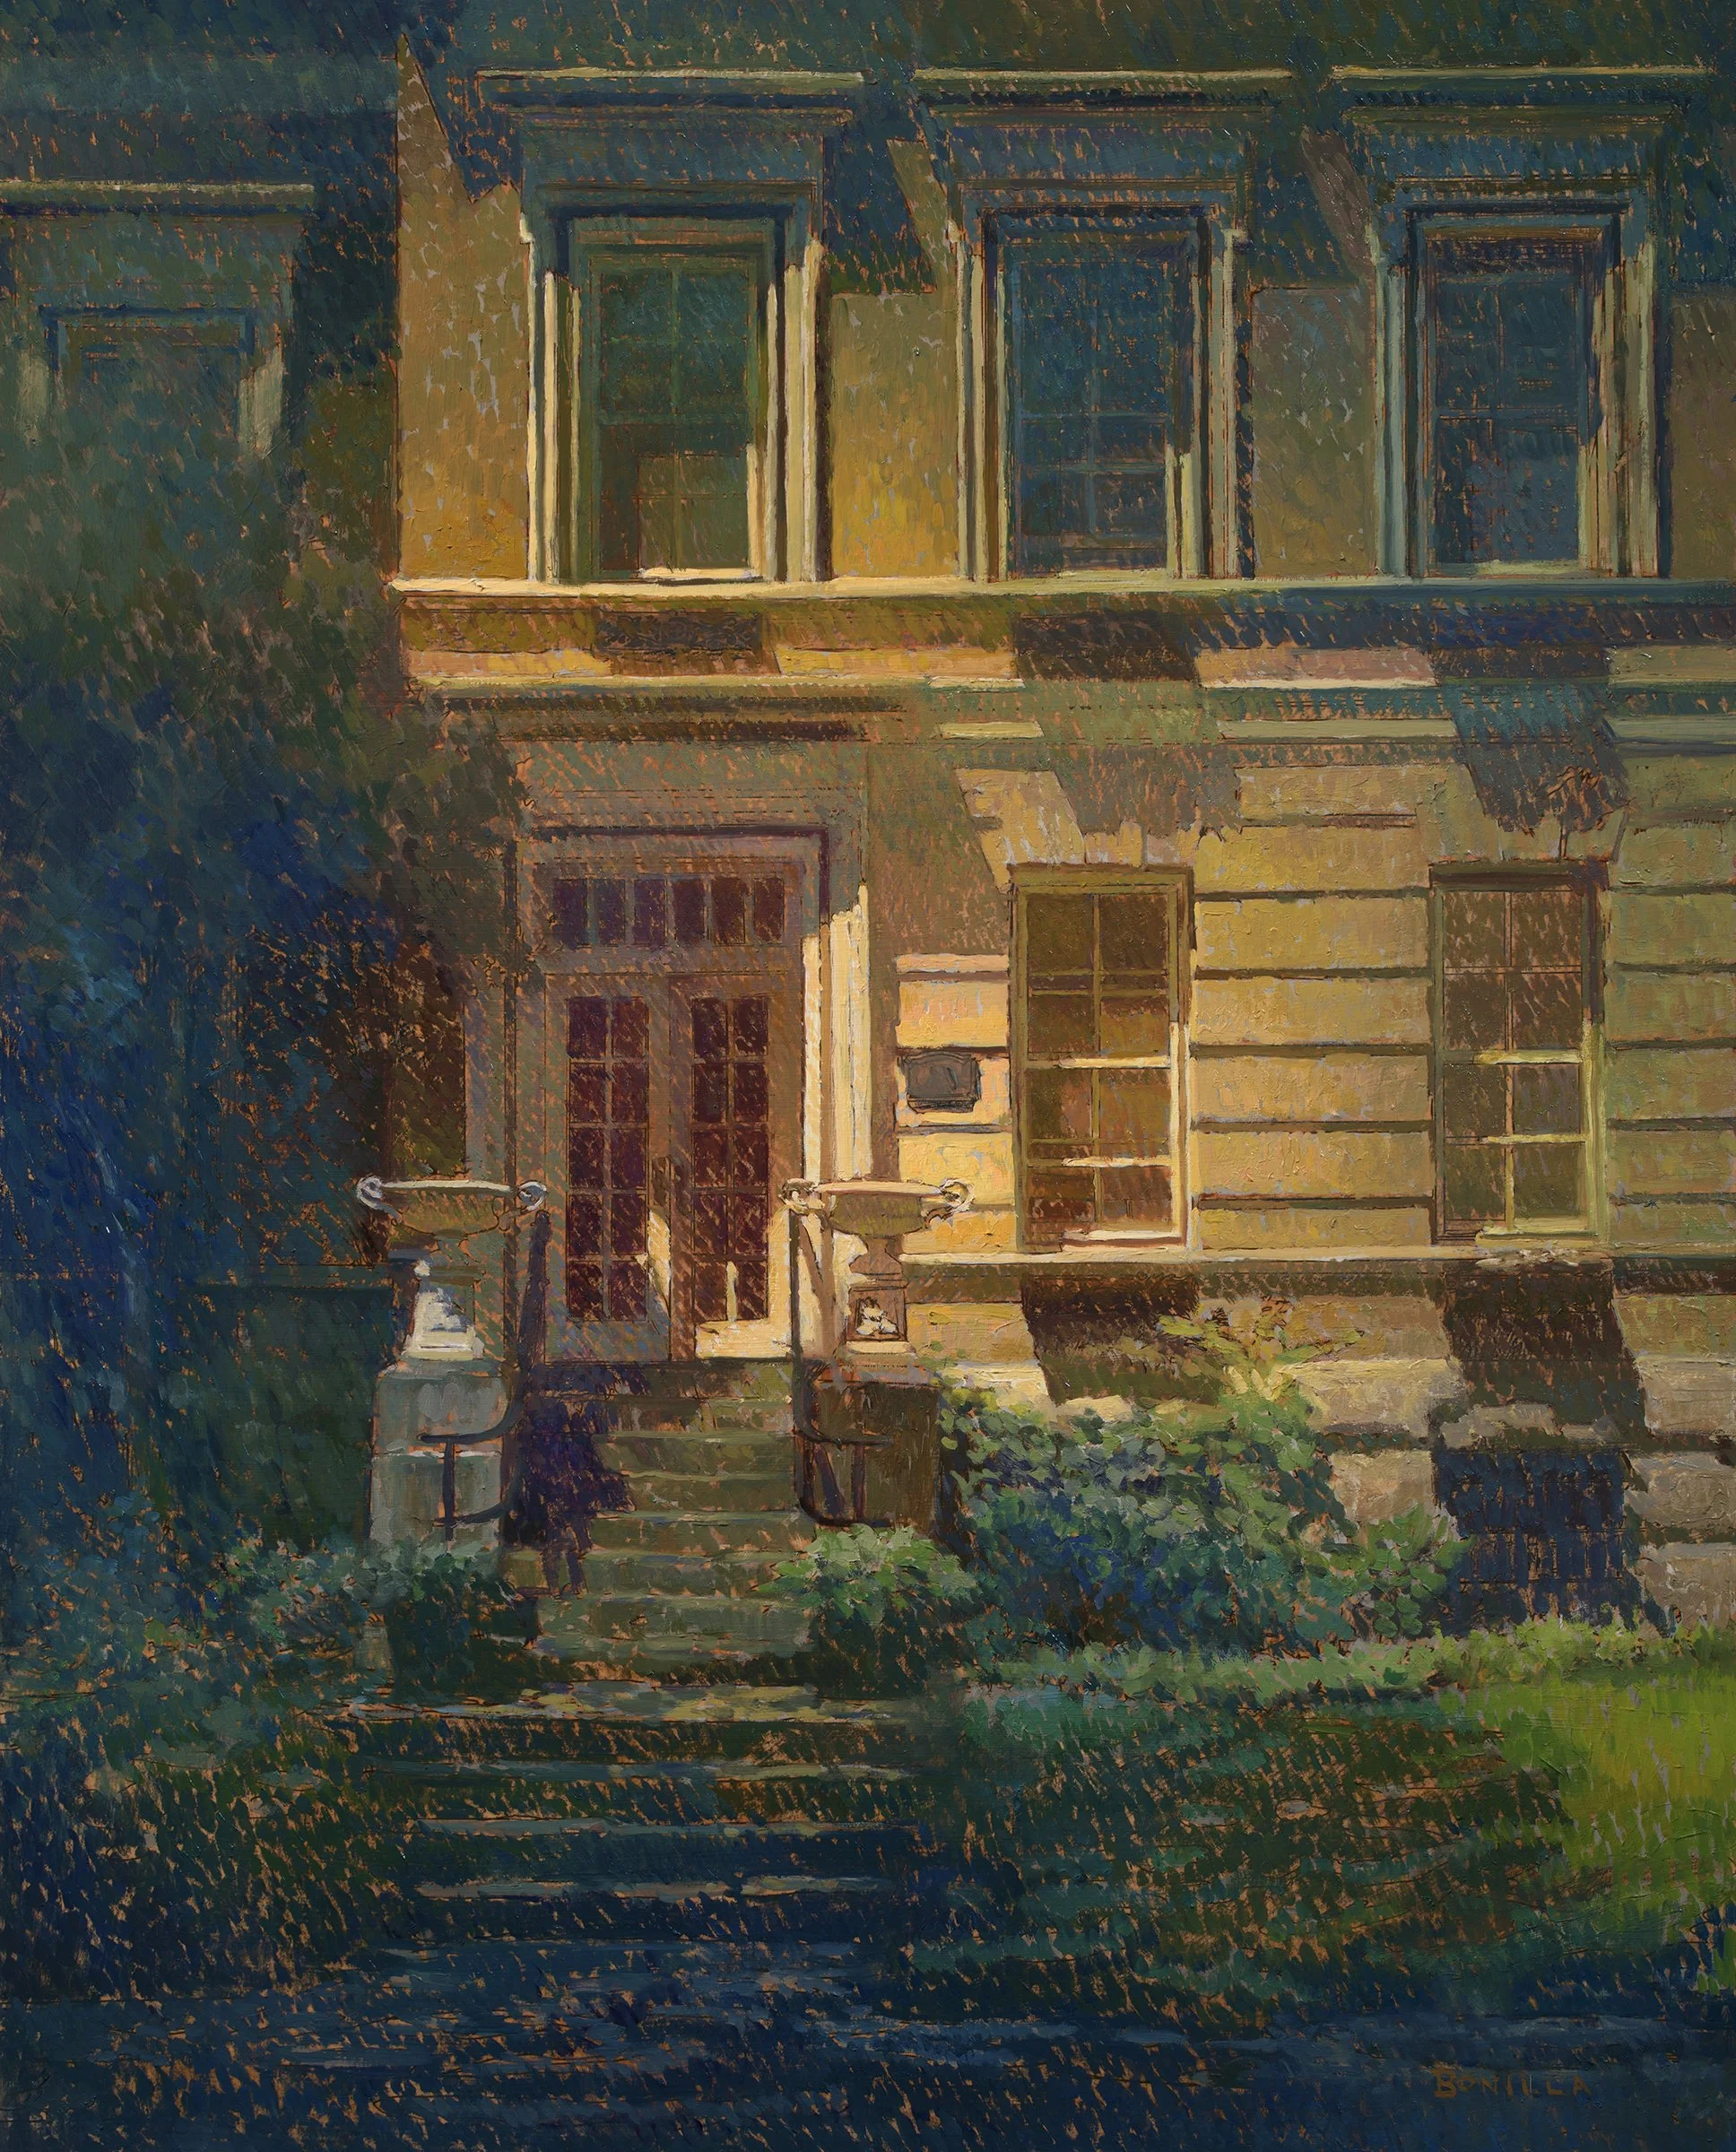
- Paint in oil using a tiling method. Work in small, discrete patches of color—often called tiling—placing shapes like mosaic pieces. Start with the largest, simplest areas, and usually the shadows first. Make two simultaneous decisions for each patch: is it light or shadow, and is it warm or cool? This keeps choices manageable and relationships clear.
- Add texture with a palette knife. For highlights and crisp edges, a palette knife introduces texture and life that brushes can’t replicate. The knife forces decisive application, which helps prevent overworking.
- Finish selectively. If the underpainting already supports the value and temperature relationships well, some of it can be allowed to show through as a deliberate design element. If not, continue to refine until the surface reads coherently.

Key technical tips
- Water control matters. Practicing how much water to use when lifting gouache is essential. Too much water creates slips; too little removes too much pigment.
- Expect a value shift. Gouache dries to a matte finish and often looks lighter when dry. Applying an oil medium or varnish will reveal truer darks and saturations.
- The underpainting color influences the final temperature. A warm underpainting like burnt umber will make overlying colors read warmer; an ultramarine underpainting will make colors feel cooler and allow warm accents to leap forward.
- Do not paint gouache into oil medium. Gouache will not adhere predictably on an oiled surface and will often slide or refuse to stick. Gouache over fully dried oil is different; the issue is painting gouache into an uncured oil medium.
- Keep a paper towel handy for cleaning brushes and adjusting edges. Frequent cleaning prevents muddy mixes and helps maintain color clarity.

4 Practice exercises to accelerate learning
These short drills help internalize the workflow and sharpen decisions:
- Value-only studies — do a series of 9 by 12 gouache underpaintings in different values, then paint them with oil to see how the underpainting affects the final color.
- Temperature swaps — paint the same scene three times with different underpainting temperatures (warm, neutral, cool) and compare results.
- Timed tiles — set 15 to 30 minute limits to encourage decisive tiling and palette knife marks. Time constraints force useful simplification.
- Color charts — make mixing charts for your gouache and oil colors to understand how pigments change wet to dry and how they interact across mediums.
When learning how to paint with gouache, experimentation and patience are the keys. Start small, try different underpainting colors, and use the tiling method to slow decisions down intentionally. Over time these habits build an acquired knowledge base that makes complex choices feel routine and creative risk feel manageable.
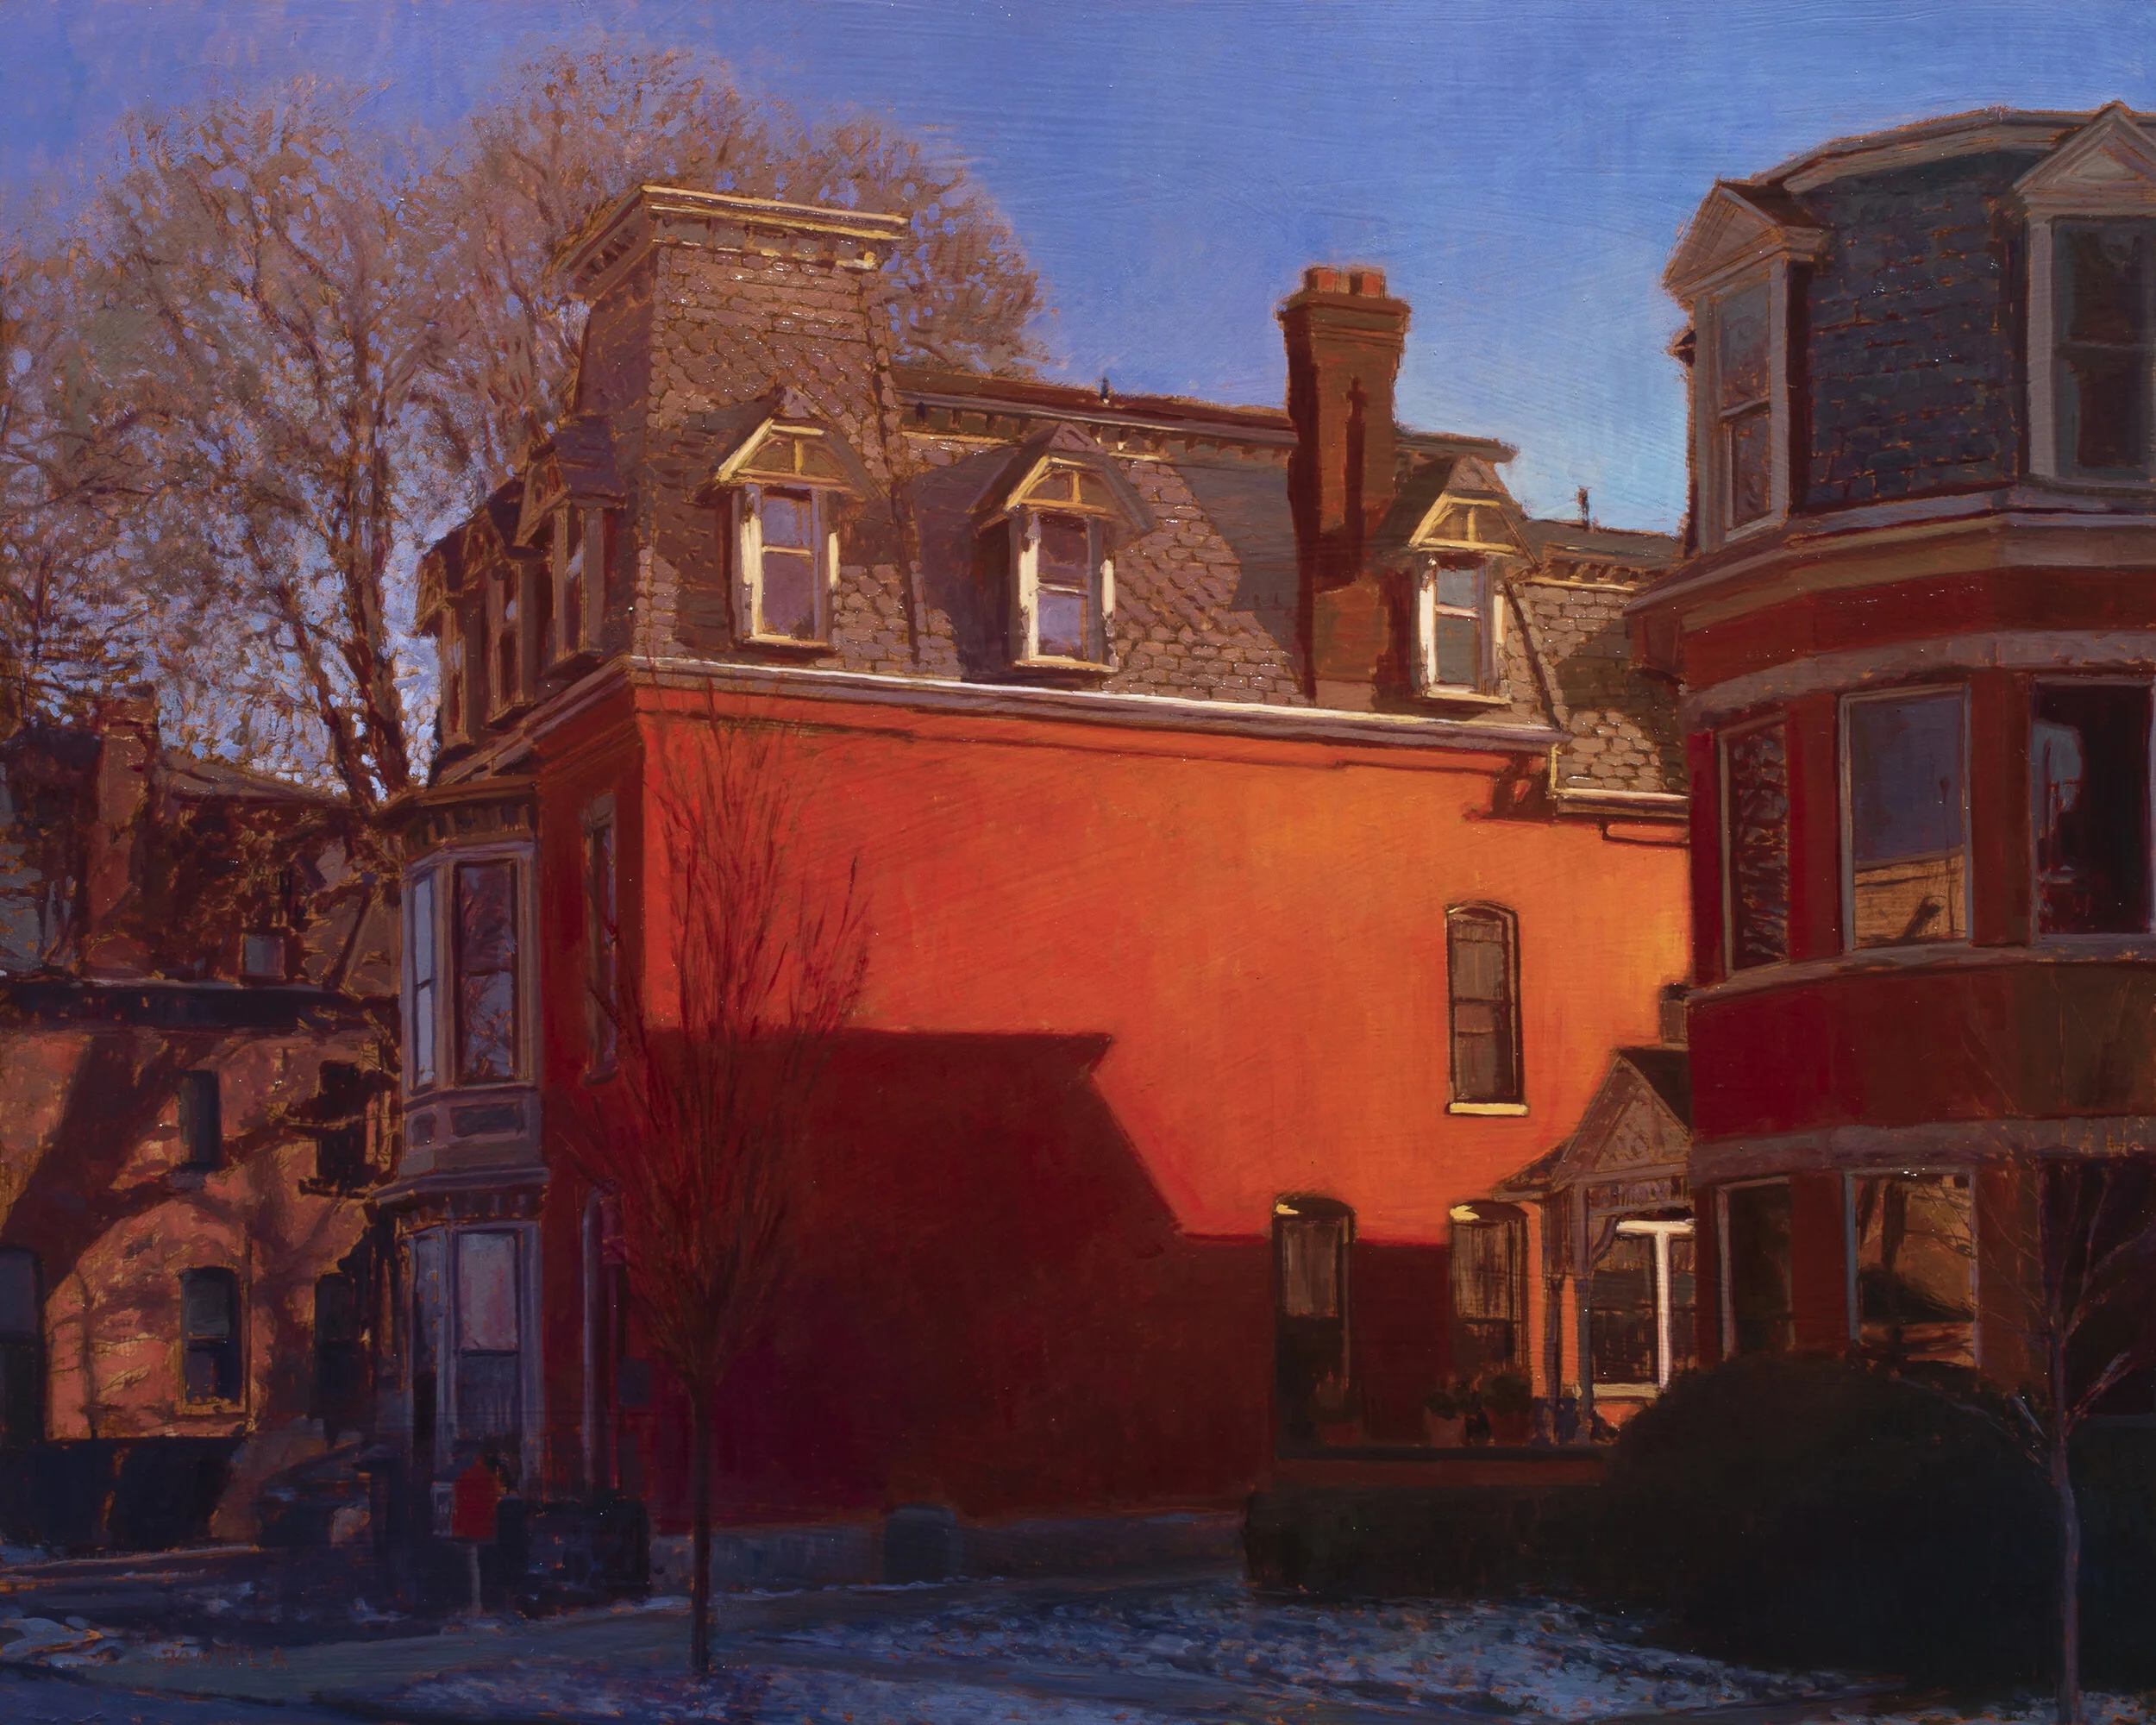
Raymond calls gouache and oil “a match made in heaven” for artists who enjoy both immediacy and depth. With a bit of practice, painters can use the strengths of each medium to make work that is confident, lively, and visually clear.

Visit Raymond Bonilla’s website at www.raymondbonilla.com.
Gouache Bootcamp – February 19, 2026 – is a one-day, online, beginner-friendly event that makes gouache easy, fun, and confidence-building. Sign up now at www.gouachebootcamp.com.


Best of the Best!!thank you DavidG. Marblehead Ma