

Sharon Weaver is an artist and instructor at the Kline Academy of Fine Art in Los Angeles, where she teaches classes on painting landscapes. In this guest blog post she shares how she transitioned to teaching art online. Bonus: Includes a step-by-step landscape painting demonstration.
Painting Landscapes: Changing Times Call for a Different Approach
BY SHARON WEAVER
(sharonweaver.com)
Before the lockdown I taught a studio landscape class once a week to a great group of students. I often talked about how I learned to paint the landscape by painting en plein air and how important it is to paint from life in the field. I think that inspired my students to request that I schedule some plein air classes. I had two scheduled and booked, but of course the classes had to be canceled after the lockdown began.
Moving Classes to the Web
Not knowing when I would be back at the school, I decided I needed to find a way to continue my classes online. I realized it was going to be a steep learning curve to take my group into a virtual classroom but the alternative was months of not seeing my students. I needed a way to critique my students’ work, share images of art, and have an interactive dialog about their art.
All this was available online but figuring out the structure of the class and how to make it work took time and effort. I am now teaching one hour classes on Wednesday and Friday. An hour is the perfect time. Any longer and students’ attention seems to wonder. Any shorter and there isn’t enough time to cover the needed information. The two classes are structured a little differently. The Wednesday class is for critiquing students’ work and talking about how to proceed on works in progress. They send in images of their paintings to me on Monday and I use Photoshop to make adjustments and corrections. These changes take time but the visual corrections are so important for each student to understand how to proceed.
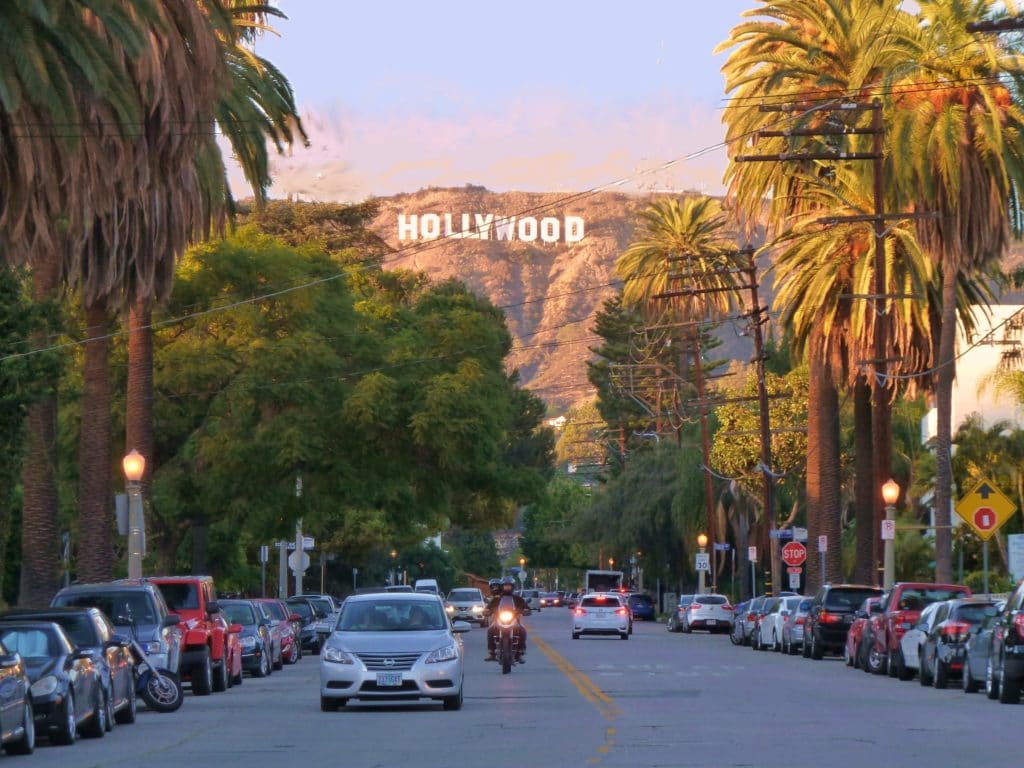
Friday’s class focuses more on instruction. I pick a subject that is important to the success of a landscape painting. I give examples as I discuss different subjects like composition, values, color, brushstrokes, and edges. It works best when the students are encouraged to interact and ask questions. Visuals are very important and I use my own recent paintings as examples. I will often take photos of my work in progress and that too is a great tool to use online. The six painting steps for “Sun on the Hollywood Sign” was used to show my process for one of the Friday classes. (See the landscape oil painting step-by-step below.)
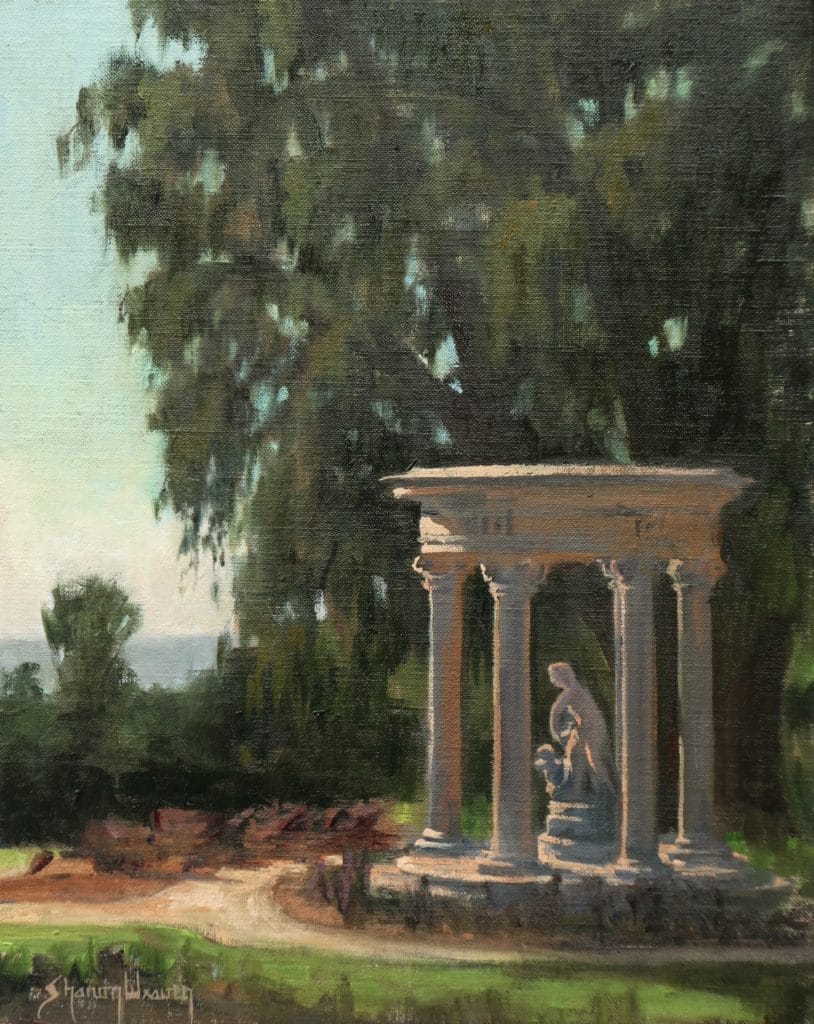
In a recent class I asked my students to take the challenge by painting plein air right in their own backyard. I didn’t make it a mandatory assignment but more an invitation to try something new. I reaffirmed my love of painting plein air and showed them examples to encourage them to get outside.
Related Article > 9 “Backyard” Paintings Inspired By #StayAtHome Art Prompts
This is the email I sent out to my students:
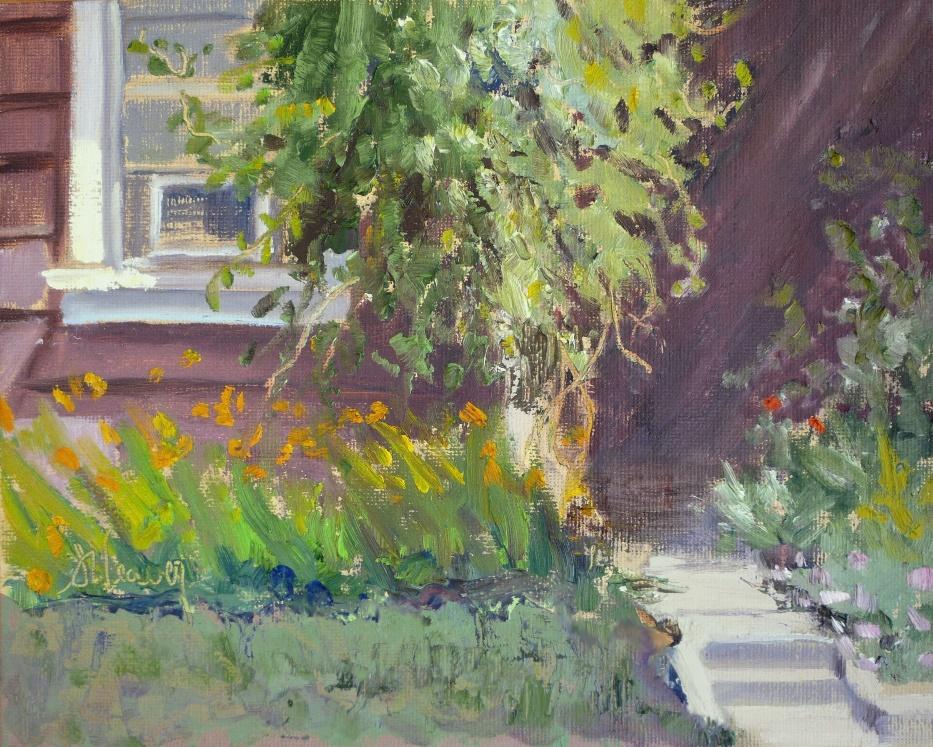
My recent plein air painting of the honeysuckle that grows on the side of my guesthouse is a good example of what you can find in your own backyard. It was a warm sunny morning with sunlight streaking across the building, forming lovely shadows. Colors, values, and shapes are so much more interesting in real life than when copying from a photo. Your eye sees colors in the shadow that the camera can never record. When I paint, I am in the moment. Hours go by but it seems as if only minutes have passed. I first learned to paint on location en plein air and the experience was invaluable.
This would be a great project to do for all my students and remember this is a study. I am not looking for a perfect finished painting but instead think of this as a learning exercise. Your assignment and challenge is to take your paints into the yard, onto the balcony or in front of a window and paint a familiar spot. It can be the house across the street, a favorite tree, a lovely rose bush, or even a rock. Anything can be your subject as long as it has light that is creating highlights and shadows.
I suggest you paint from 9 AM to 11 AM and then stop. If you do not finish your study the first day you can paint on another day when the conditions are similar. You want to paint at the same time of day when the light is the same. Use a small canvas so you can finish your painting in one, two or three sittings. I like 11×14 but you can use 8×10 or 9×12. Remember to start with your shadows and paint the shadow shapes in first. I hope you will take the challenge.
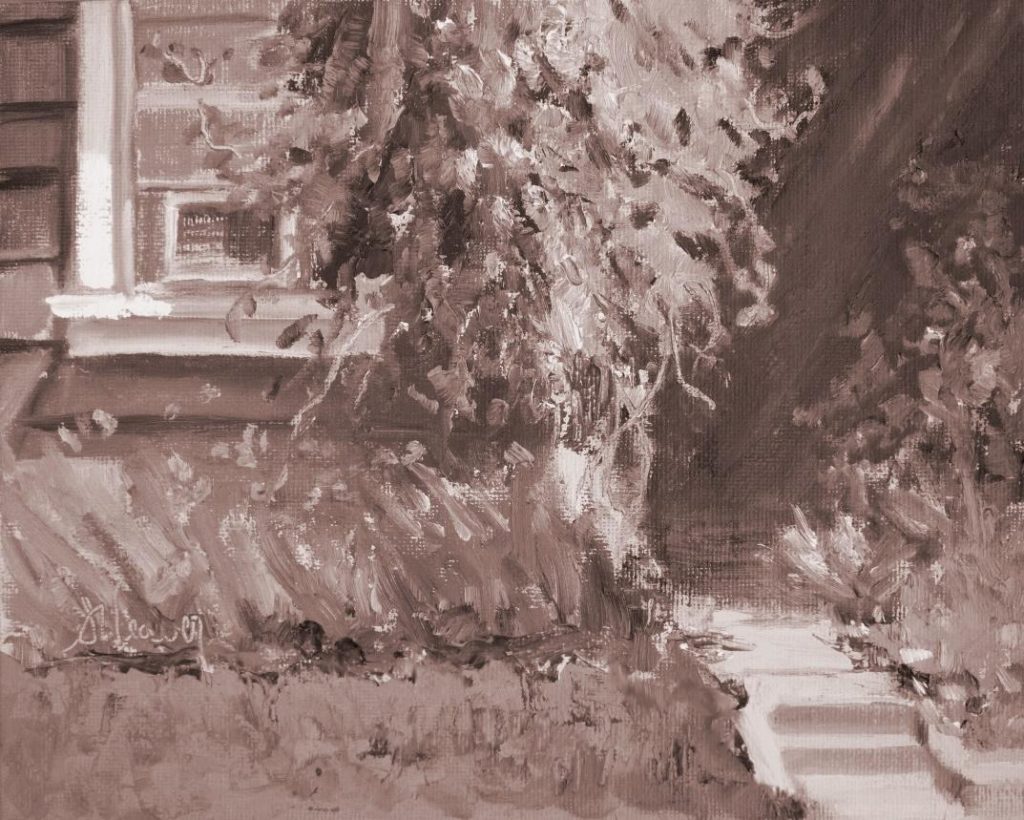
If you are having trouble understanding how to even approach this project I have a great solution. Forget about color and just do a value study. Only use White, Ultramarine Blue, and Transparent Red Oxide on your palette. Using those three colors mix four or five values going from the darkest darks to the lightest light. Now, reduce your subject to simple shapes and values. First paint the dark shadows and work your way up to the light. Remember that color gets all the credit but composition and value do all the work.
The response to my challenge was fantastic. Several students who had never painted en plein air tried it. The results were varied but they all felt good about taking the challenge. I am hoping that some will be inspired to continue painting plein air.
I have between five and eight students every class and I am very encouraged by the enthusiastic response. If and when we are able to go back to the classroom to learn about painting landscapes, some folks will not be comfortable with a group setting so my online class will continue through the summer and into the fall. Teaching and connecting online could be my new normal.
Painting Landscapes: Step by Step Painting Process for “Hollywood Sign”
Step 1: The initial block in with large dark shapes. Here is where I work out the drawing and composition.
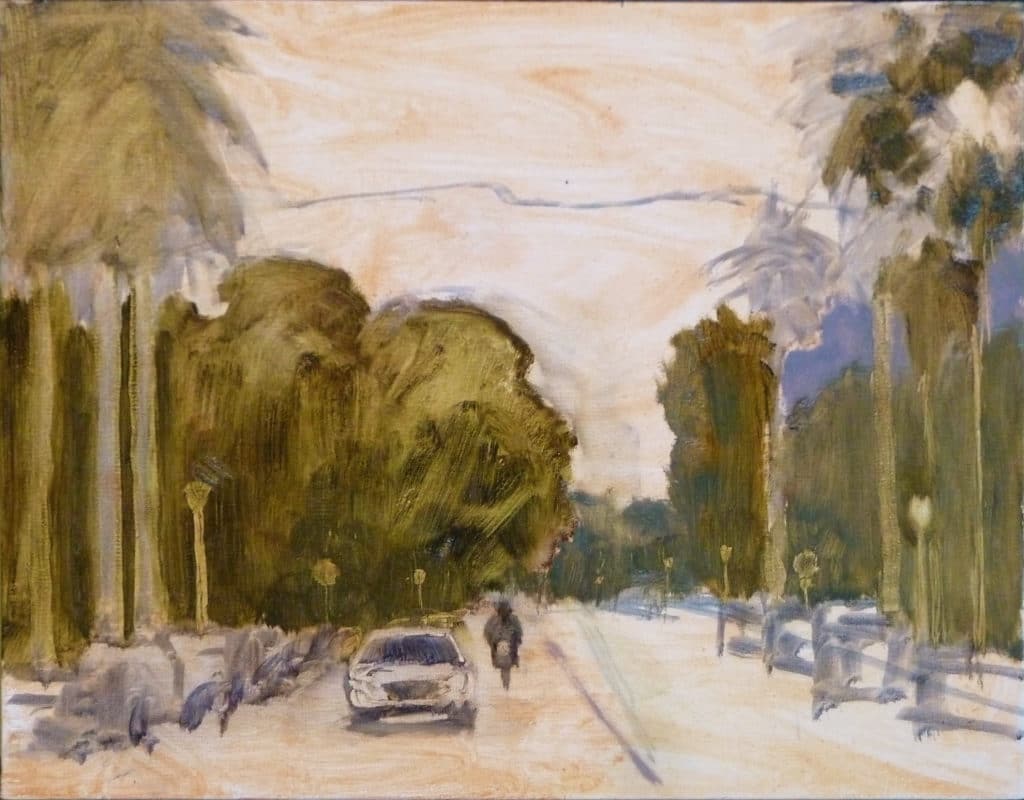
Step 2: Each painting has four or five main masses and now I begin blocking those in. The painting Hollywood Sign has five main areas to consider. They are the sky, the mountain, the trees, the road and the cars. I begin here with the sky and mountains.
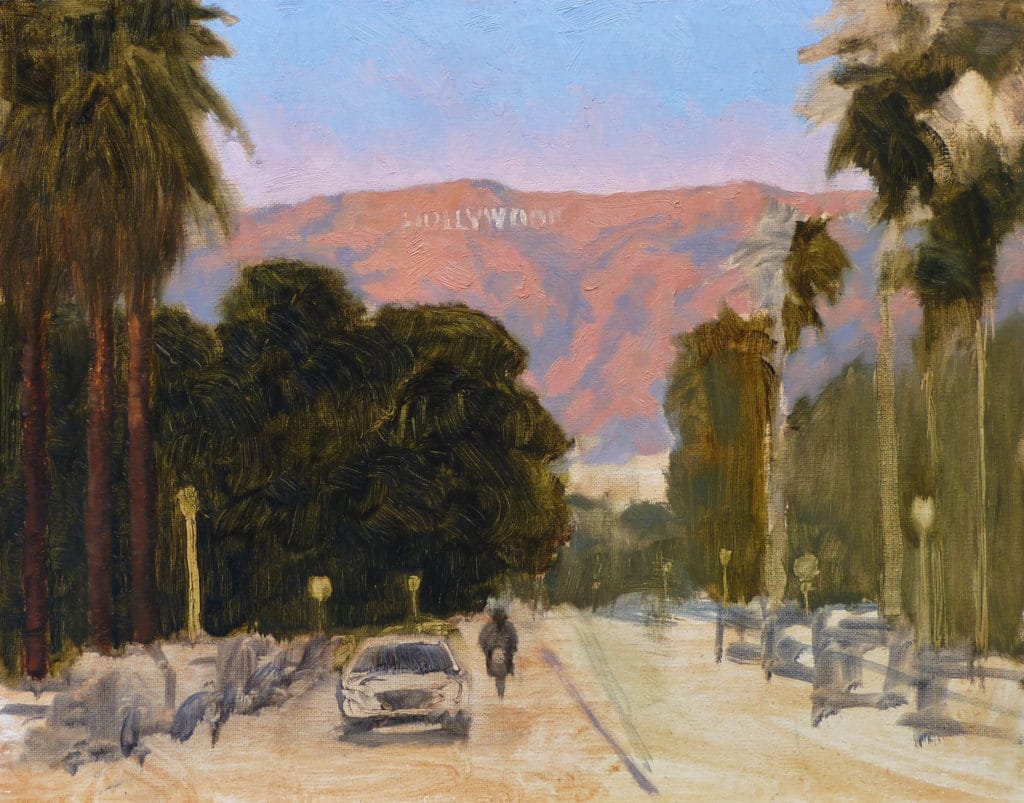
Step 3: I continue blocking in all main masses with the trees, road and vehicles. I work on the shadow shapes on the left and stay simple without to many details.
Step 4: I move to the sunlit trees on the right side of the painting and add in the vehicles on that side of the street.
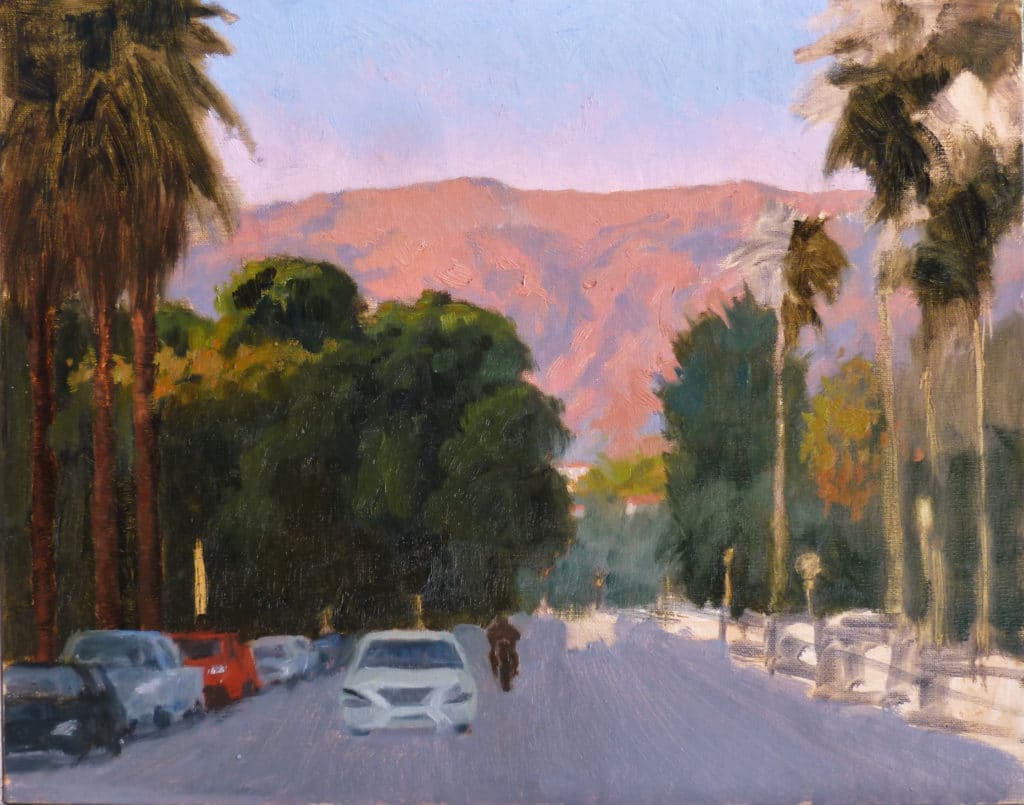
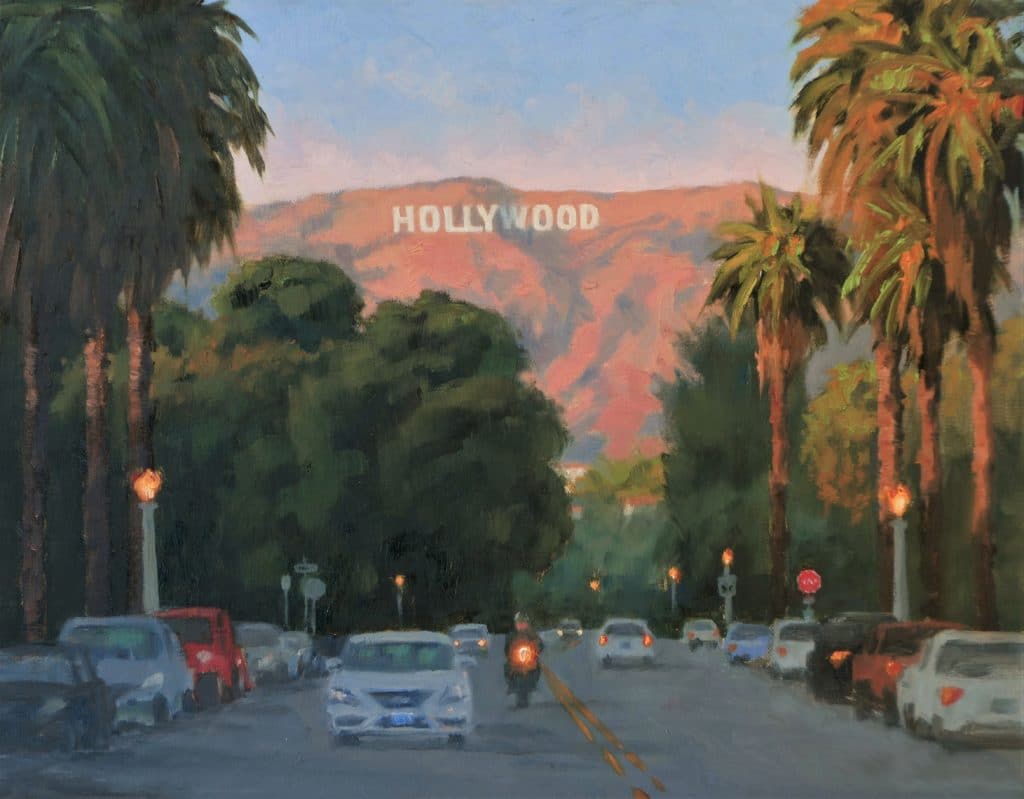
Step 5: Refining shapes, I continue adding details but note that I do not include every street pole or street sign. I pick and choose which to include and which to leave out. I add the Hollywood Sign on the mountain and place the location for the street lights. I add the stop sign and the headlight on the motorcycle.
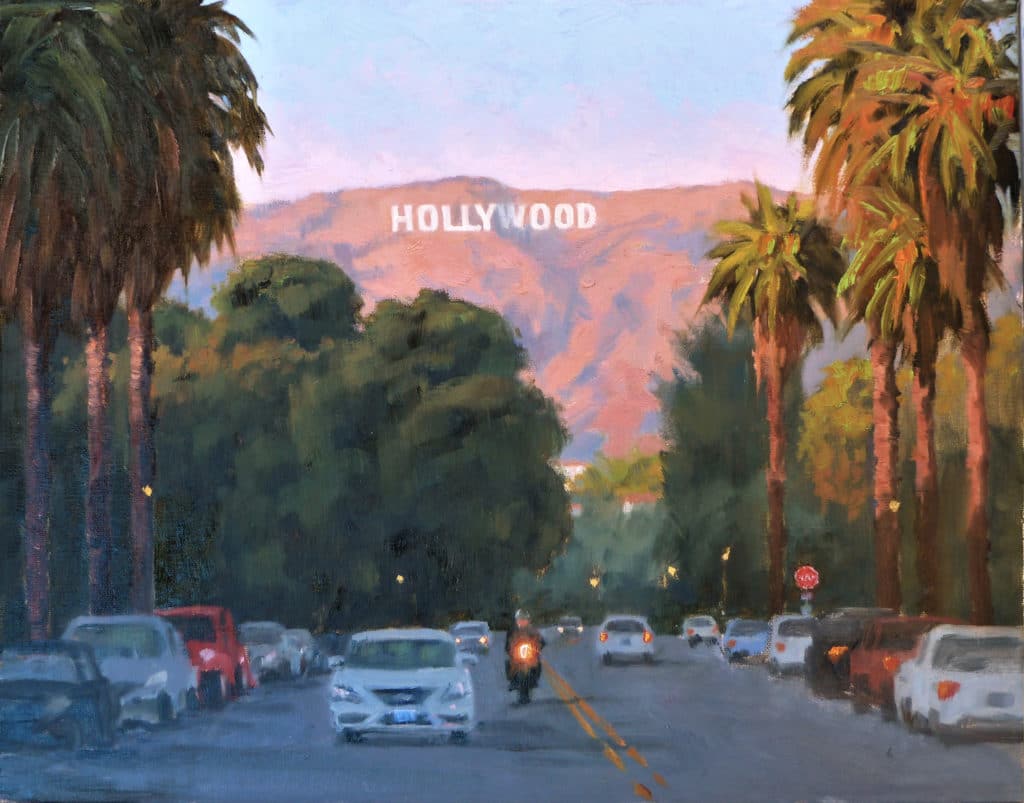
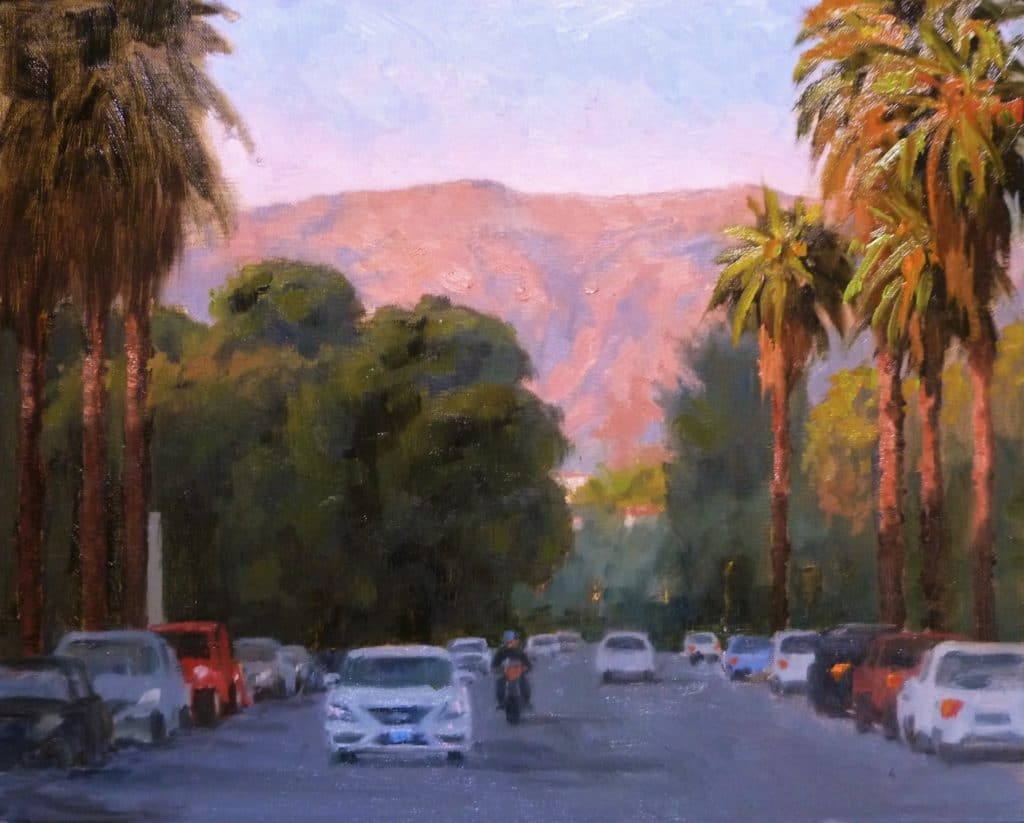
Step 6: Finally I add the street lights and a few more street signs for the final touches.
> Click here to subscribe to the free newsletter, Plein Air Today
> And click here to subscribe to PleinAir Magazine so you never miss an issue!


