
A step-by-step demonstration of how Jessica L. Bryant turns a plein air painting into a studio piece.
A signature member of the American Watercolor Society, National Watercolor Society, Northwest Watercolor Society, and Idaho Watercolor Society, Jessica L. Bryant is motivated by a lifelong love of landscapes and a keen interest in cultural histories. The following is her “Plein Air to Studio” step-by-step demonstration.
Step 1
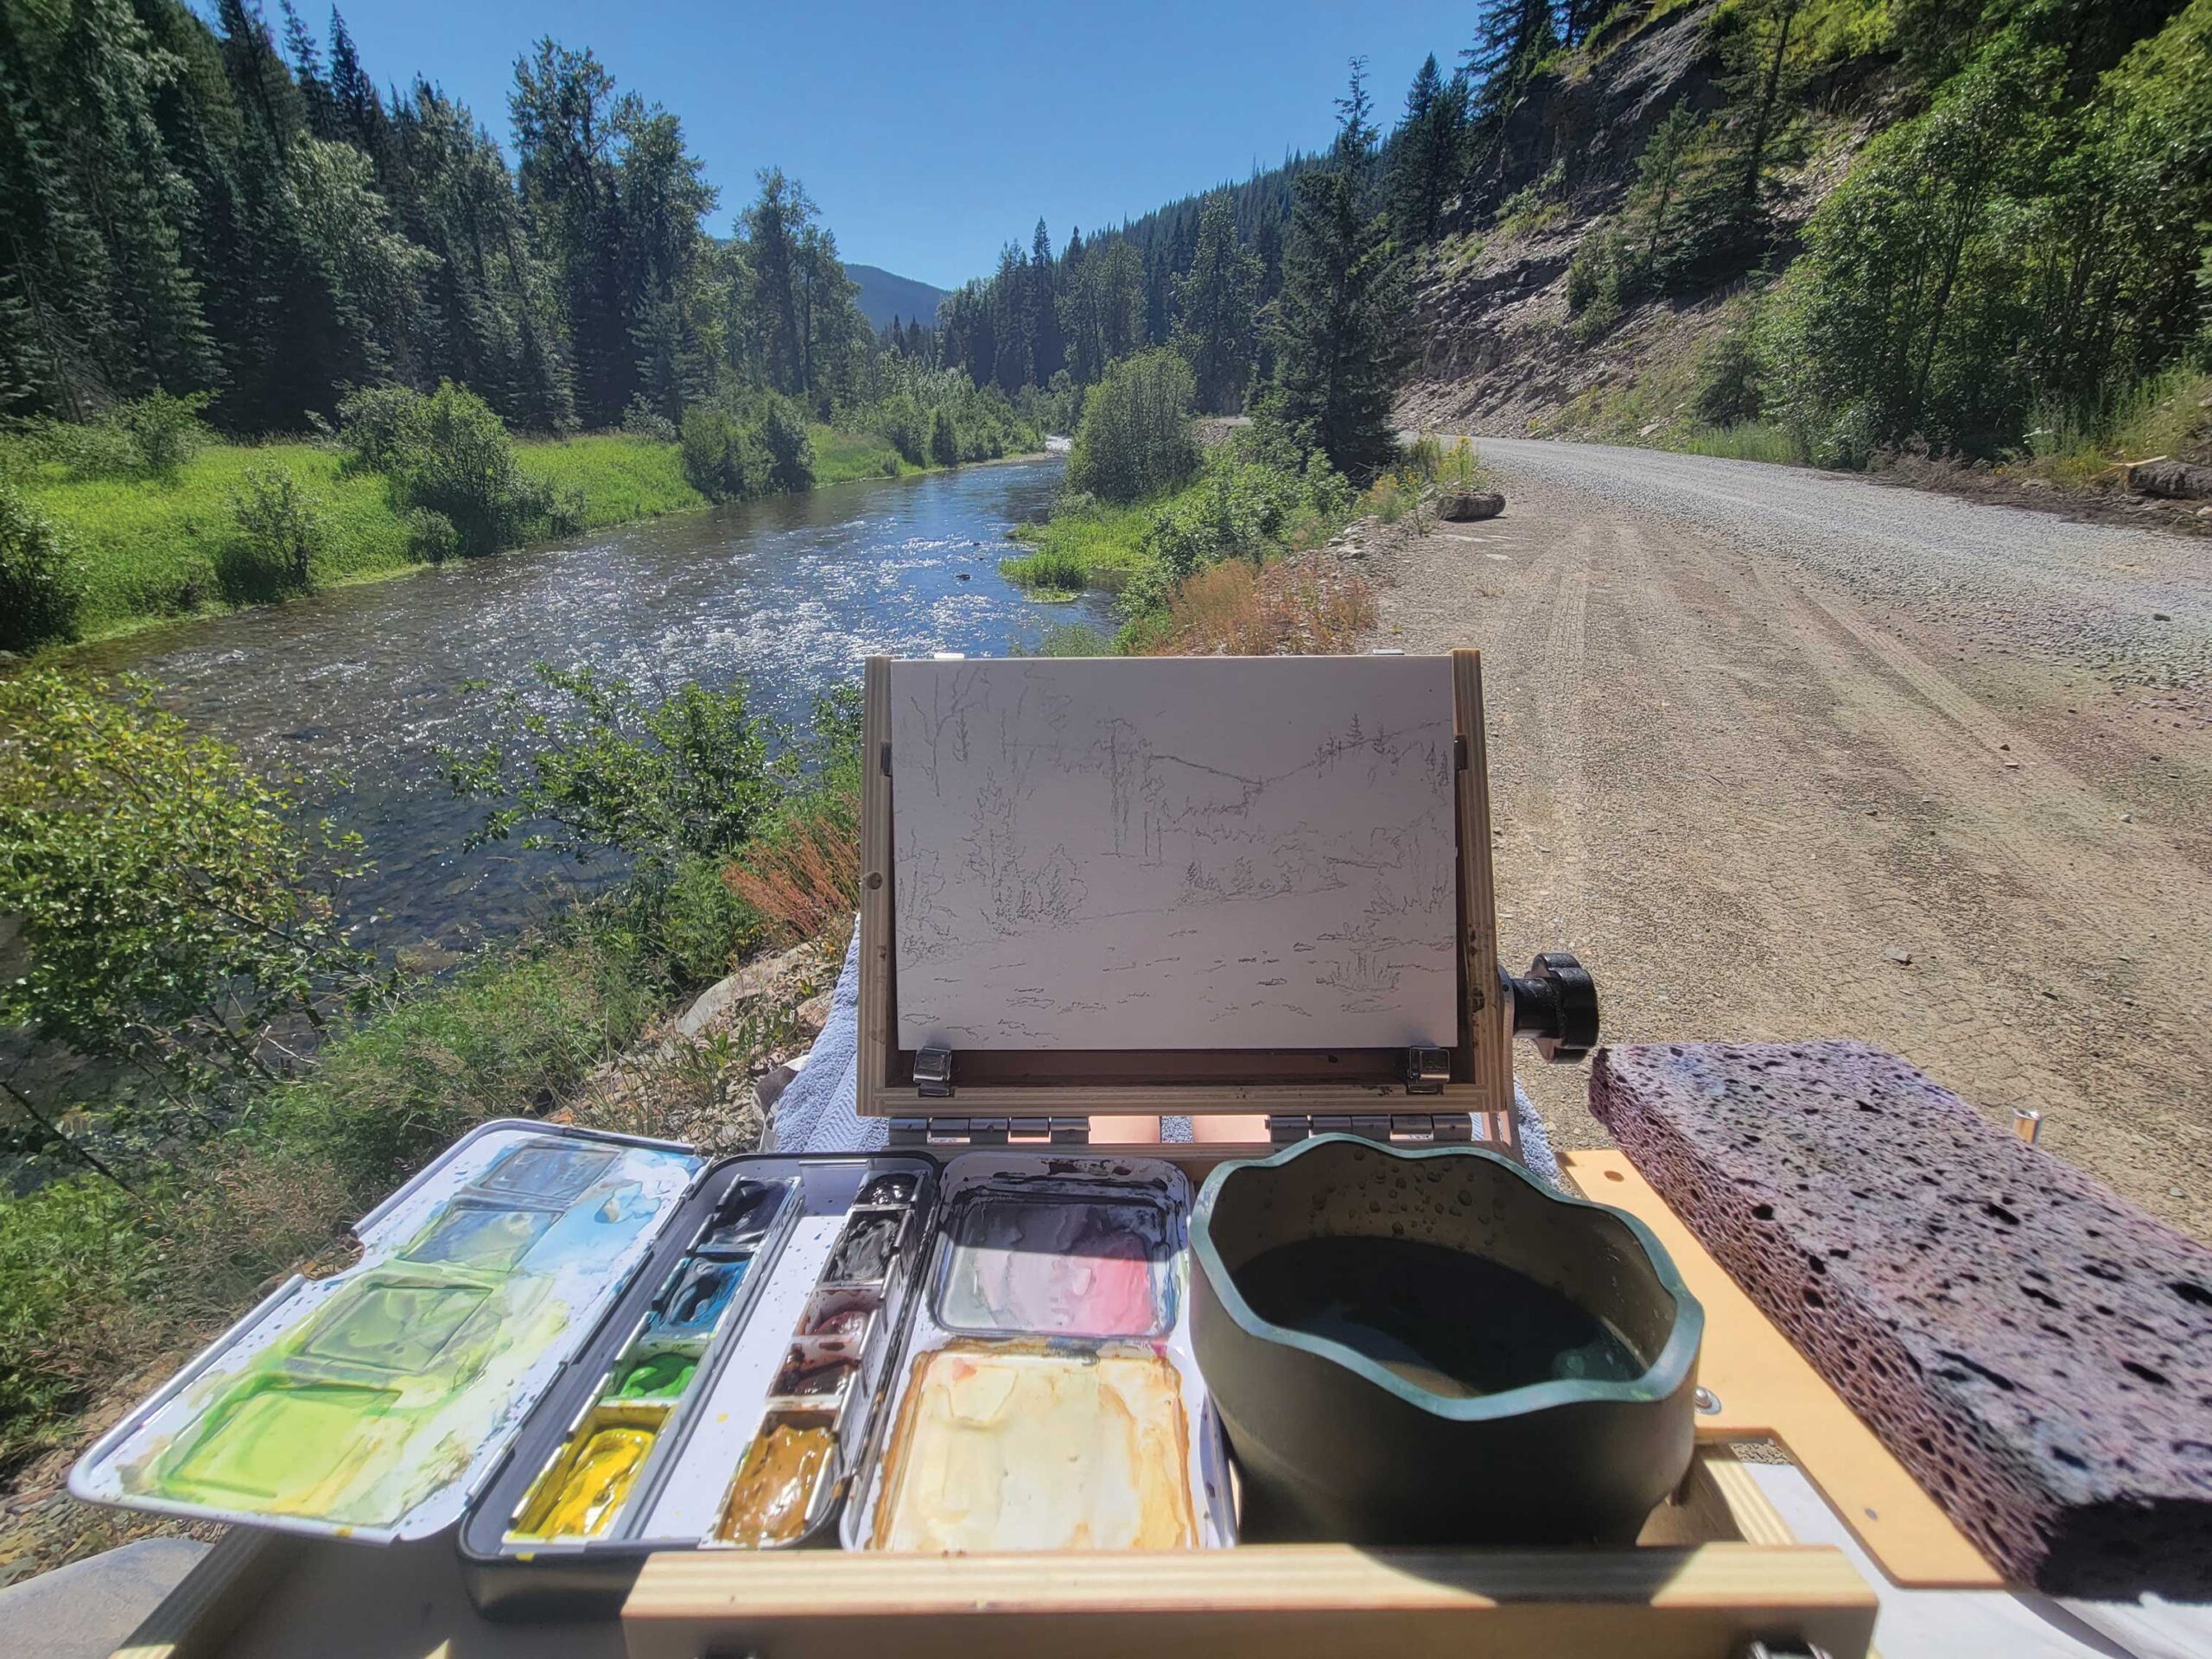
I take my time deciding what my field of view will be and what perspective I want. My most important consideration is paying attention to what made me choose the subject — what is the mood and sense of place that intrigued me. Then I craft a composition that will serve that intention.
I often don’t do a preliminary drawing, and instead use light values to block in the main shapes. I chose to do a drawing on this one because I felt that having a roadmap for the strong value changes would simplify the painting process.
Above, you can see my painting setup: a Guerrilla Painter Pocket Box, a limited palette, a collapsible water cup, a sponge, a small Fabriano watercolor block, and a couple of brushes — one flat (usually 1/2- to 3/4-inch) and one round (usually sizes 8 to 12). I can mount this to a tripod if I want to stand, set it on a table, or rest it in my lap. I love the flexibility of having a tiny, basic setup.
Step 2
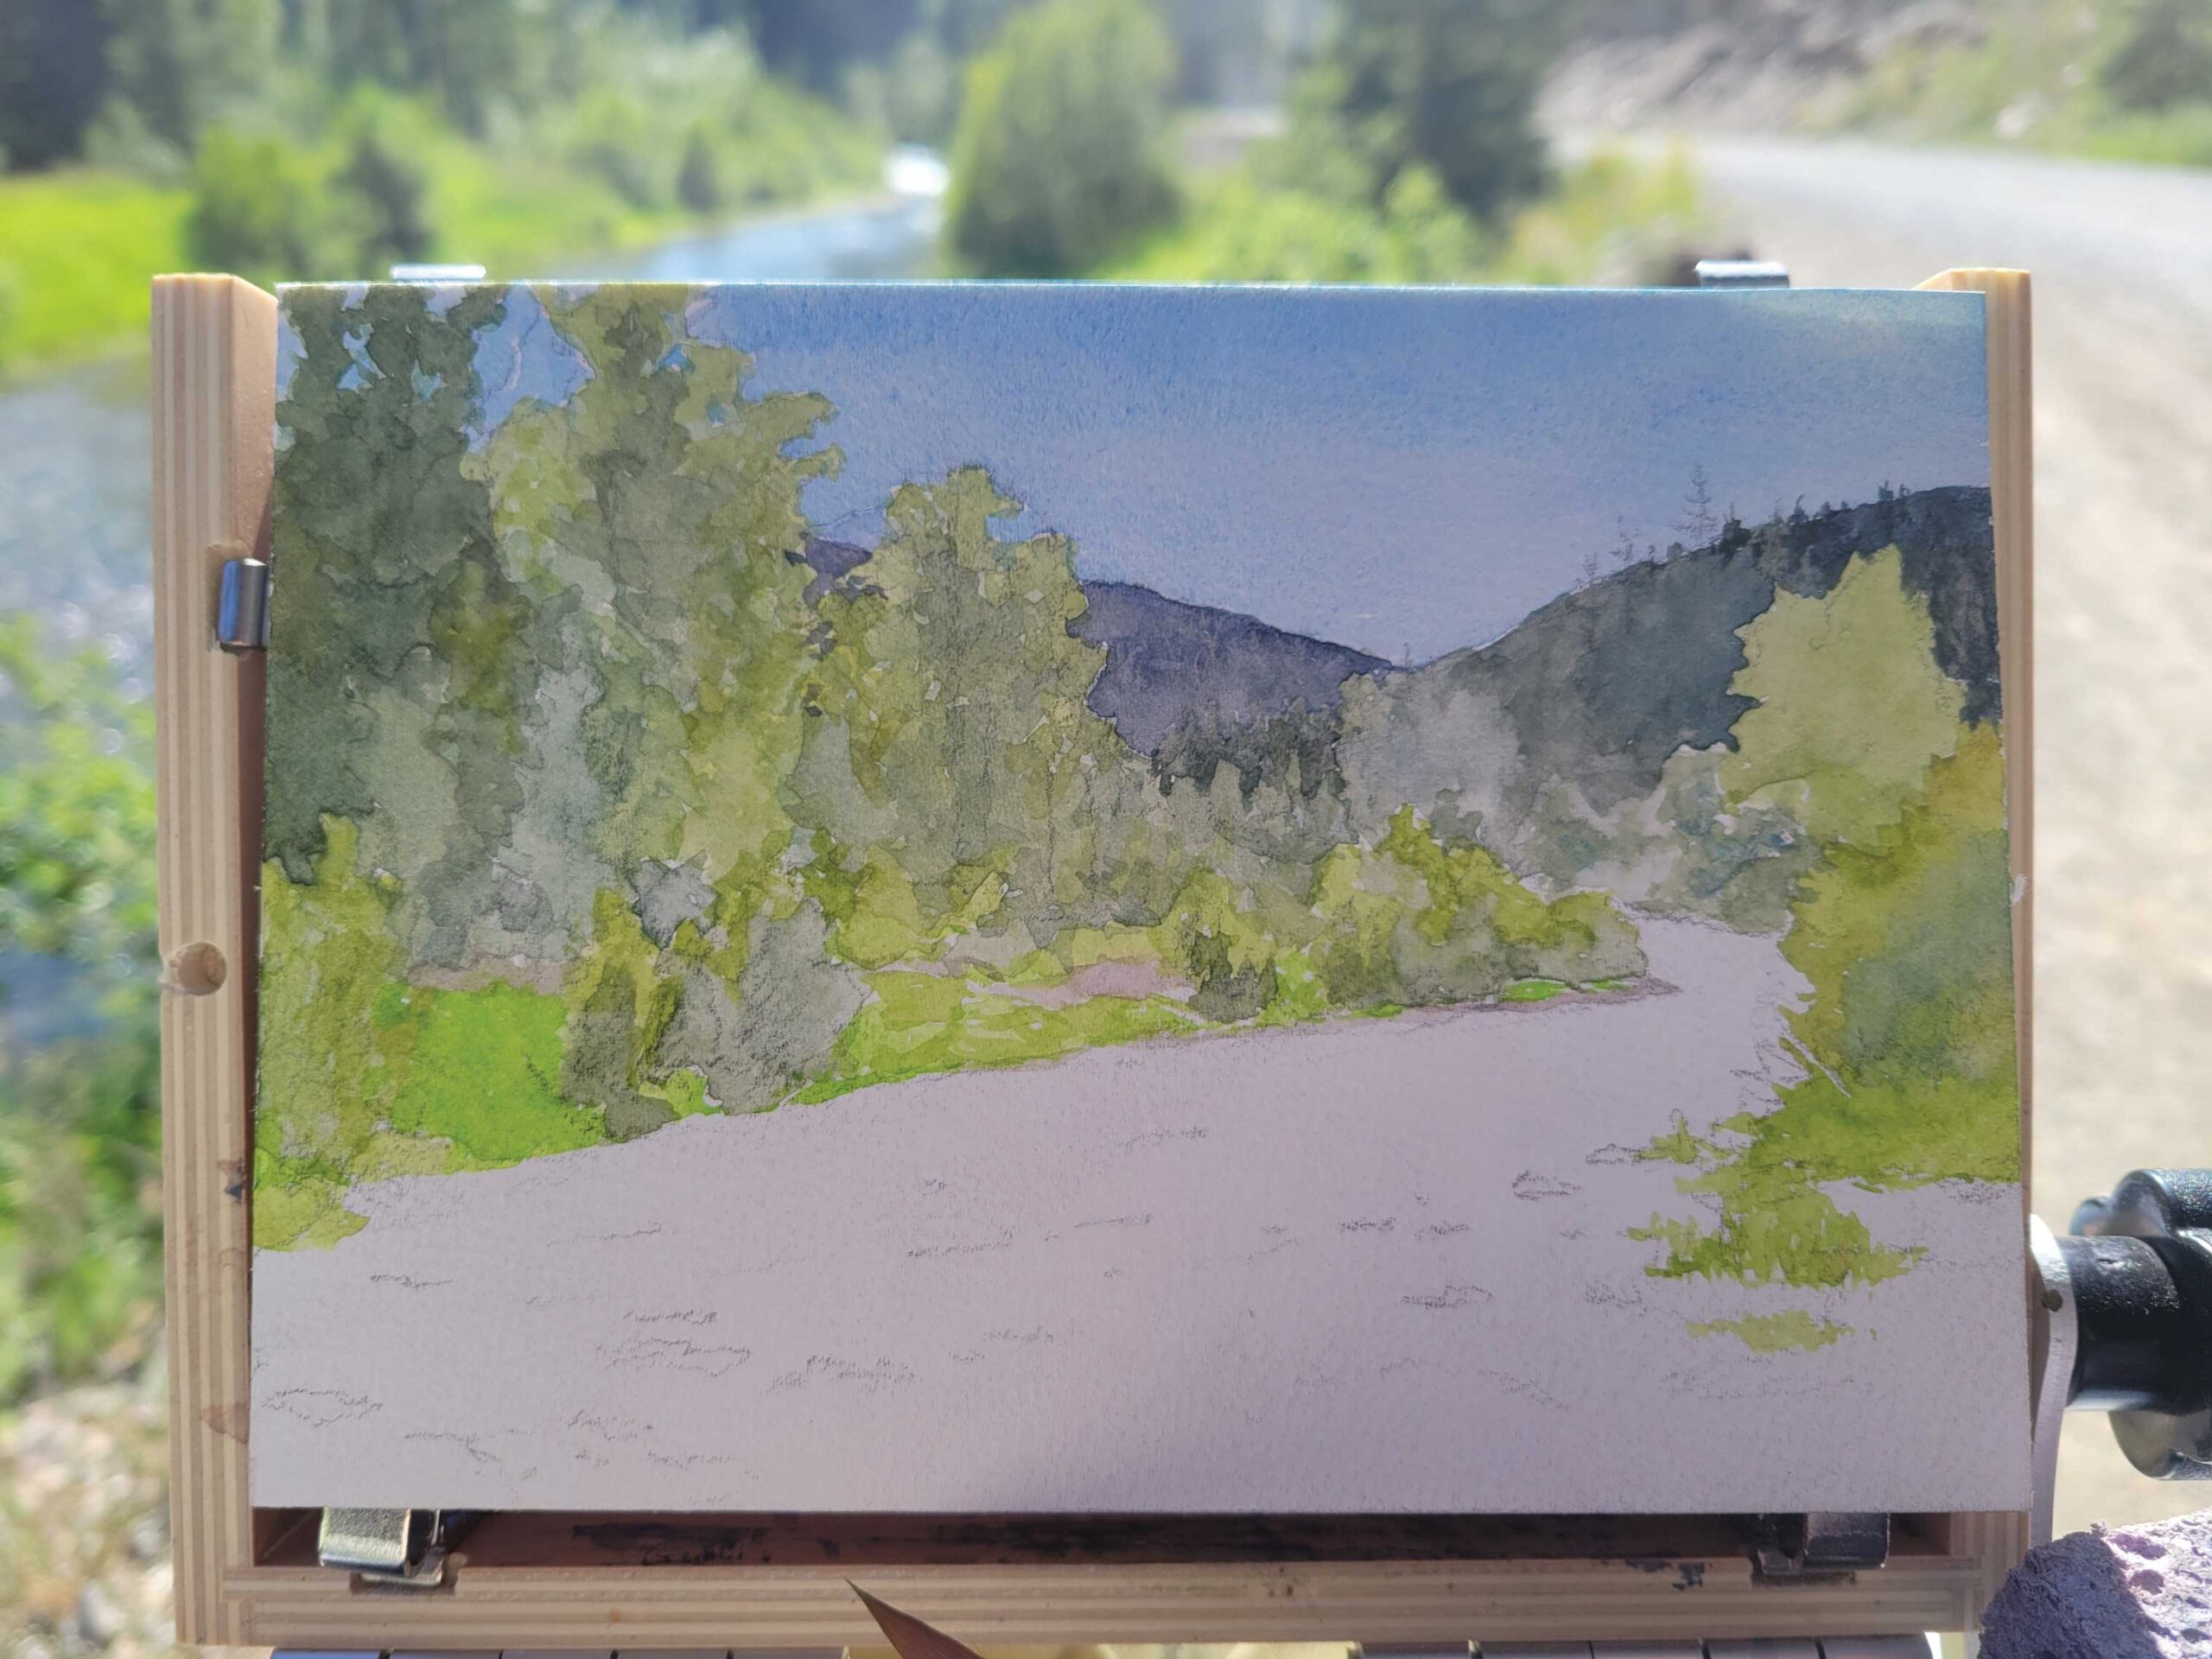
I started by washing in the sky, then developed the shapes and colors of the midground with light to medium values. I established the location for darker values but left room for the darkest darks so I could choose to adjust my composition as the painting came together.
Step 3
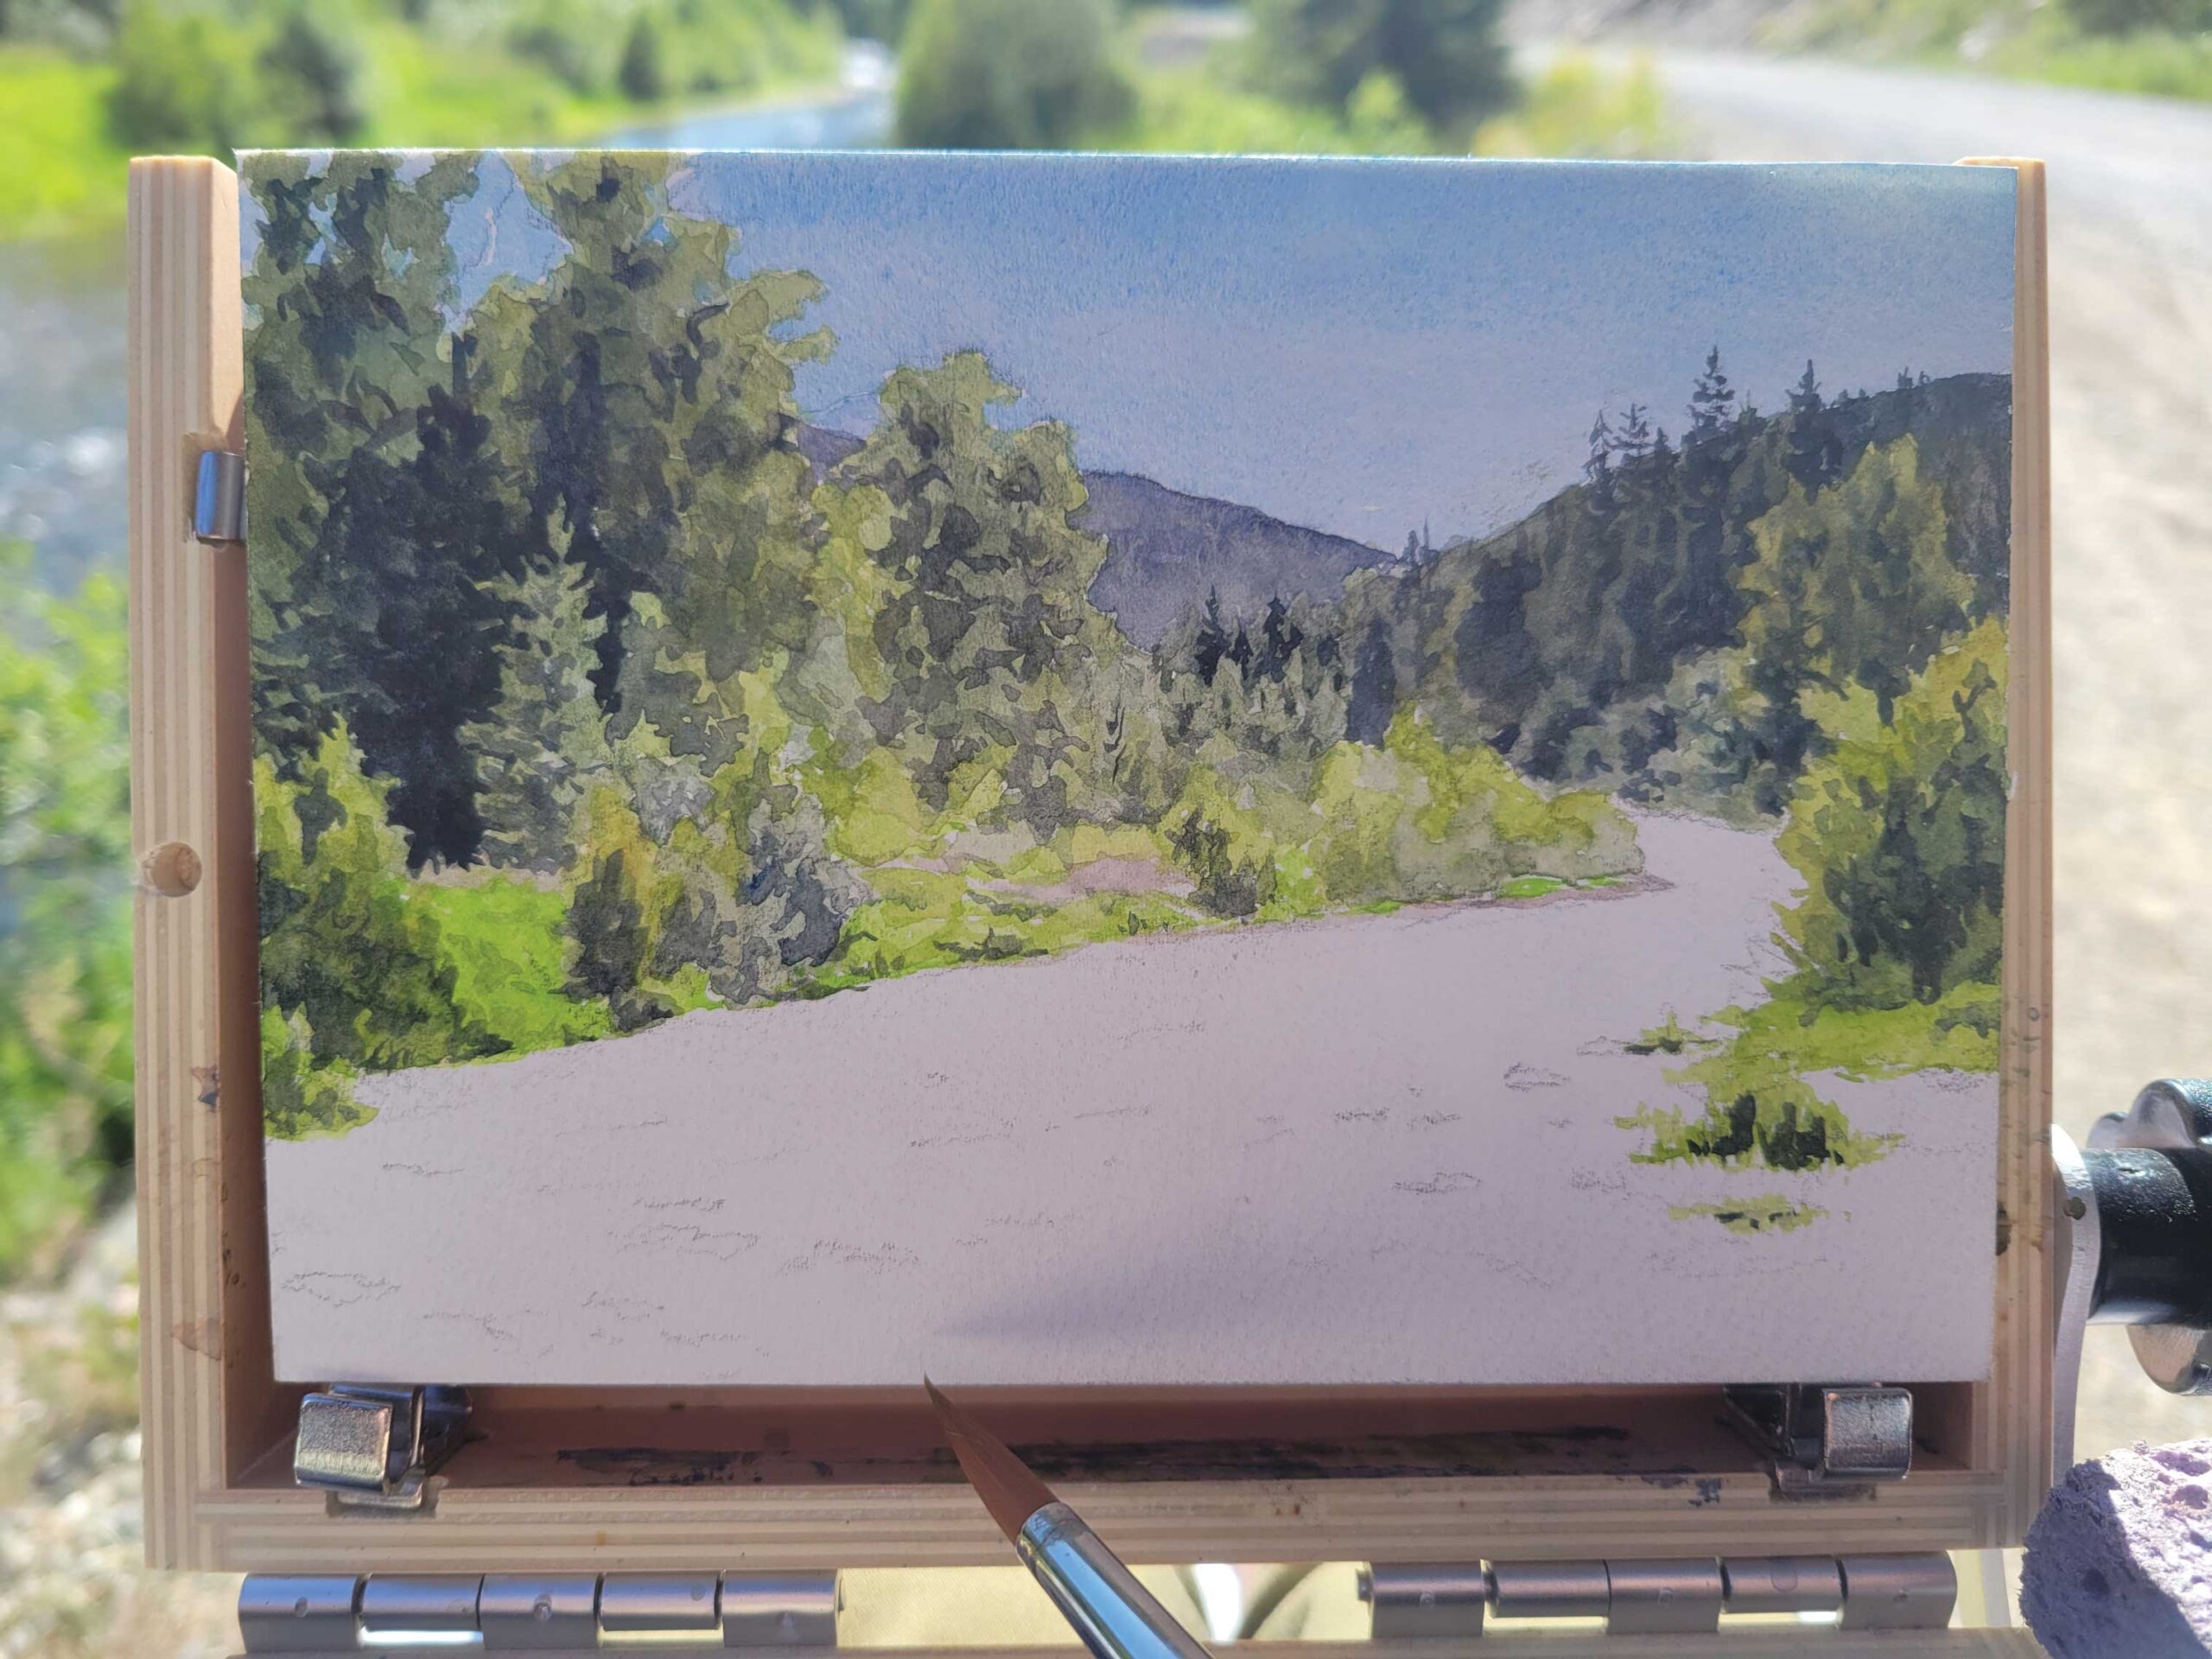
The darkest values typically come at the end, but for this subject, I chose to develop them before starting the water to help ensure that I kept the relative values in the water where I wanted them.
It was mid-afternoon on a hot, dry day, and there were strong reflections on the water. I decided I wanted to maintain the sense of brightness, even though I could see a lot of deep values in the shallow water closer to me. I wanted a clear sense of the range I intended to work with.
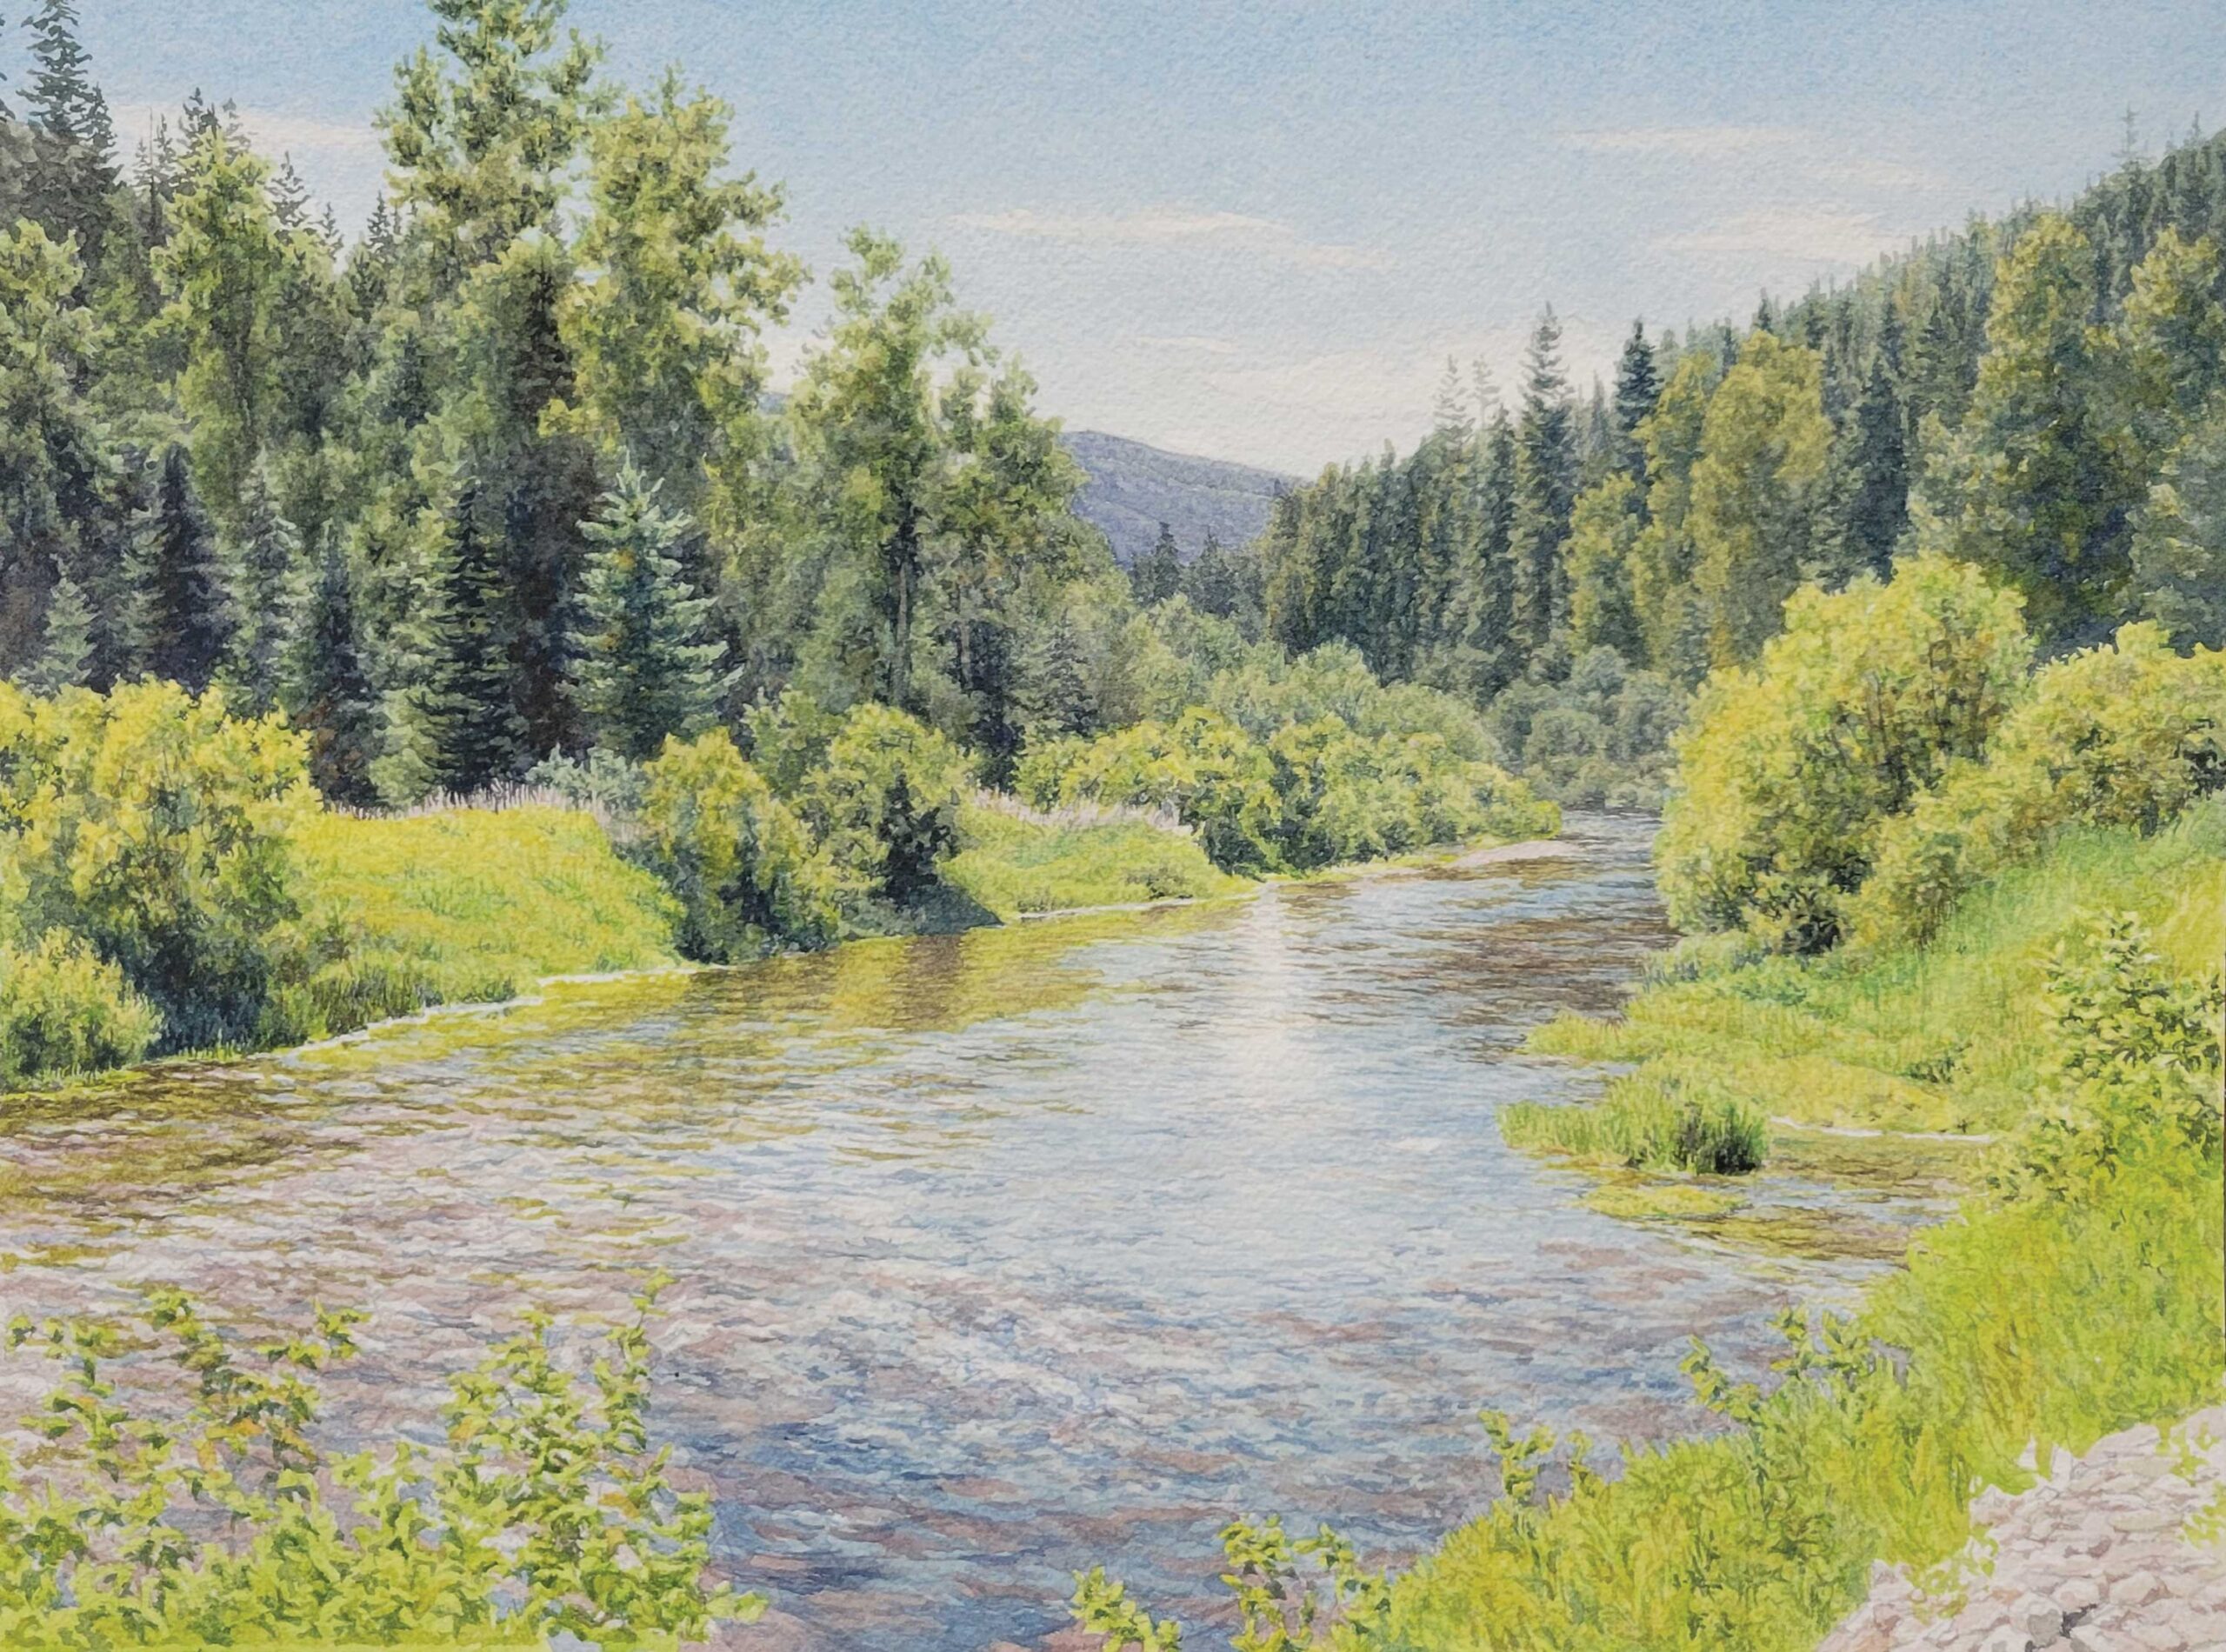
Step 4
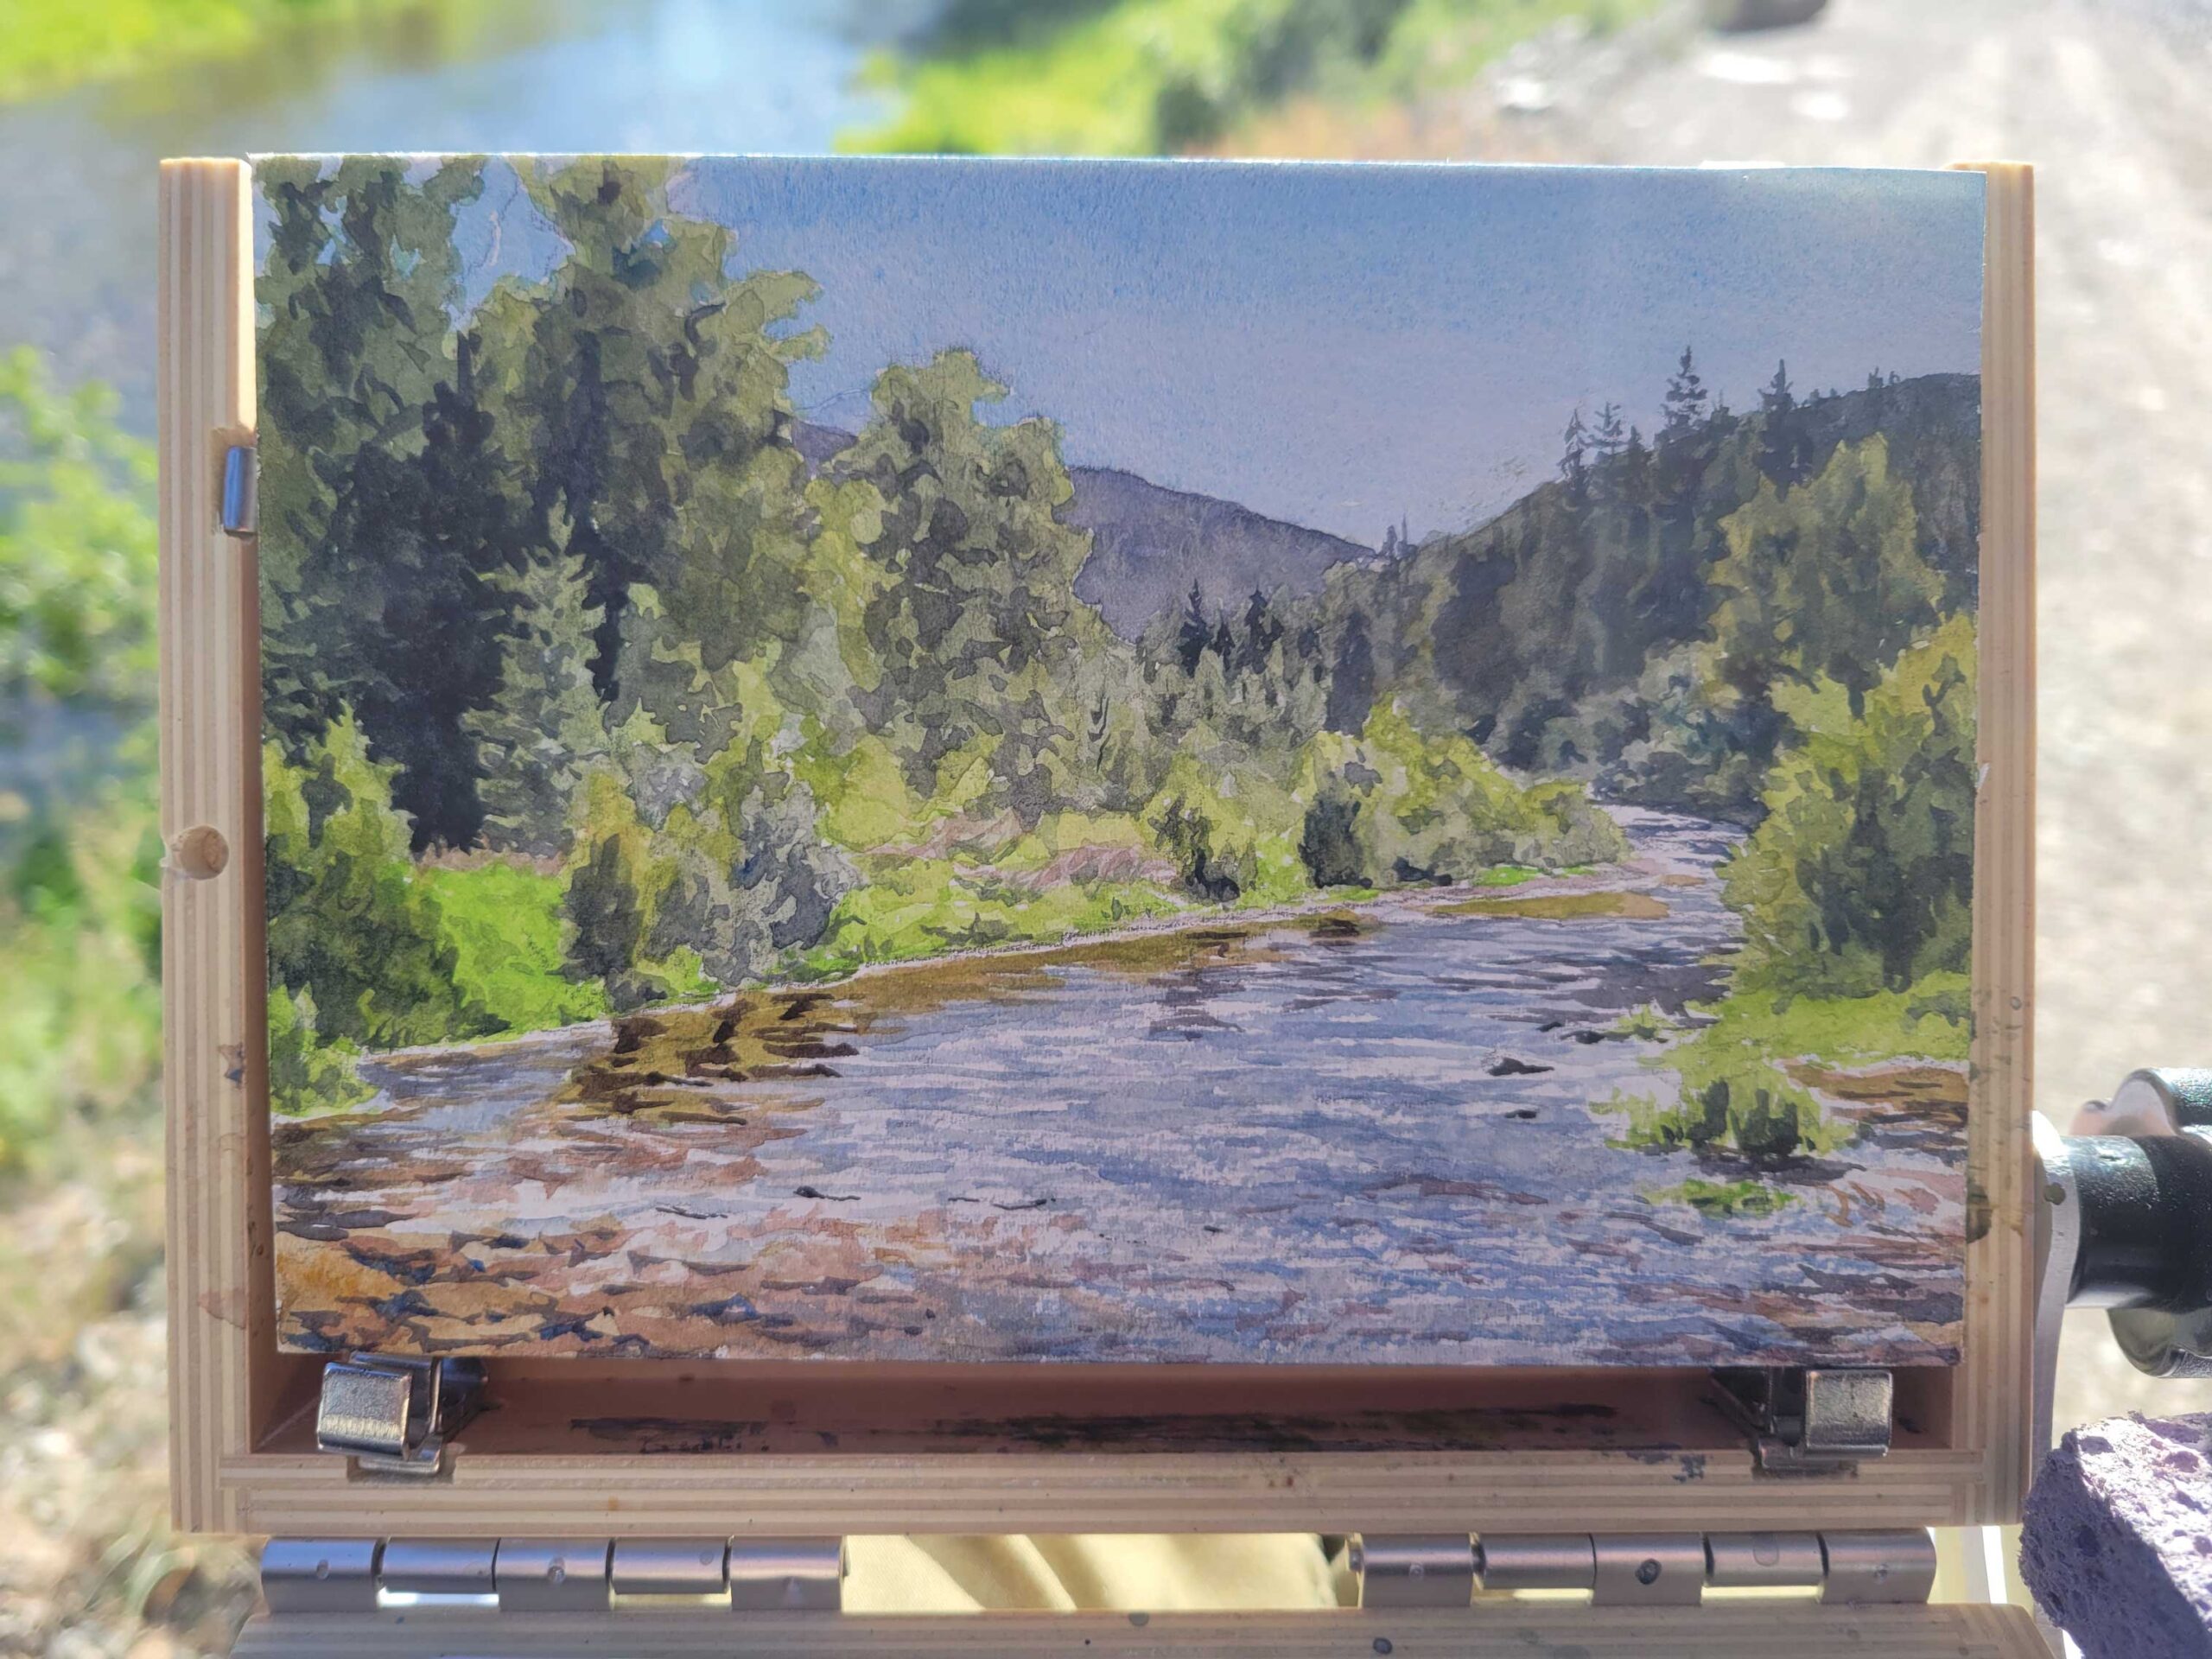
Last was the water. My focus was on preparing for a studio painting, so I wanted to capture my sense of the experience, record some basics, and take the time to discover and memorize the nuances happening.
Plein air painting does not afford the time to dive deep into a subject the same way my studio work does. For me, it’s an intense interaction with my environment that adds an extra layer of knowledge and emotion to feed my studio work.
Step 5
Back in my studio a few days later, I continued working on this subject. I decided I wanted to add the foreground flora for a greater sense of depth and to connect the greens of the mid-ground. I also extended the frame a little and shifted the perspective just a touch to get the sense of the creek that I wanted.
My approach largely mimicked what I did on location, starting by blocking in the forms and values of the back- and midground, using some darker values to help keep track of where I was going.
I really took my time on the water. The nature of watercolor offers some challenges for the way I like to paint, so it can be a slower process. I very rarely use any opaque paint (there is none here), and it’s also rare for me to utilize masking.
I pulled in a few dabs of masking fluid to block in the location of a few highlights and make it easier to keep track of them. Masking fluid can be a headache because of the crisp, rounded edges you tend to get. If that’s not the shape you want, it takes patience and a fine-tipped brush to reshape those edges without losing the tiny highlights.
In this painting, there are already some very small nuances in the water, so it didn’t add much extra work.
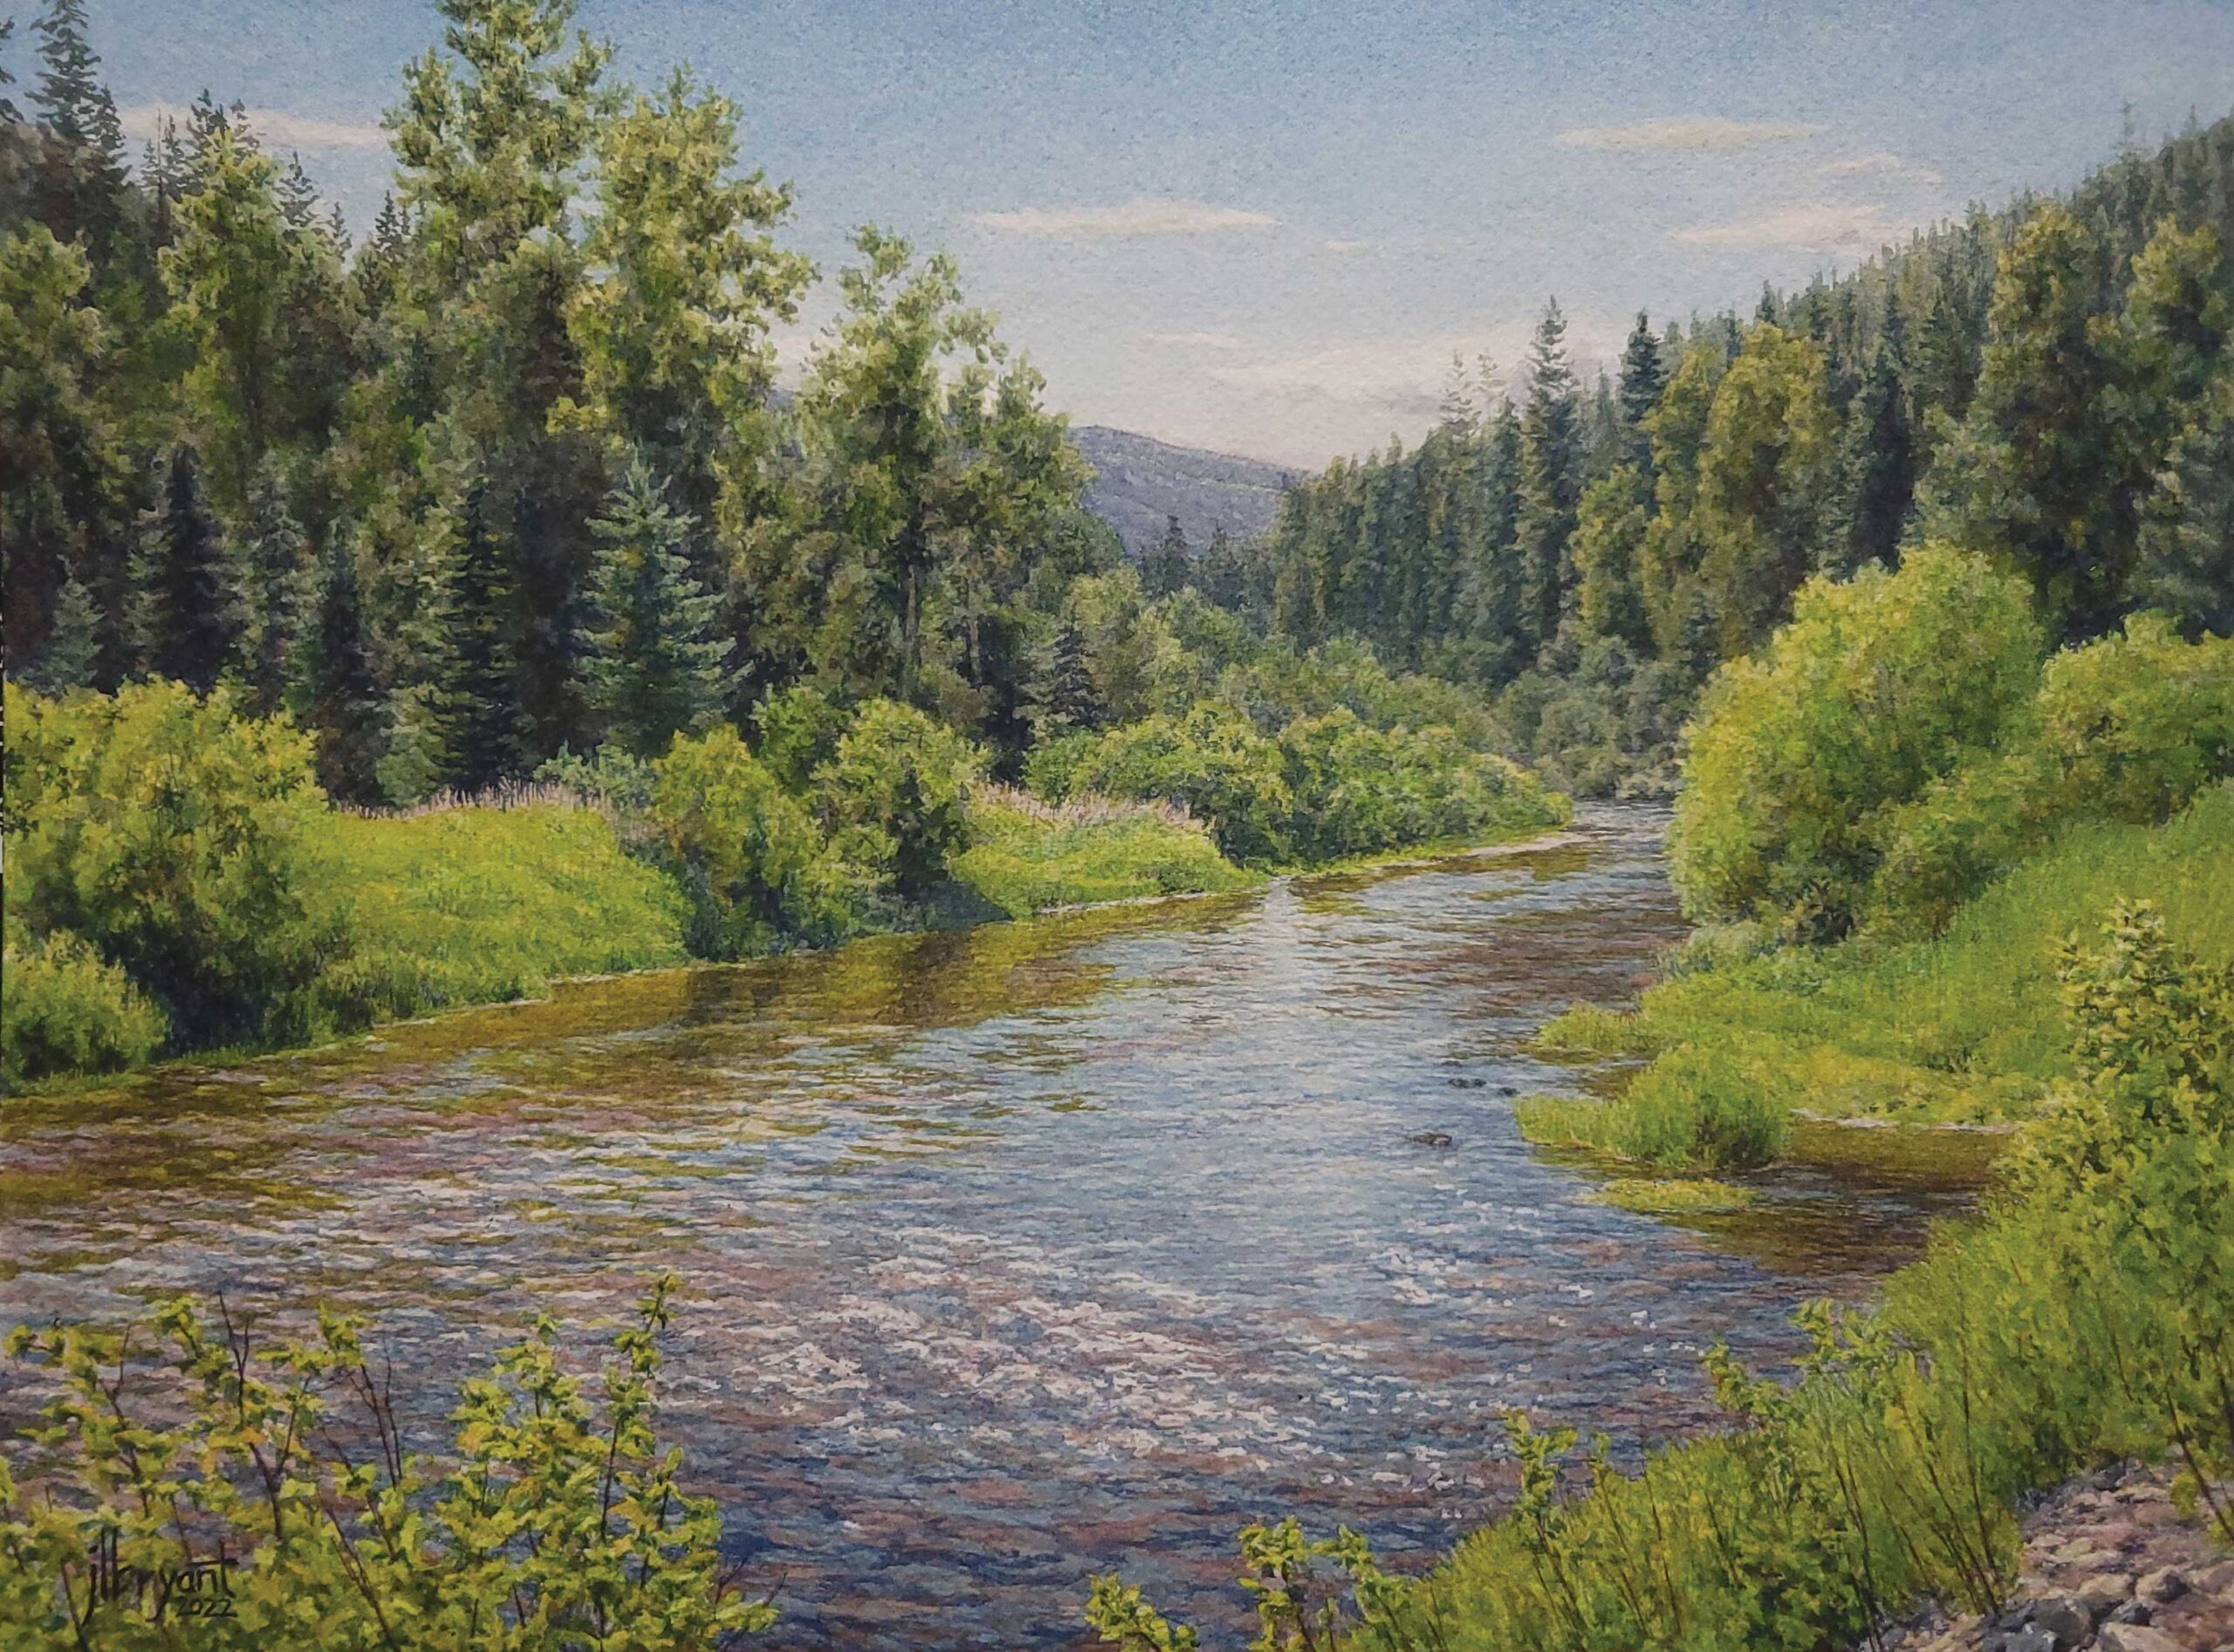
As I built the darkest values, my focus was on the composition of “Teepee Creek.” Of course, that was my main consideration in choosing my subject in the first place, but after the middle values were in, I watched for opportunities to see if I was going to hold to my plan or make a change. Sometimes a new possibility emerges that feels even more true to the experience of the subject, and I’ll follow that.
Connect with Jessica L. Bryant online.
Looking for MORE ways to improve your painting skills?
Don’t miss your opportunity to create lifetime memories at the Plein Air Convention & Expo! All training sessions are indoors on giant, high-def screens, with incredible paint-outs in the afternoons. Beginners and pros feel right at home, so register at PleinAirConvention.com to join us.
Browse more free articles here at OutdoorPainter.com
Blog post prepared for the web by Cherie Dawn Haas, Editor of Plein Air Today


