
Follow along and see how Nancy Macdonald begins with a pen-and-ink sketch and color study to create a plein air painting of two figures in the Ecuador landscape.
Creating Harmony in a Plein Air Painting
by Nancy Macdonald
On site, I make a number of sketches and color studies, which I use as reference for larger paintings in my studio. I try to capture the harmony in the scene as well as the feeling or element that drew me to it.
Whilst in Ecuador, I saw women wearing striking vibrant skirts and shawls everywhere I went, particularly in rural areas. They would often have their babies strapped to their backs, even when they were working the fields. They made such a strong impression on me, especially with the magnificent mountains as their backdrop.
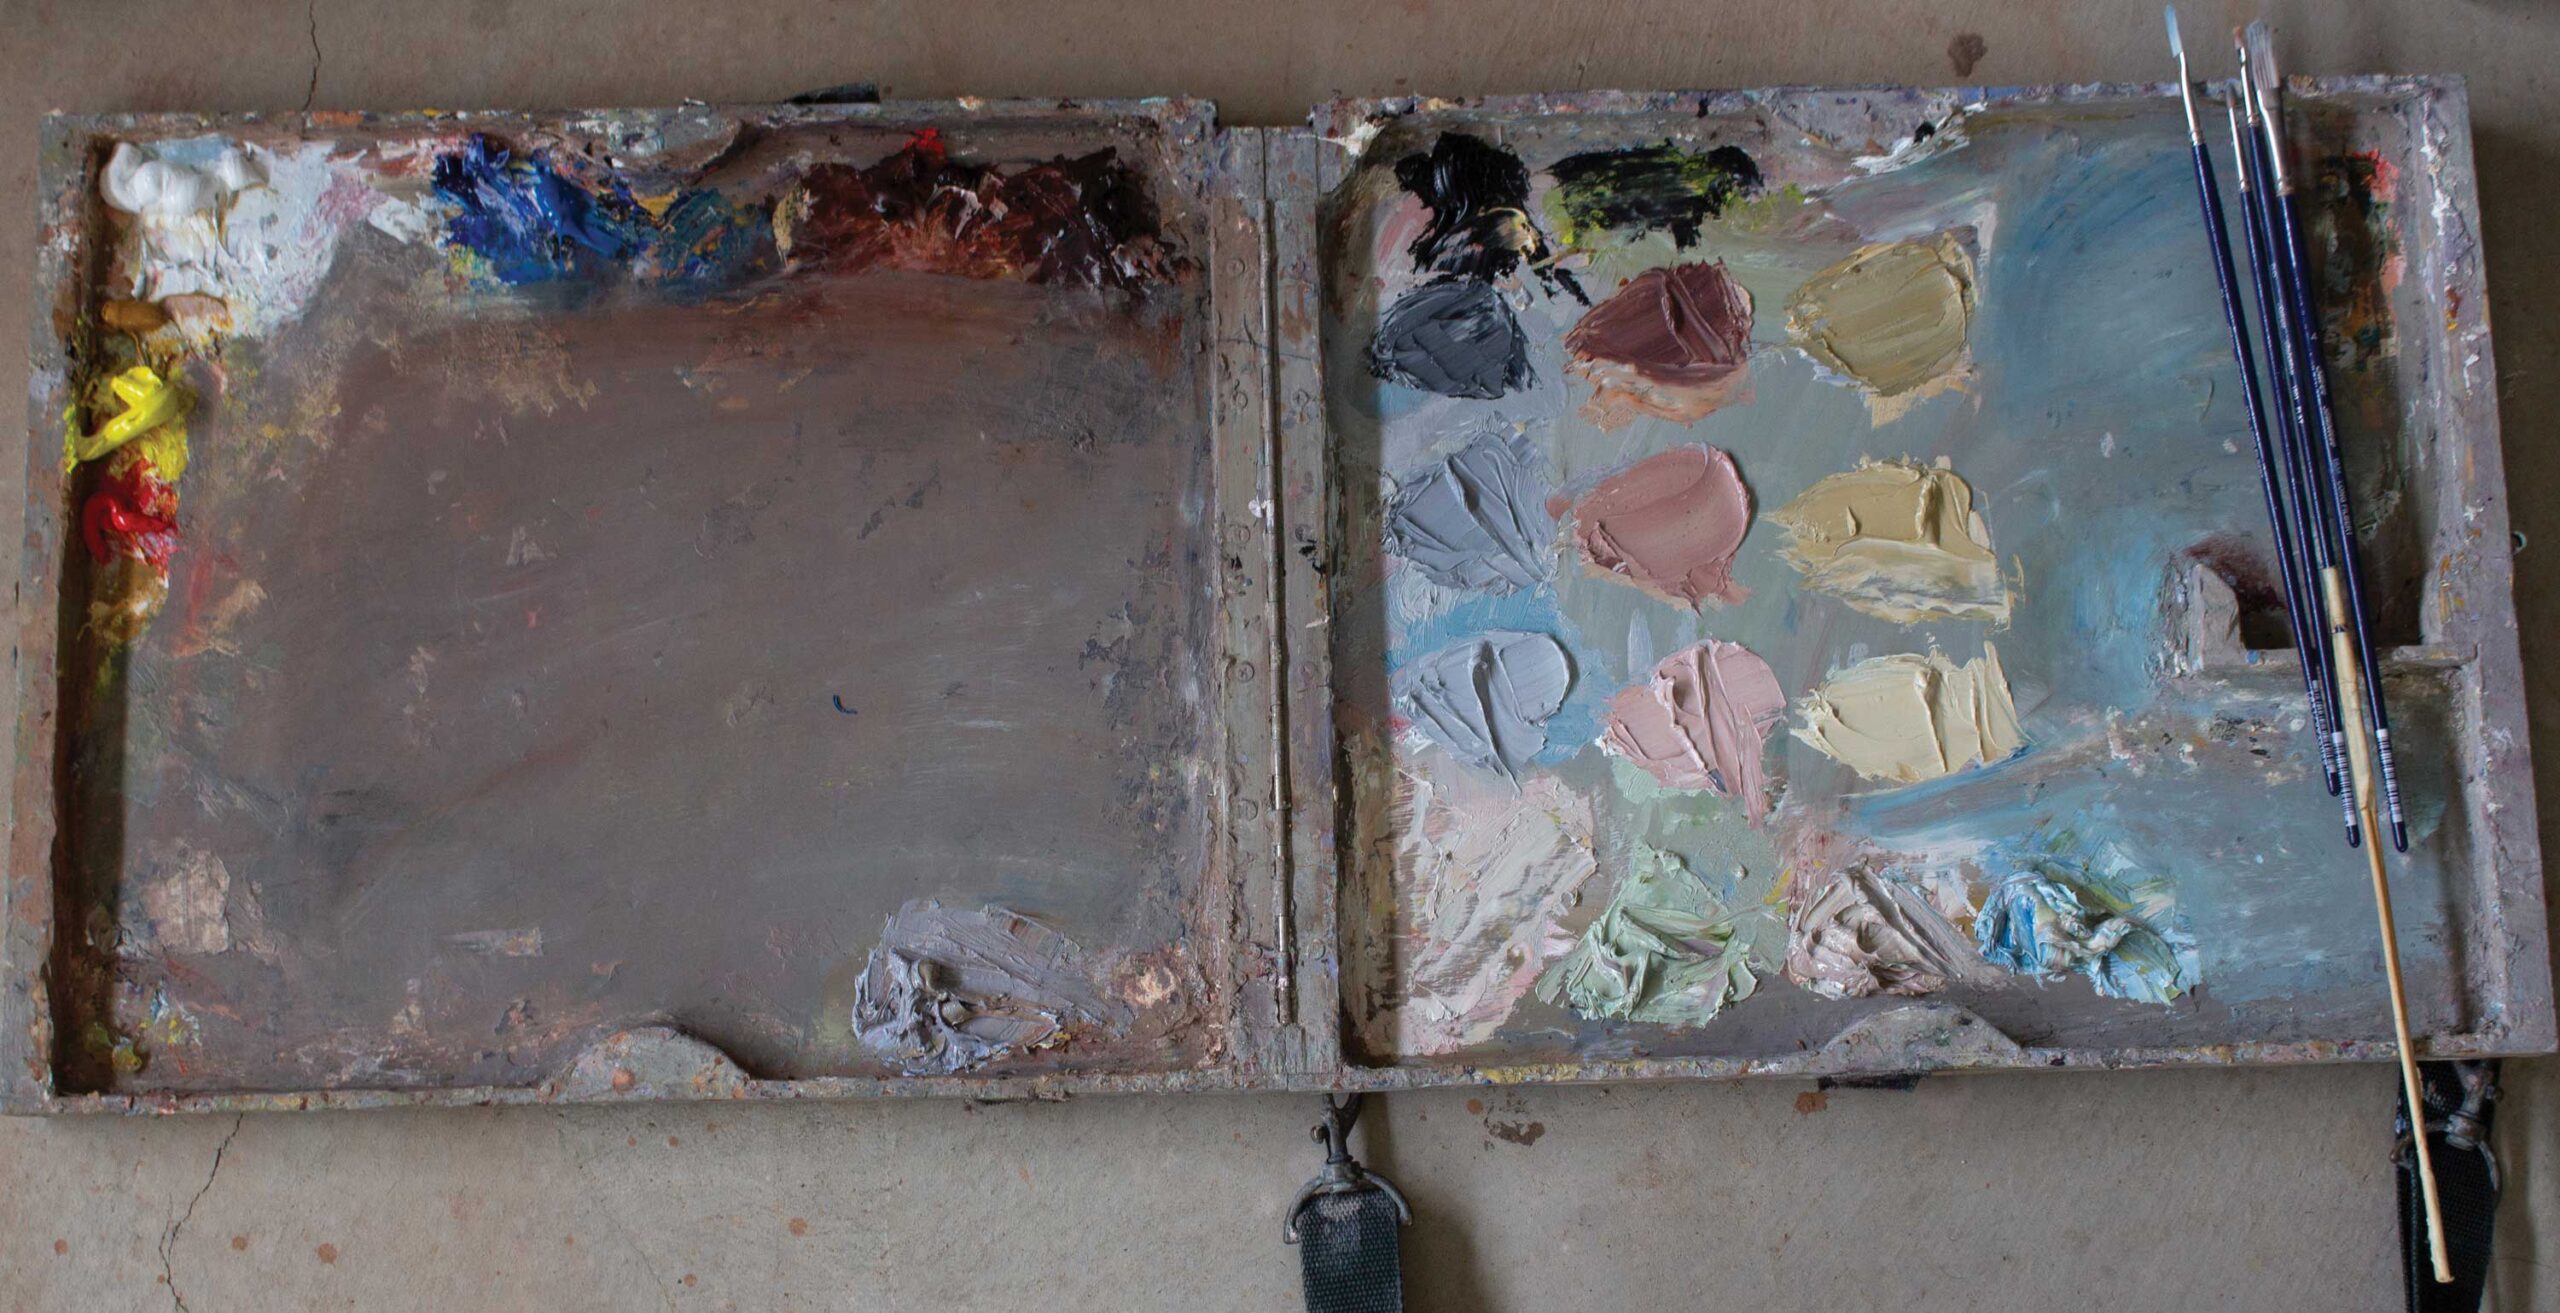
My Palette
When I paint locally and in my studio, I use a palette box made by my husband. It’s lightweight and contains two large mixing areas of 14 x 18 inches. I typically set it up as shown, with piles of gray on the right side followed by cooler and warmer versions next to each.
My Toolkit
Support: Gessoed board or linen glued to a board
Paint: Gamblin — alizarin crimson, ultramarine blue, manganese blue, yellow ochre, lemon yellow, black, titanium white; Winsor & Newton — scarlet lake, transparent maroon
Brushes: Small Bristlon and Rosemary & Co Eclipse brushes
Palette: Large handmade fold-out palette
Misc.: Alla Prima pochade box; Mefoto tripod
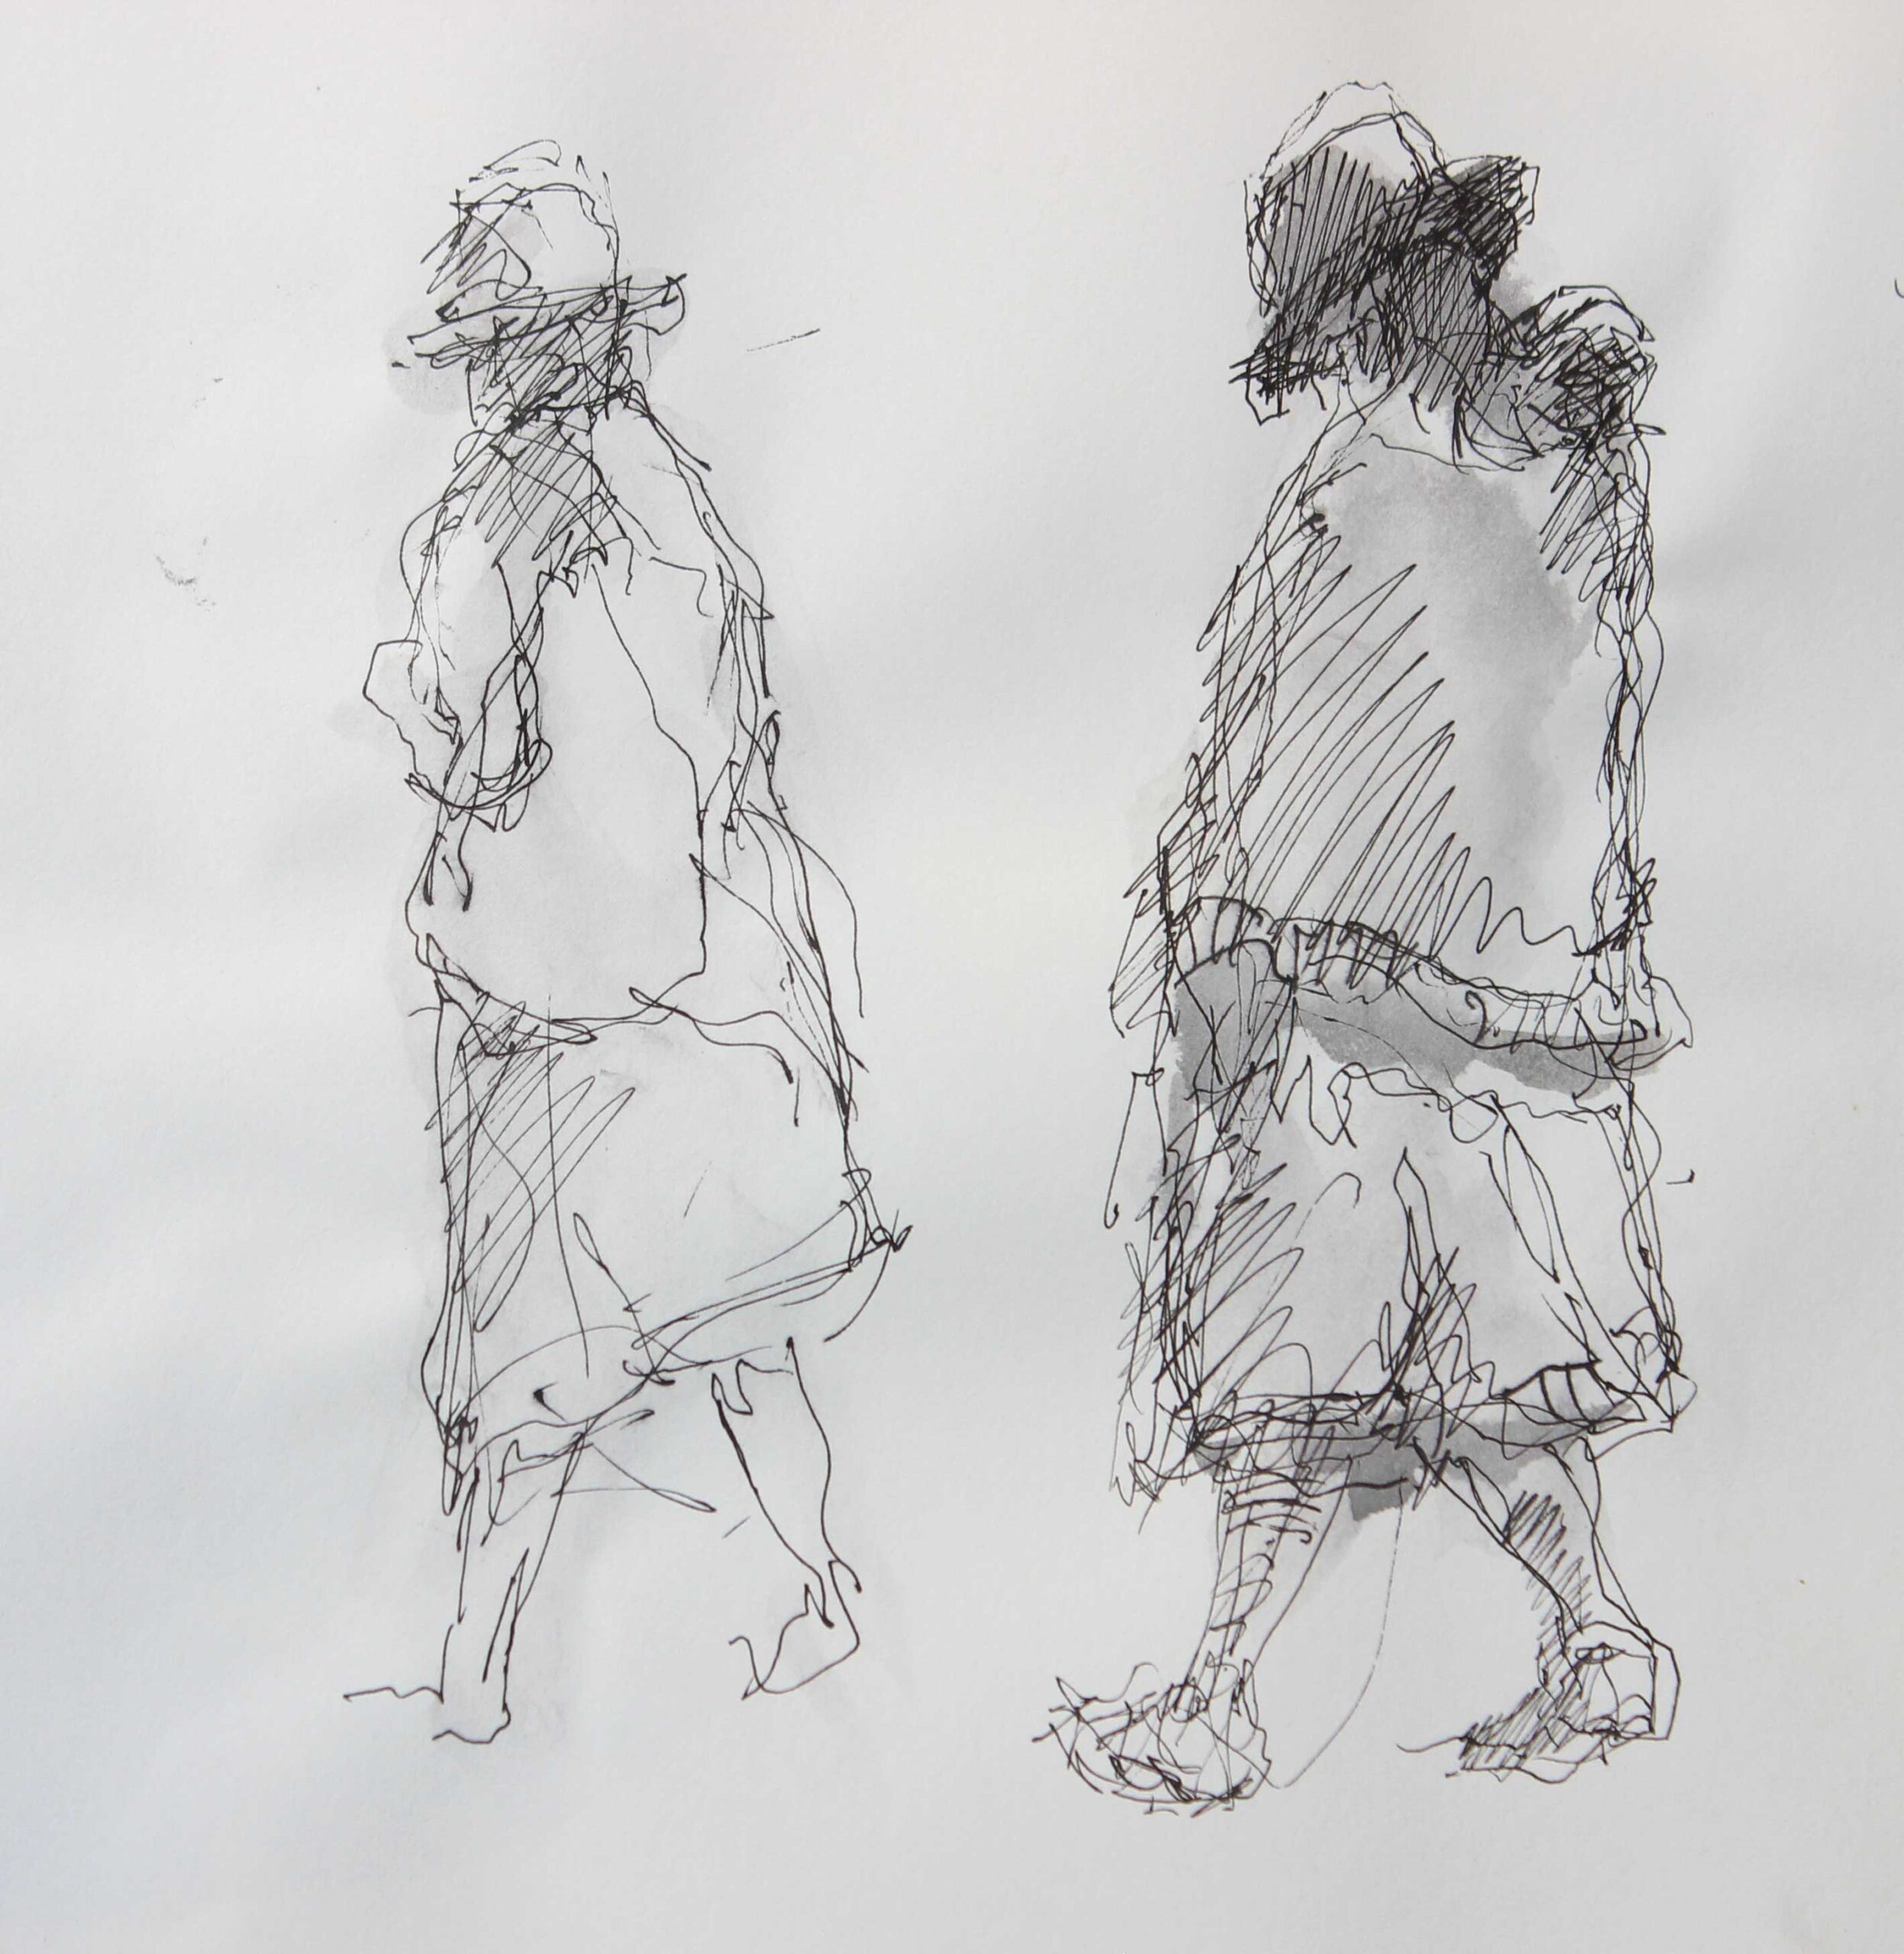
Pen-and-Ink Sketches
I work quickly on location to capture the gestures of the figures before they move.
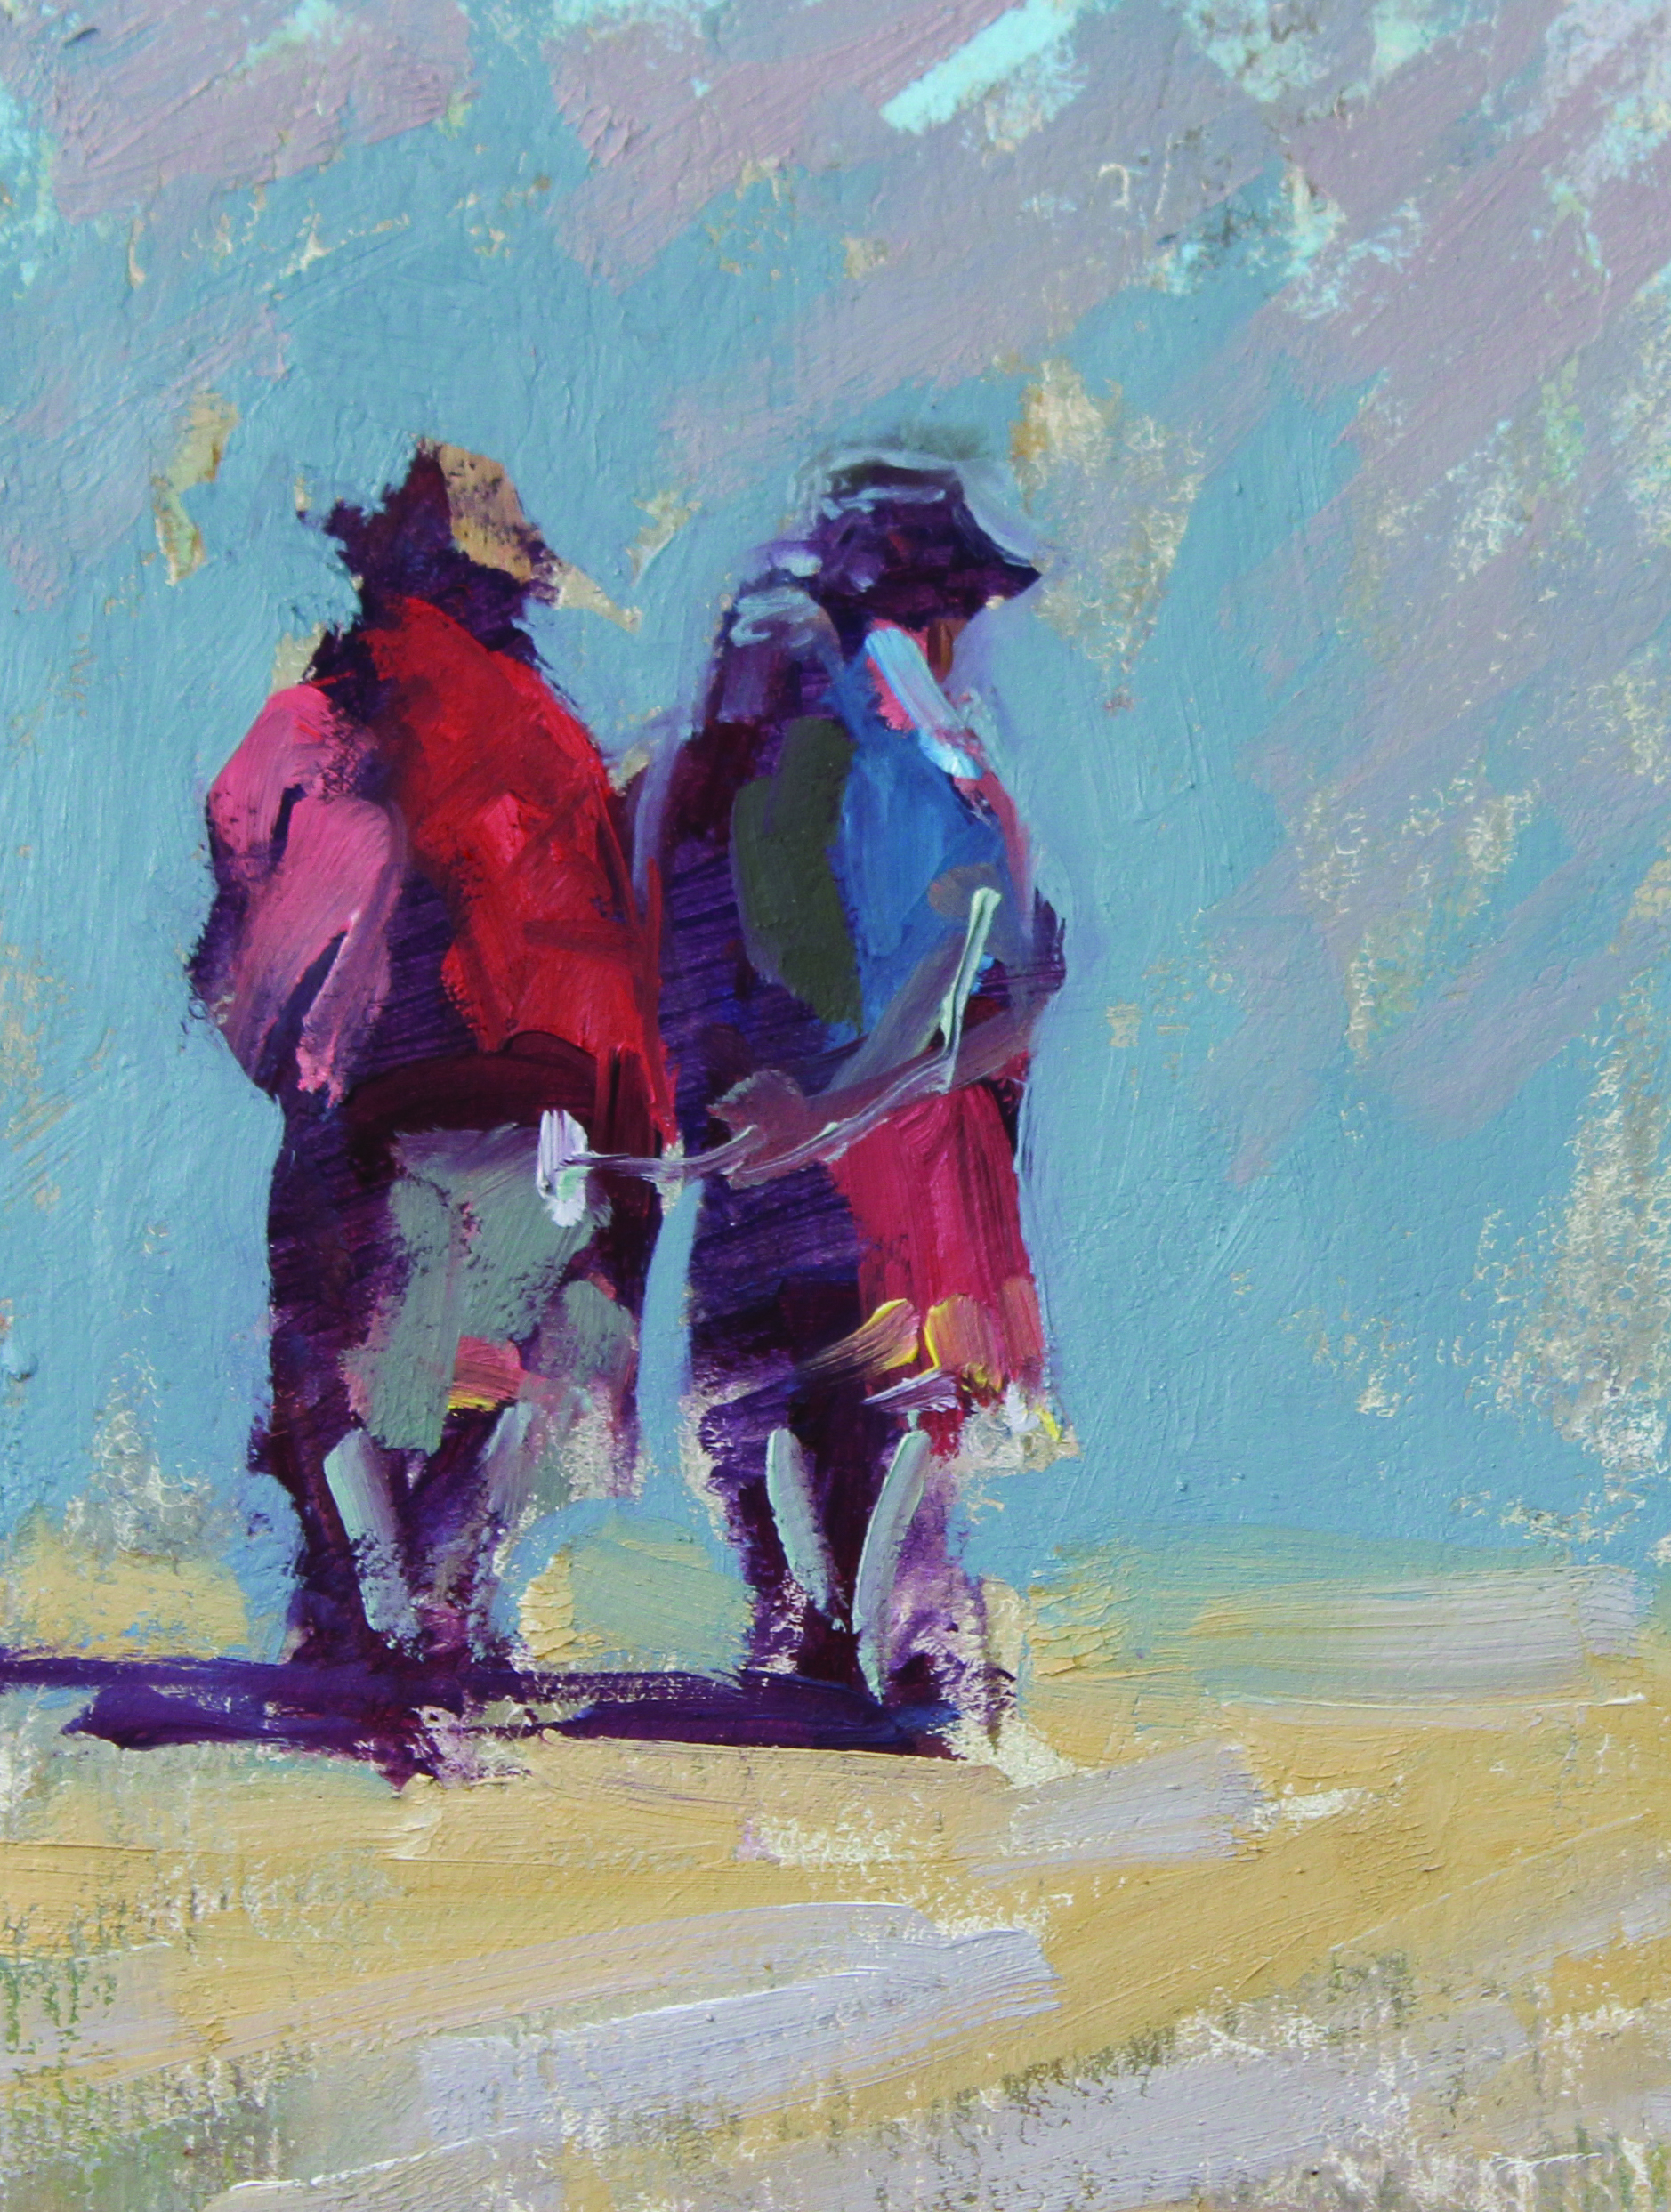
Plein Air Color Studies
I also make a series of 30-minute, 6 x 8-inch color studies in oil.
***
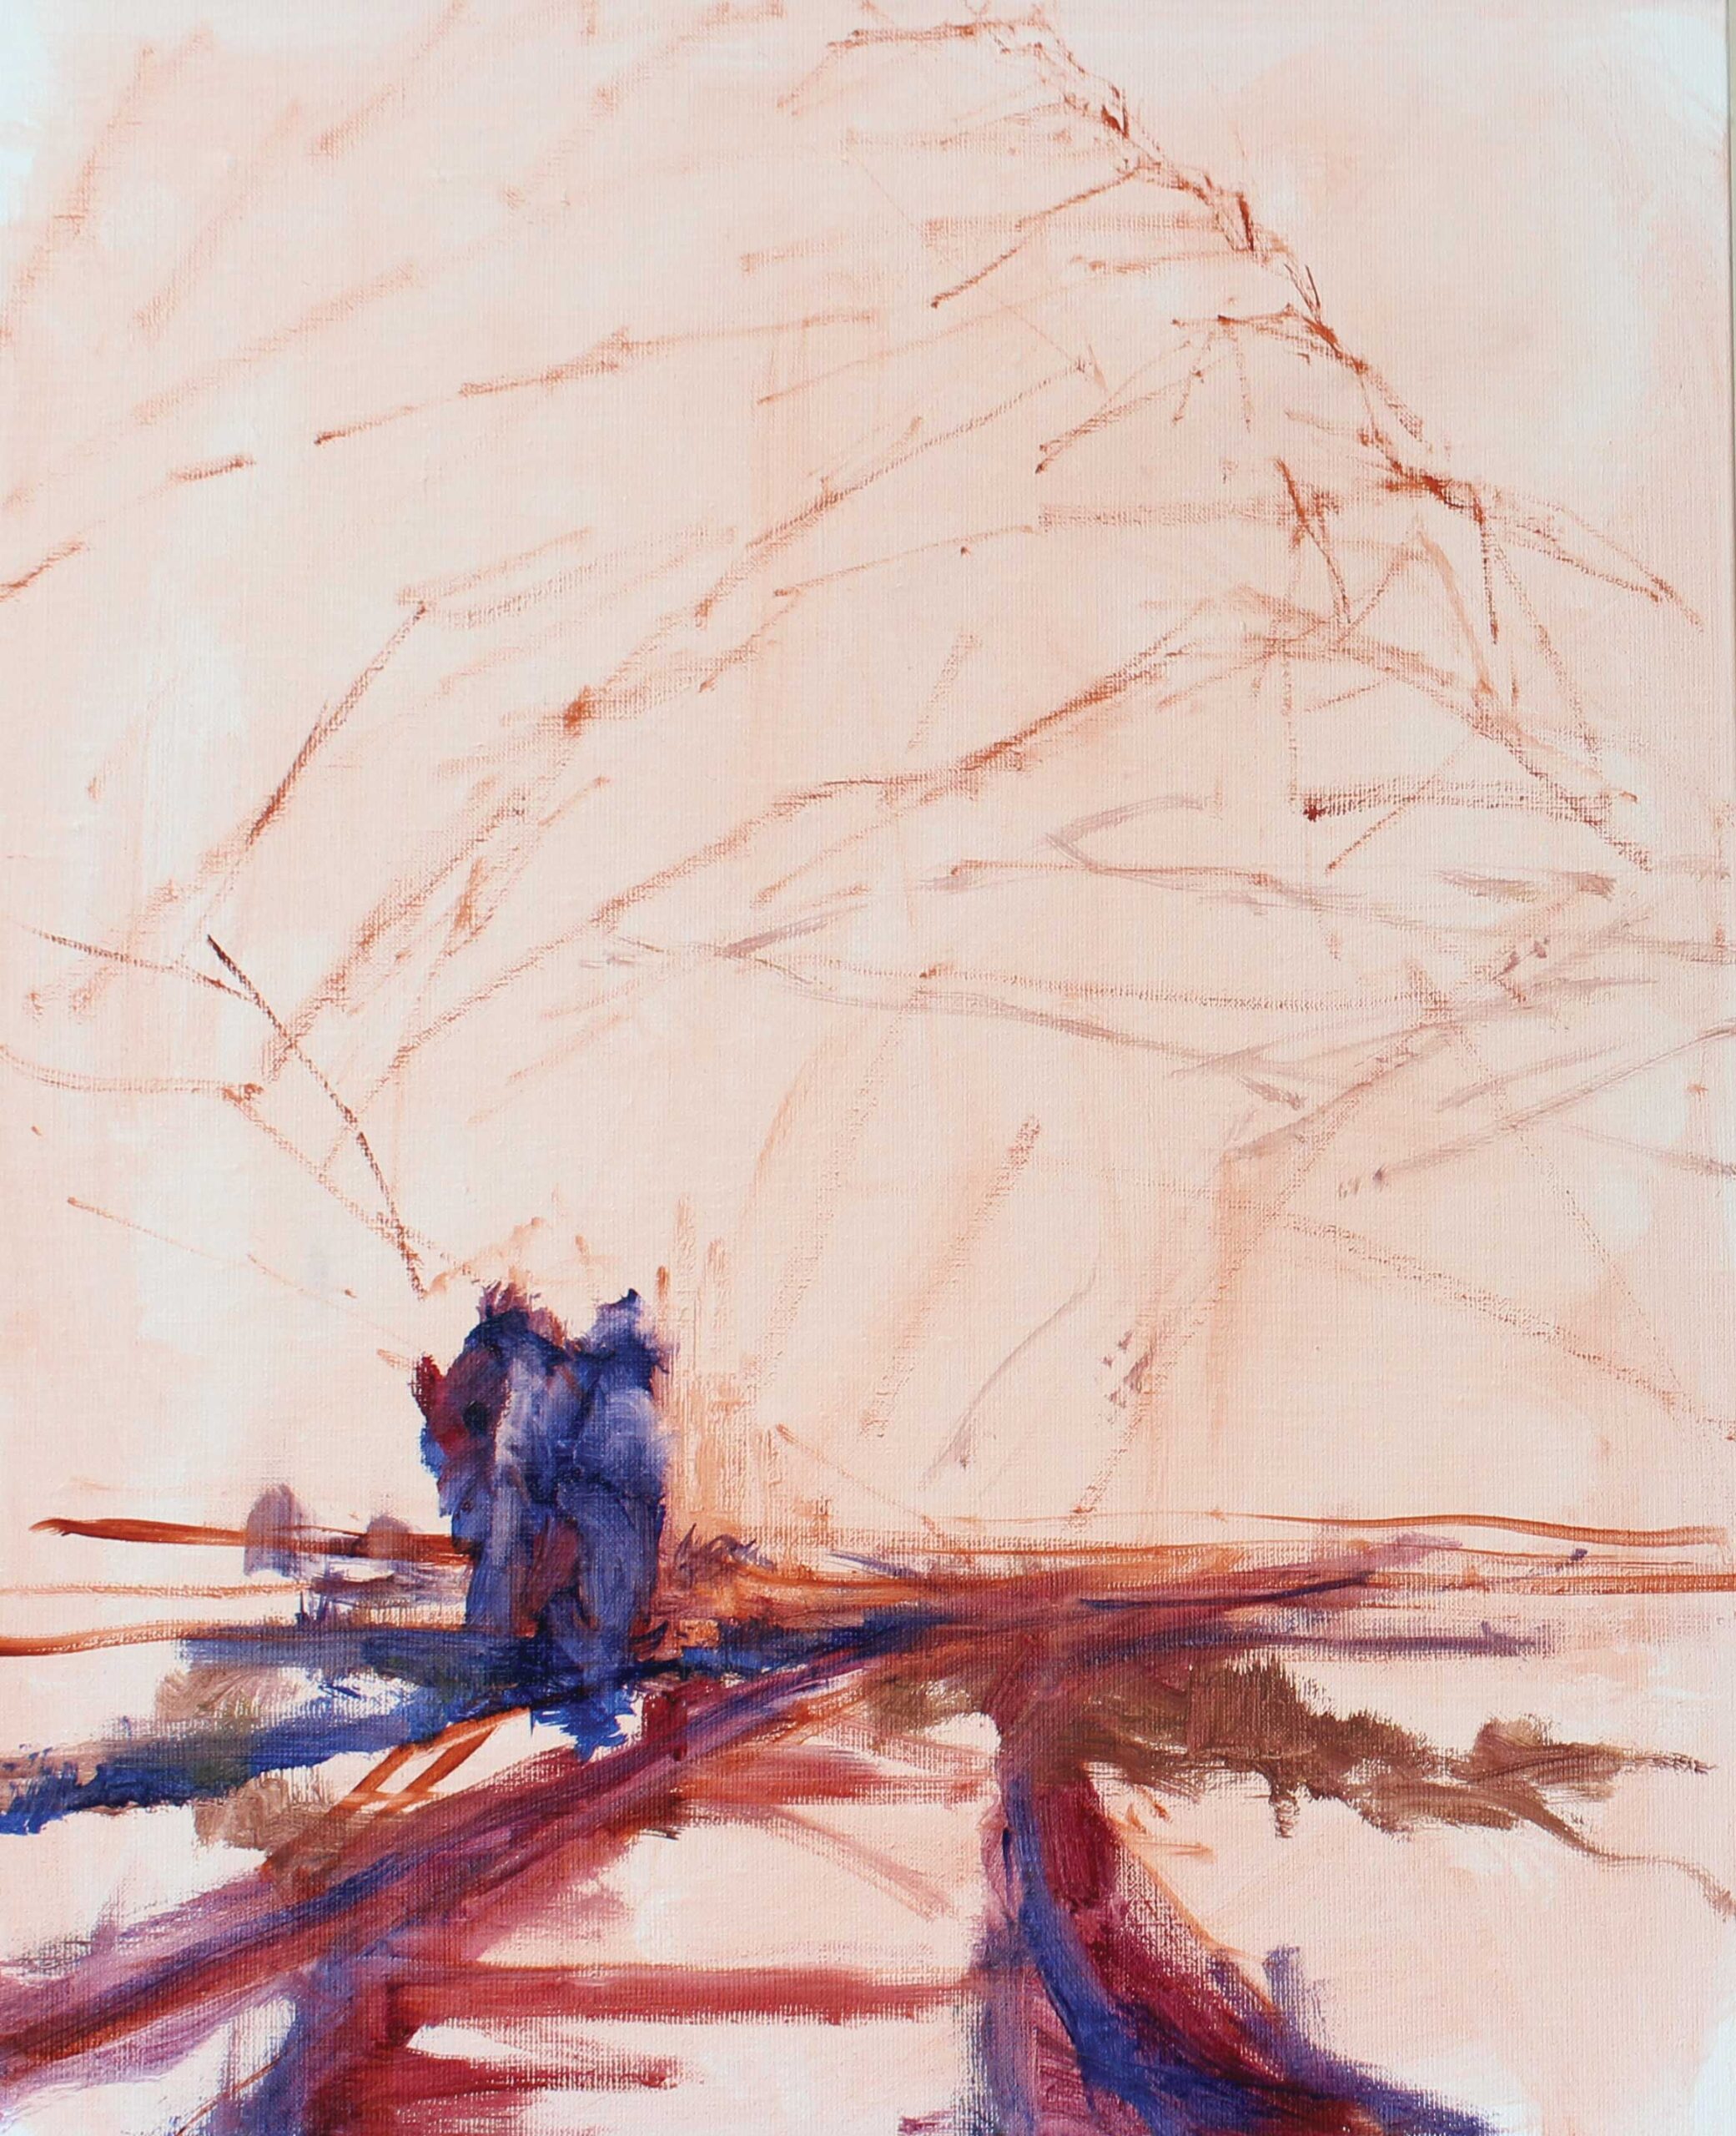
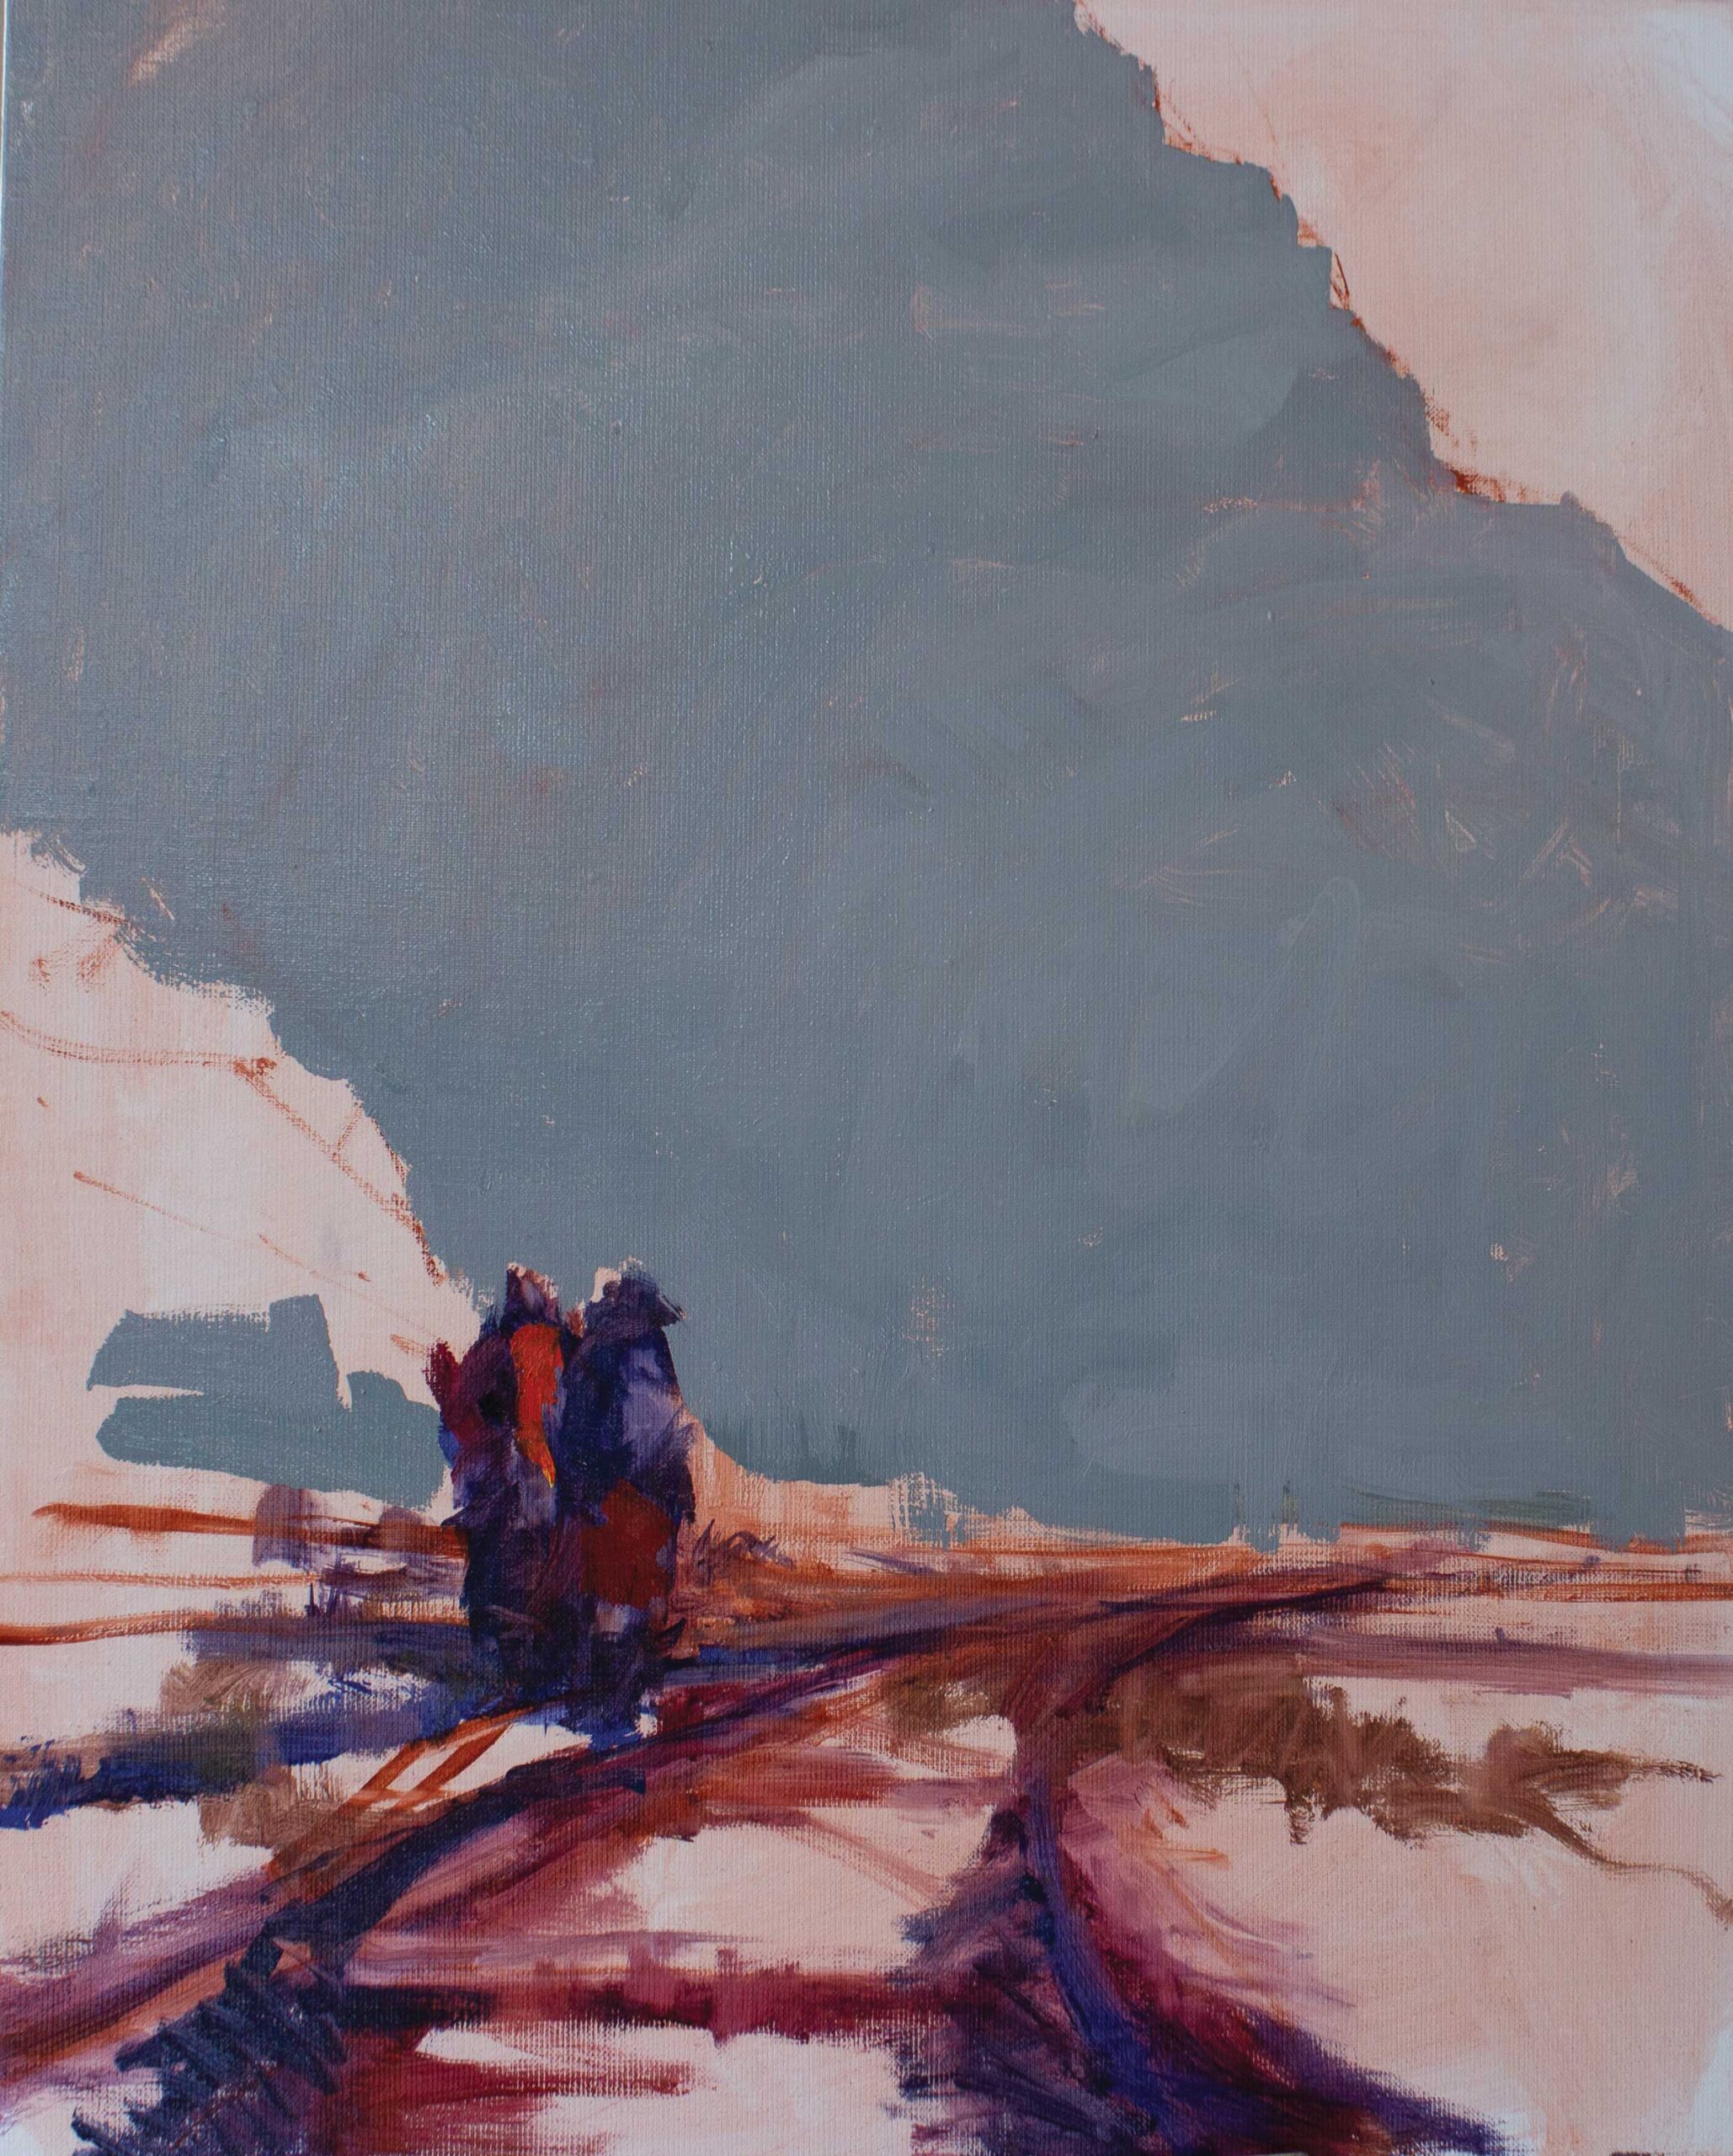
Step 1
I start the painting with a sketch on a lightly toned 20 x 16-inch canvas using transparent maroon. I then lay in the main darks thinly, and establish the volume and contour of the mountain. I try to get variety in my shapes while keeping the composition simple. I avoid parallel lines, and opt for a low horizon line to reinforce the grandeur of the mountains.
Step 2
I begin my block-in of some simple color shapes. I like to keep my light-toned canvas showing through for as long as possible; it helps me to not get too dark, as anything will look dark against it.
Step 3
I establish the ground plane, which I need to keep light, and add dimension to the mountain and the figures, putting in some lights in those areas as well.
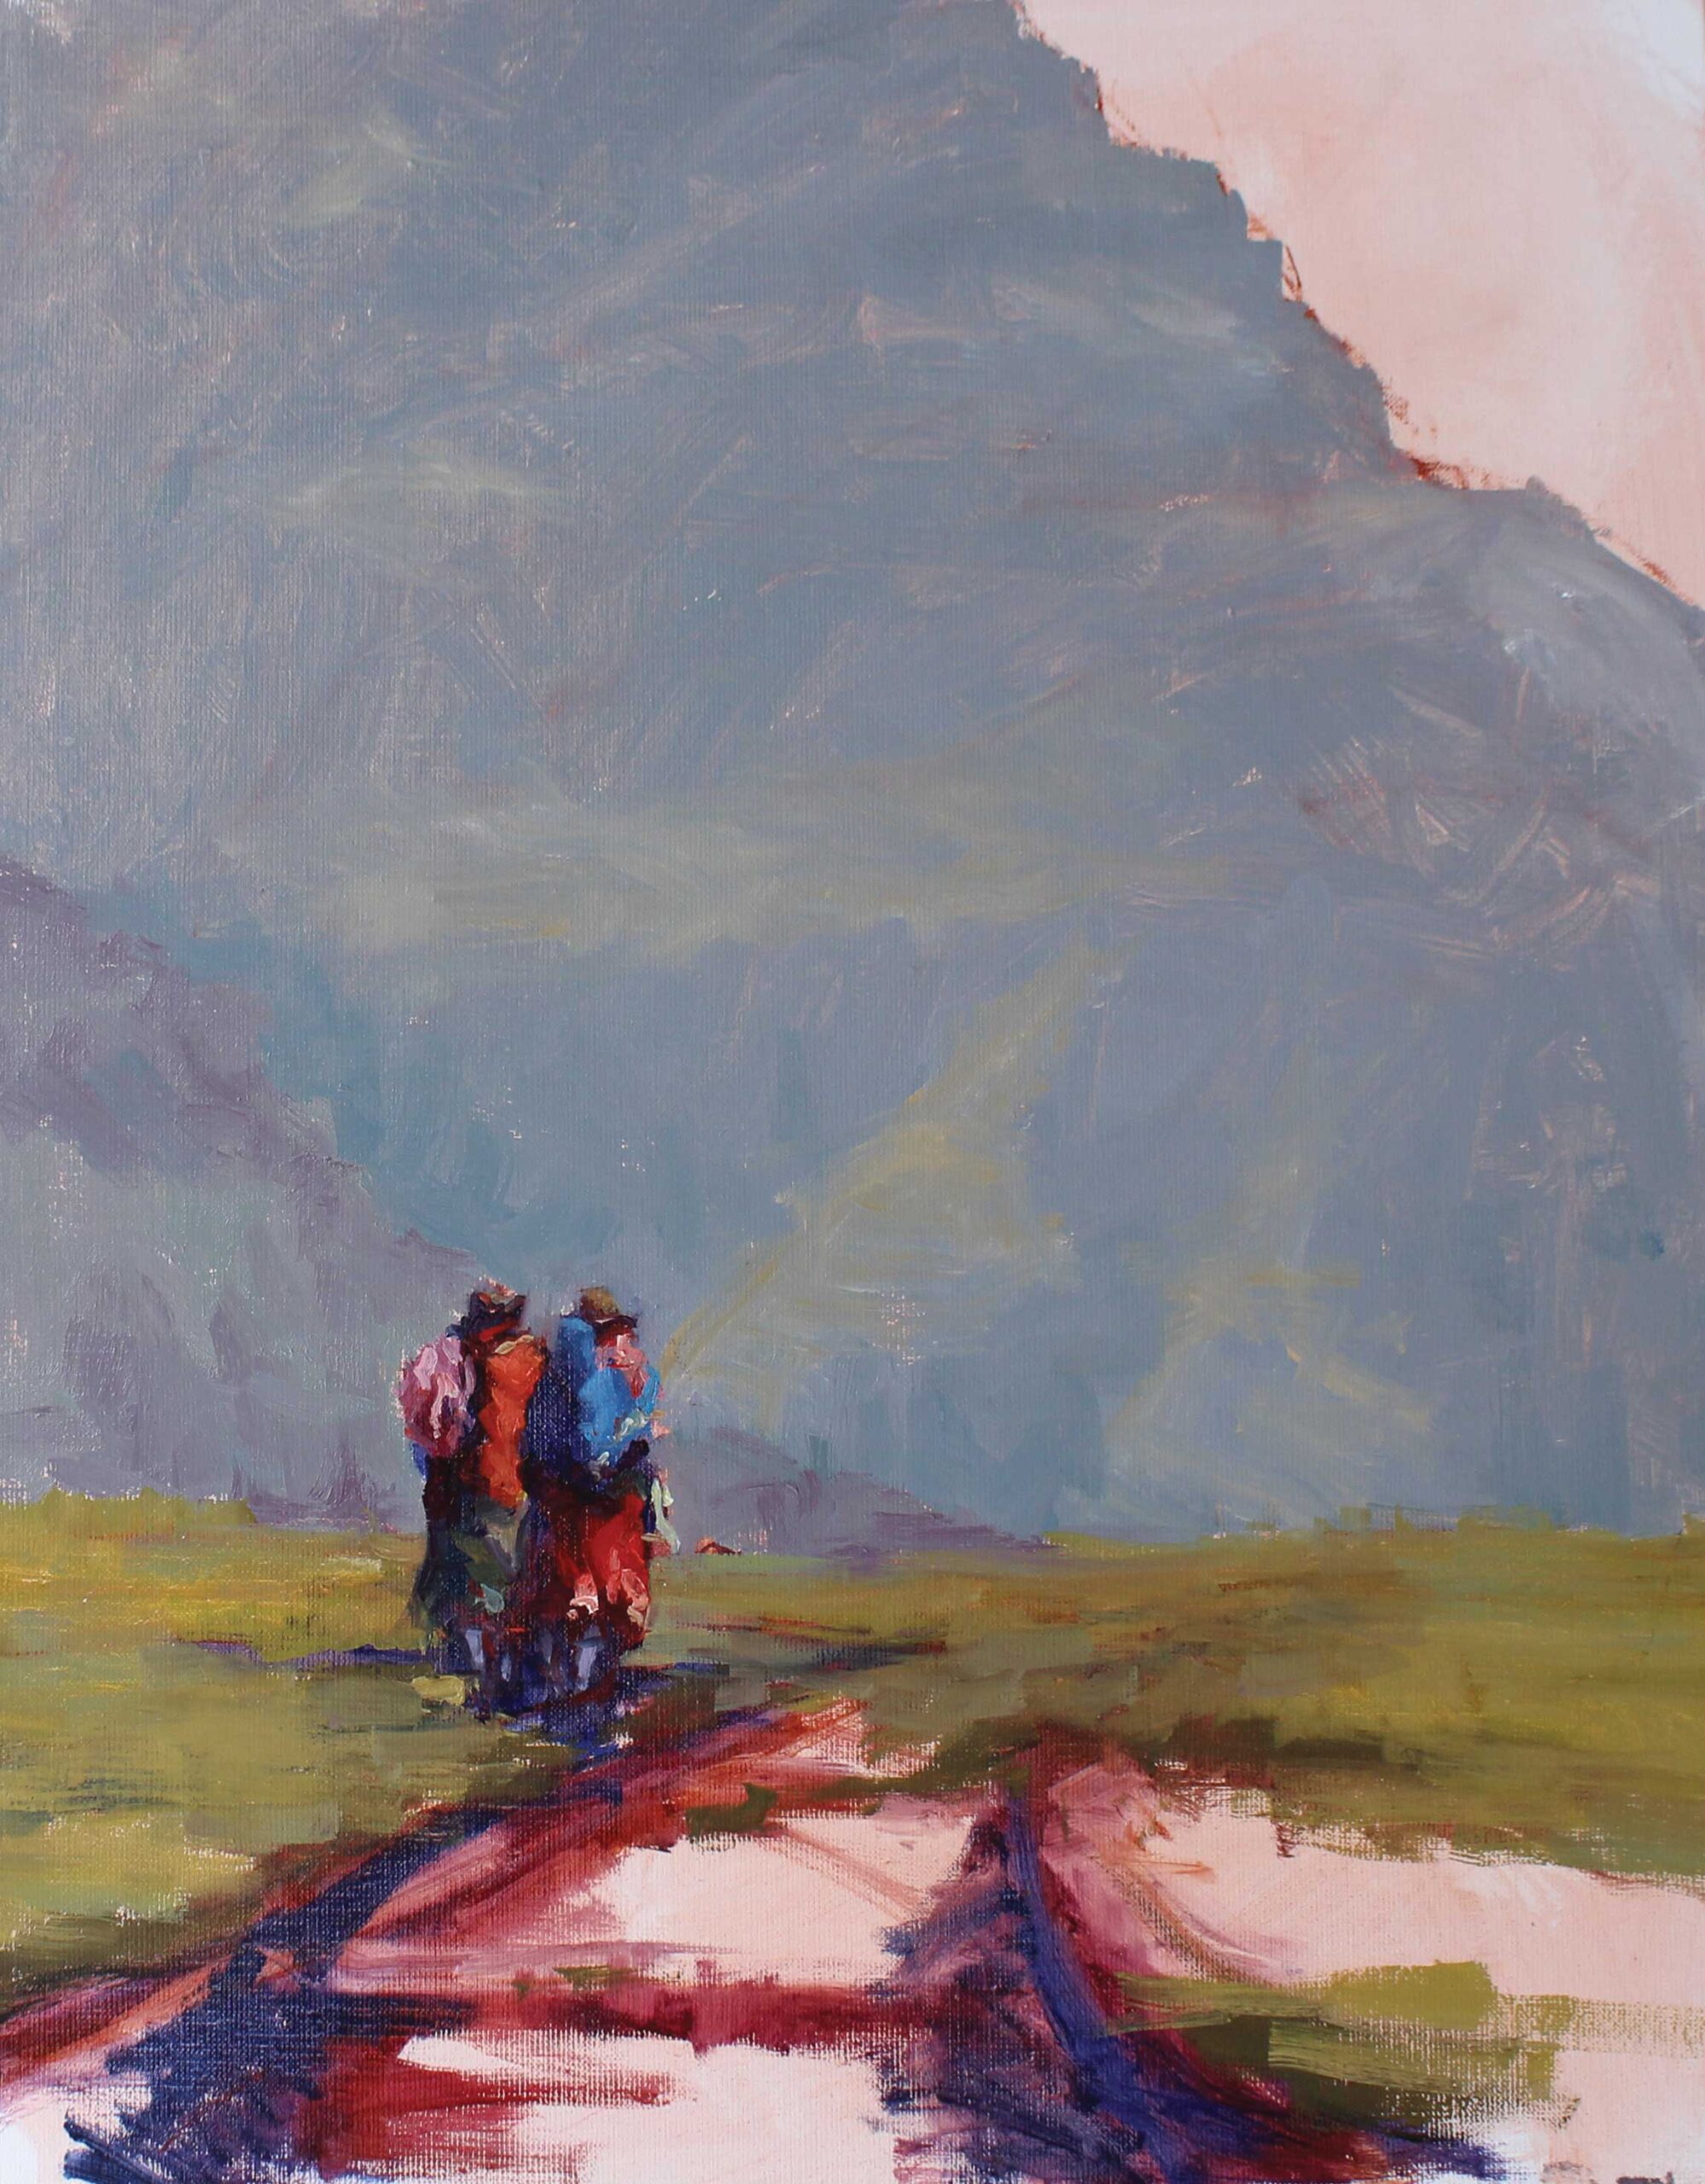
Step 4
I add the lights in the tracks and try to set the mountain back using cool colors. I also block in the sky, paying attention to the edge of the mountain. I strive for variety of temperature and brushstroke.
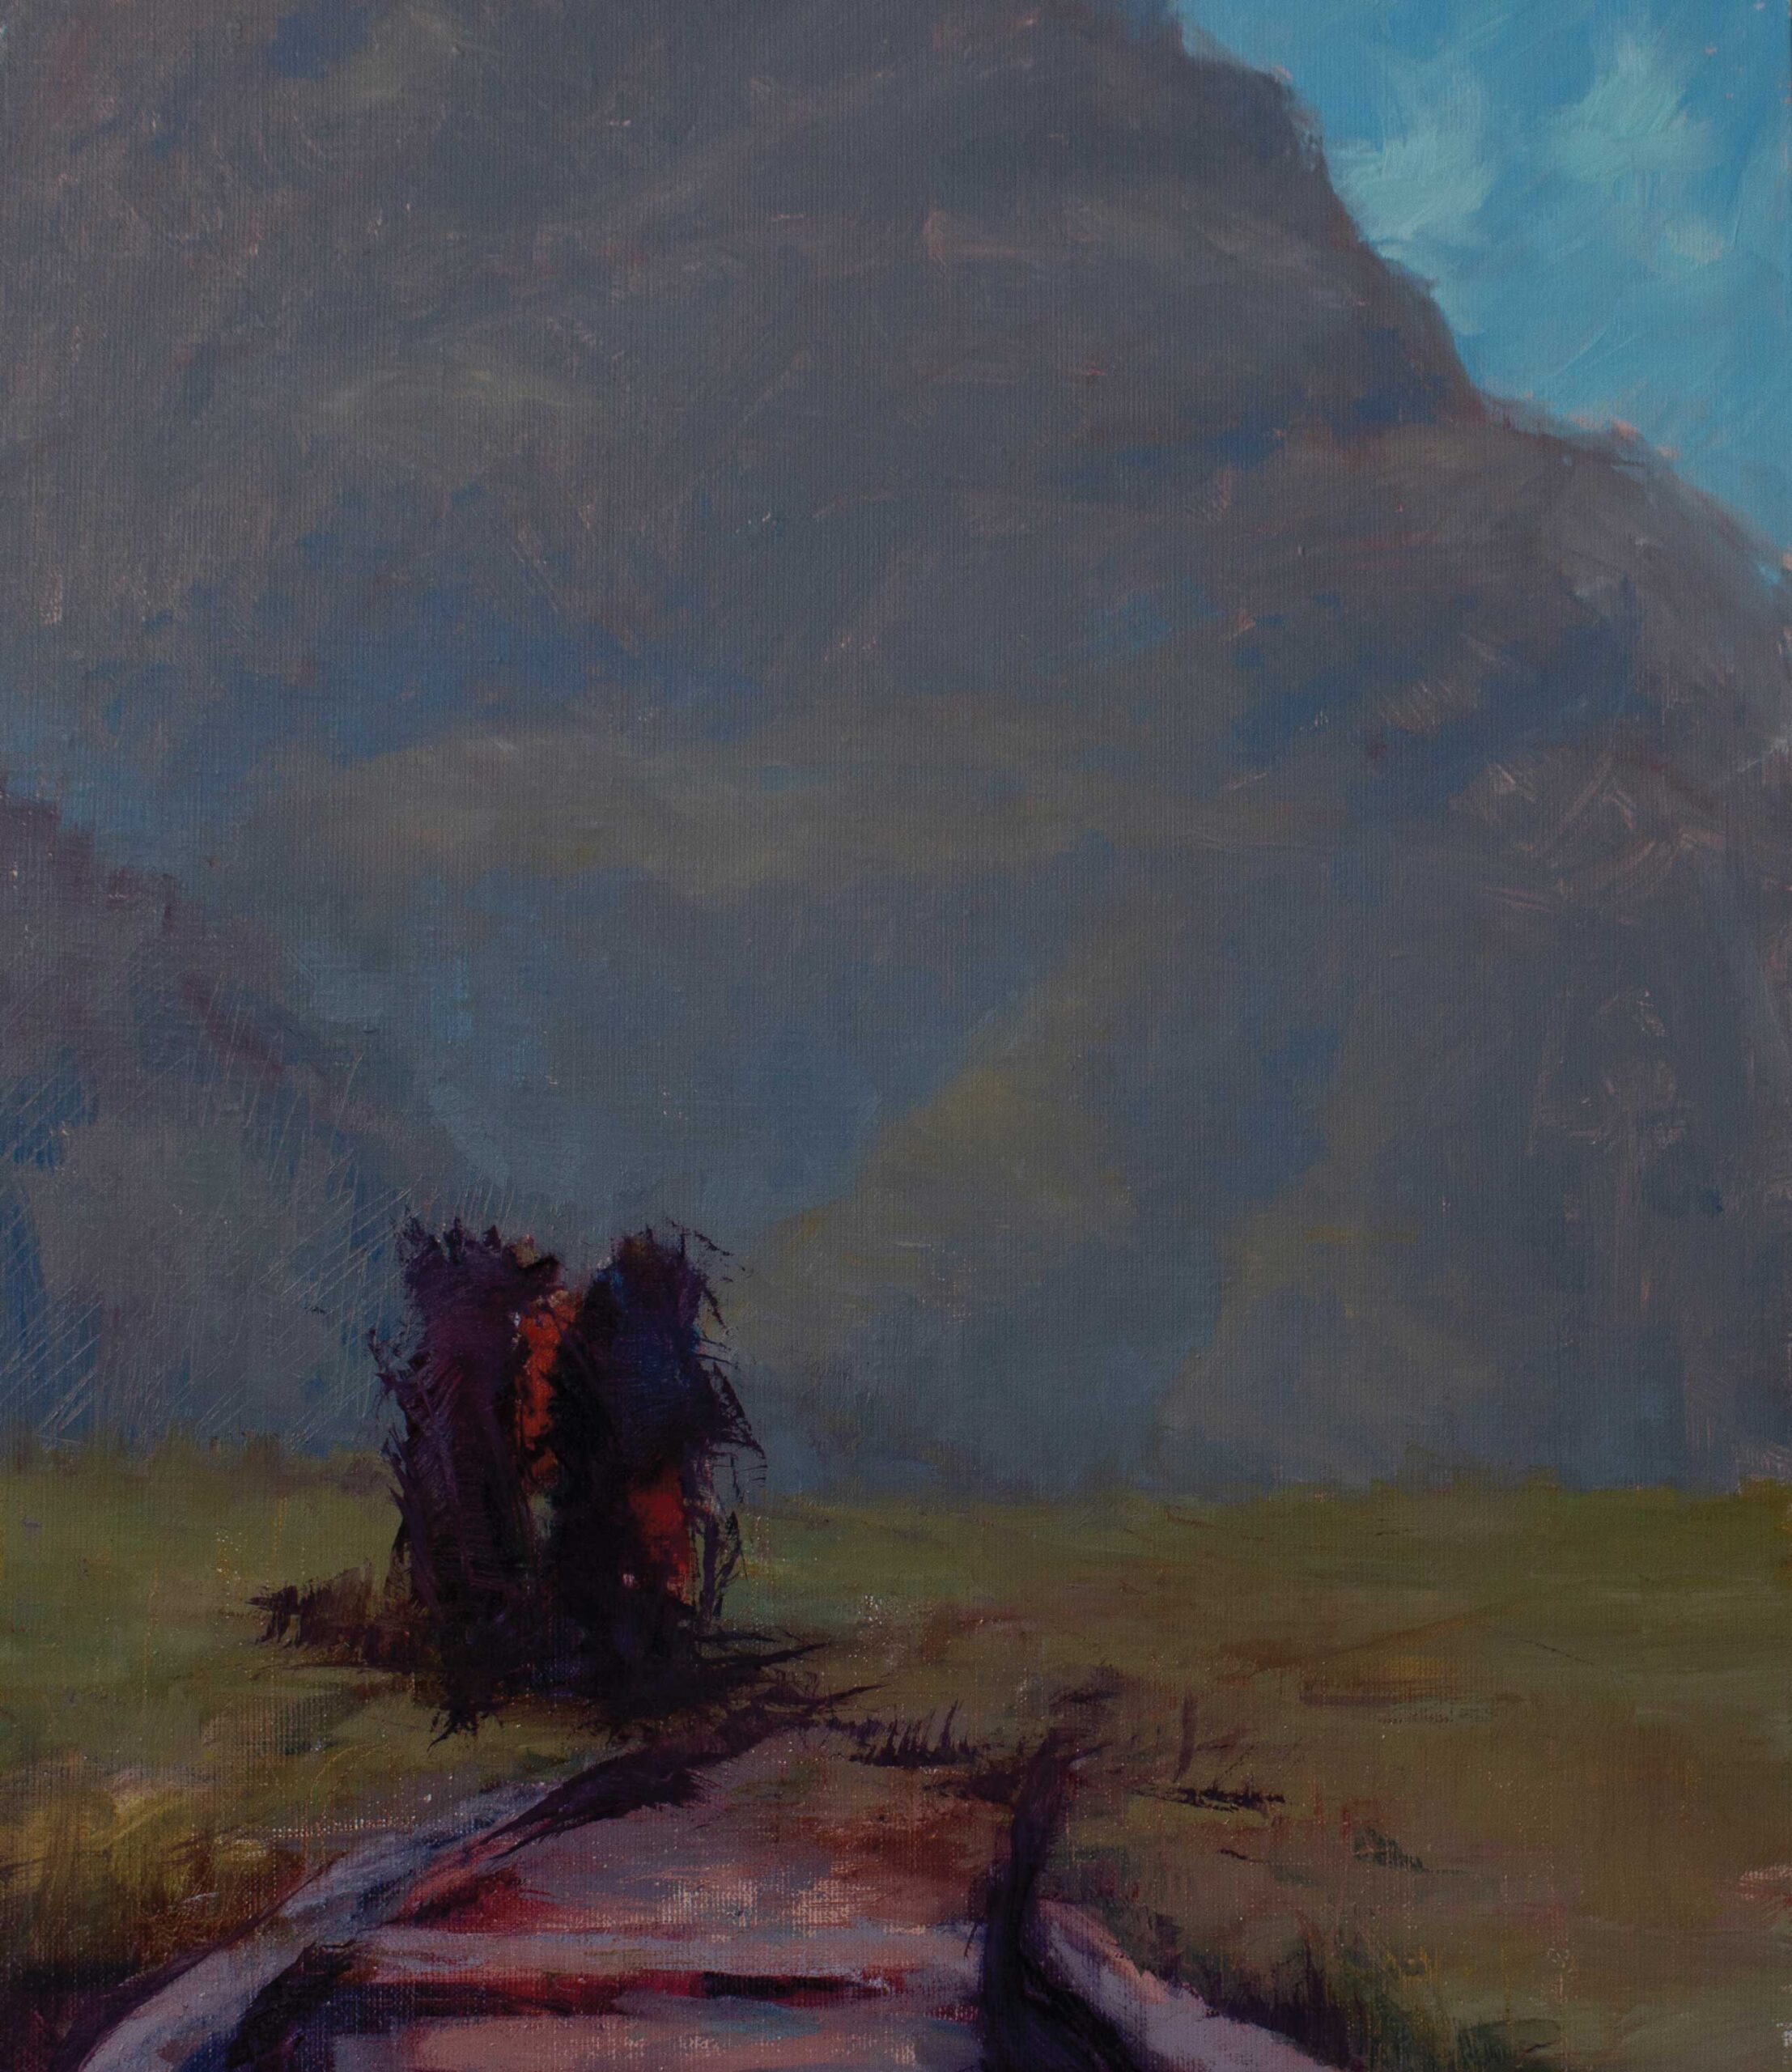
Step 5
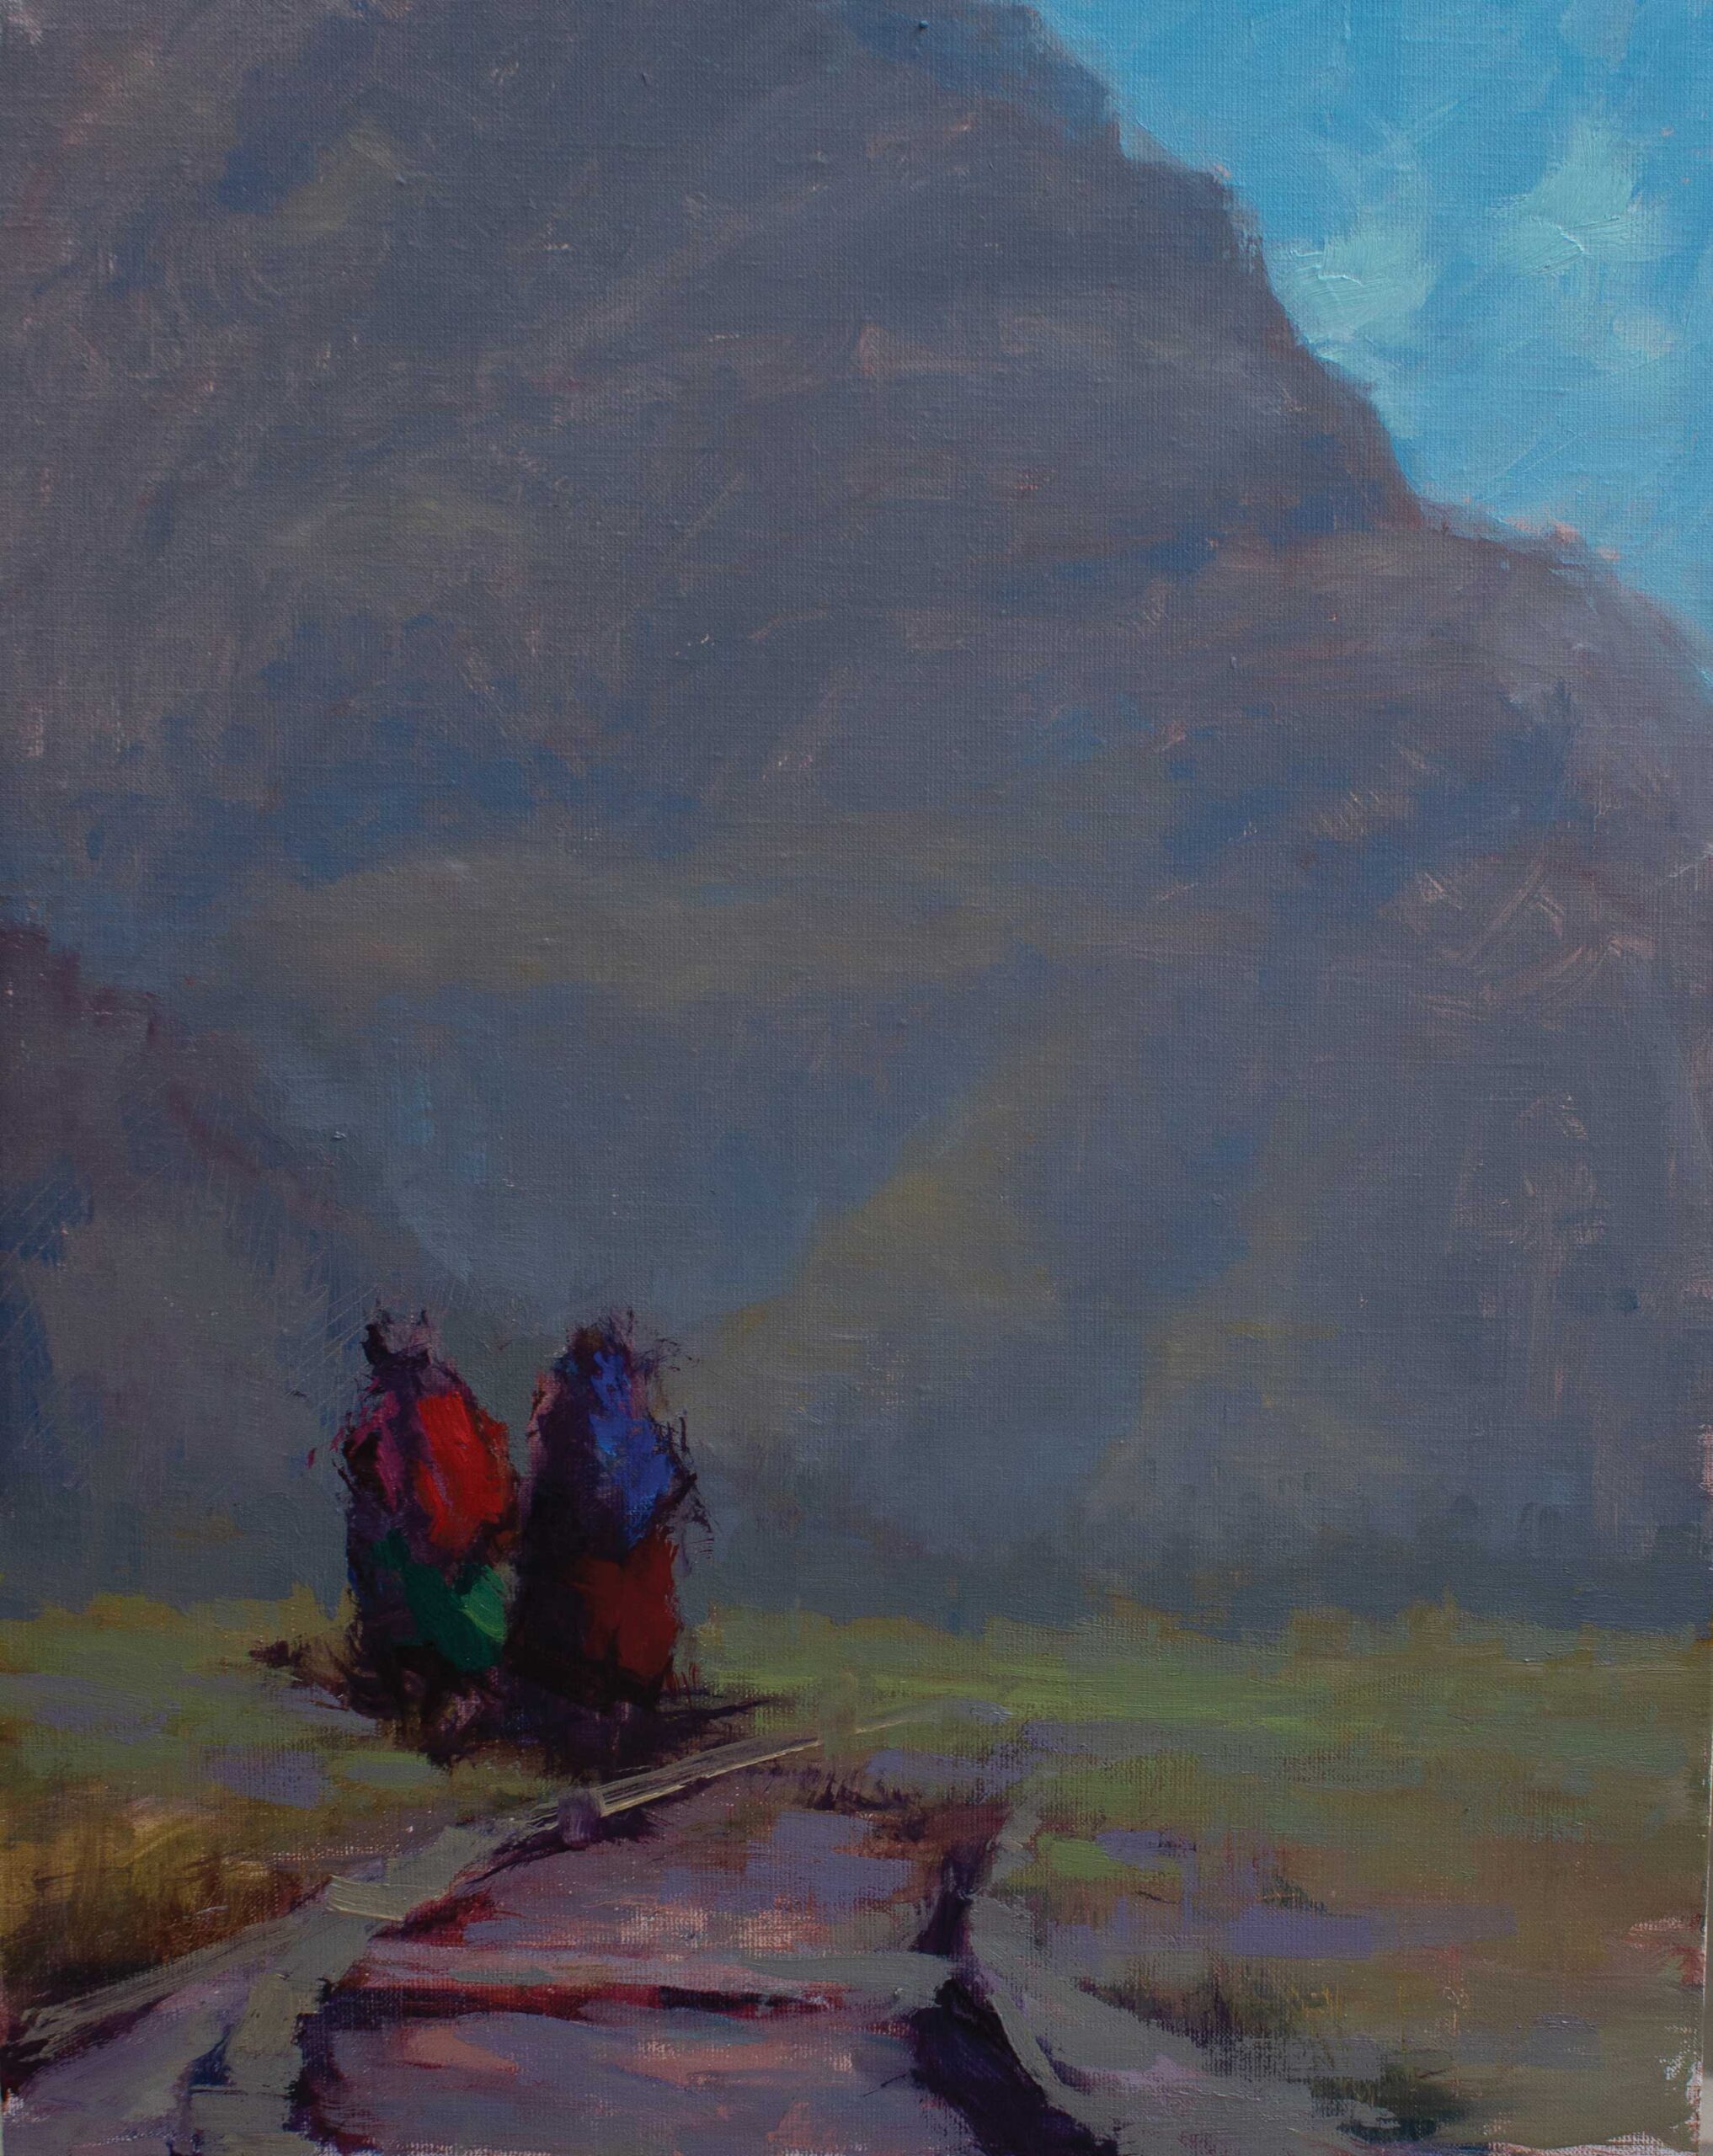
I feel as though my painting of the figures is getting too tight, so I scrape them and make some dark strokes to try again.
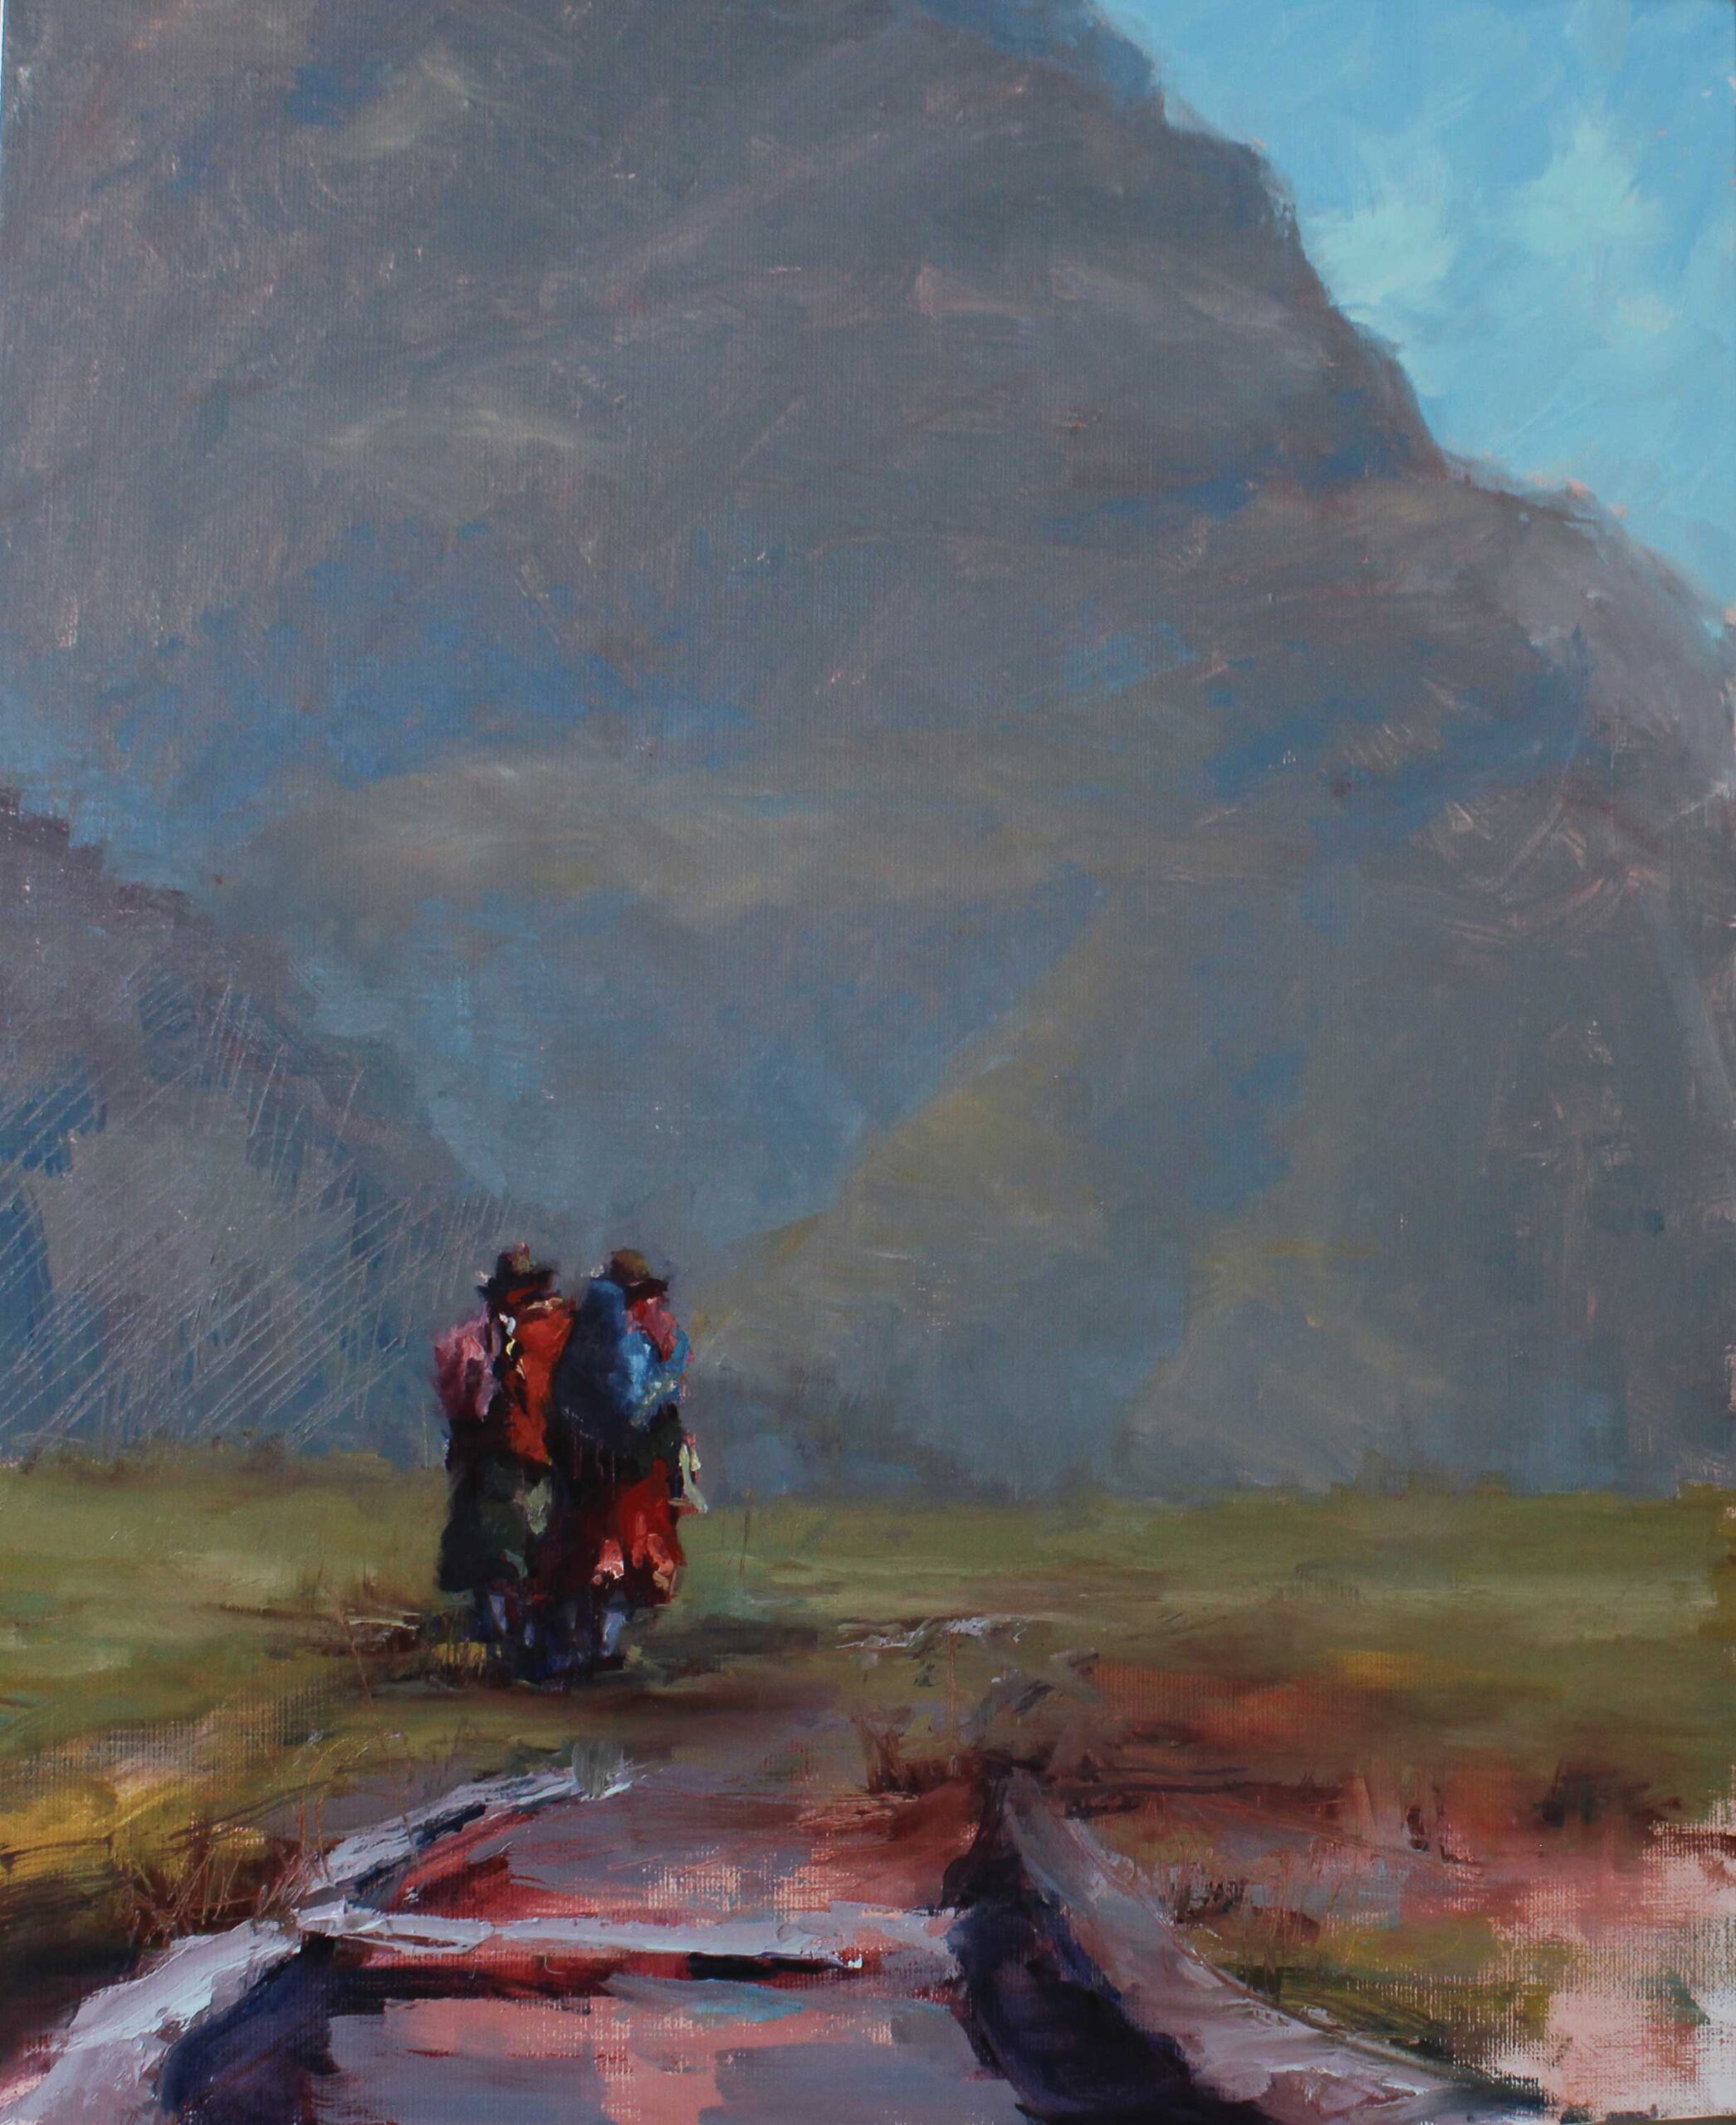
Step 6
I work much more broadly on the figures, knowing that I will refine them somewhat later. I also start working grays and cools into the foreground.
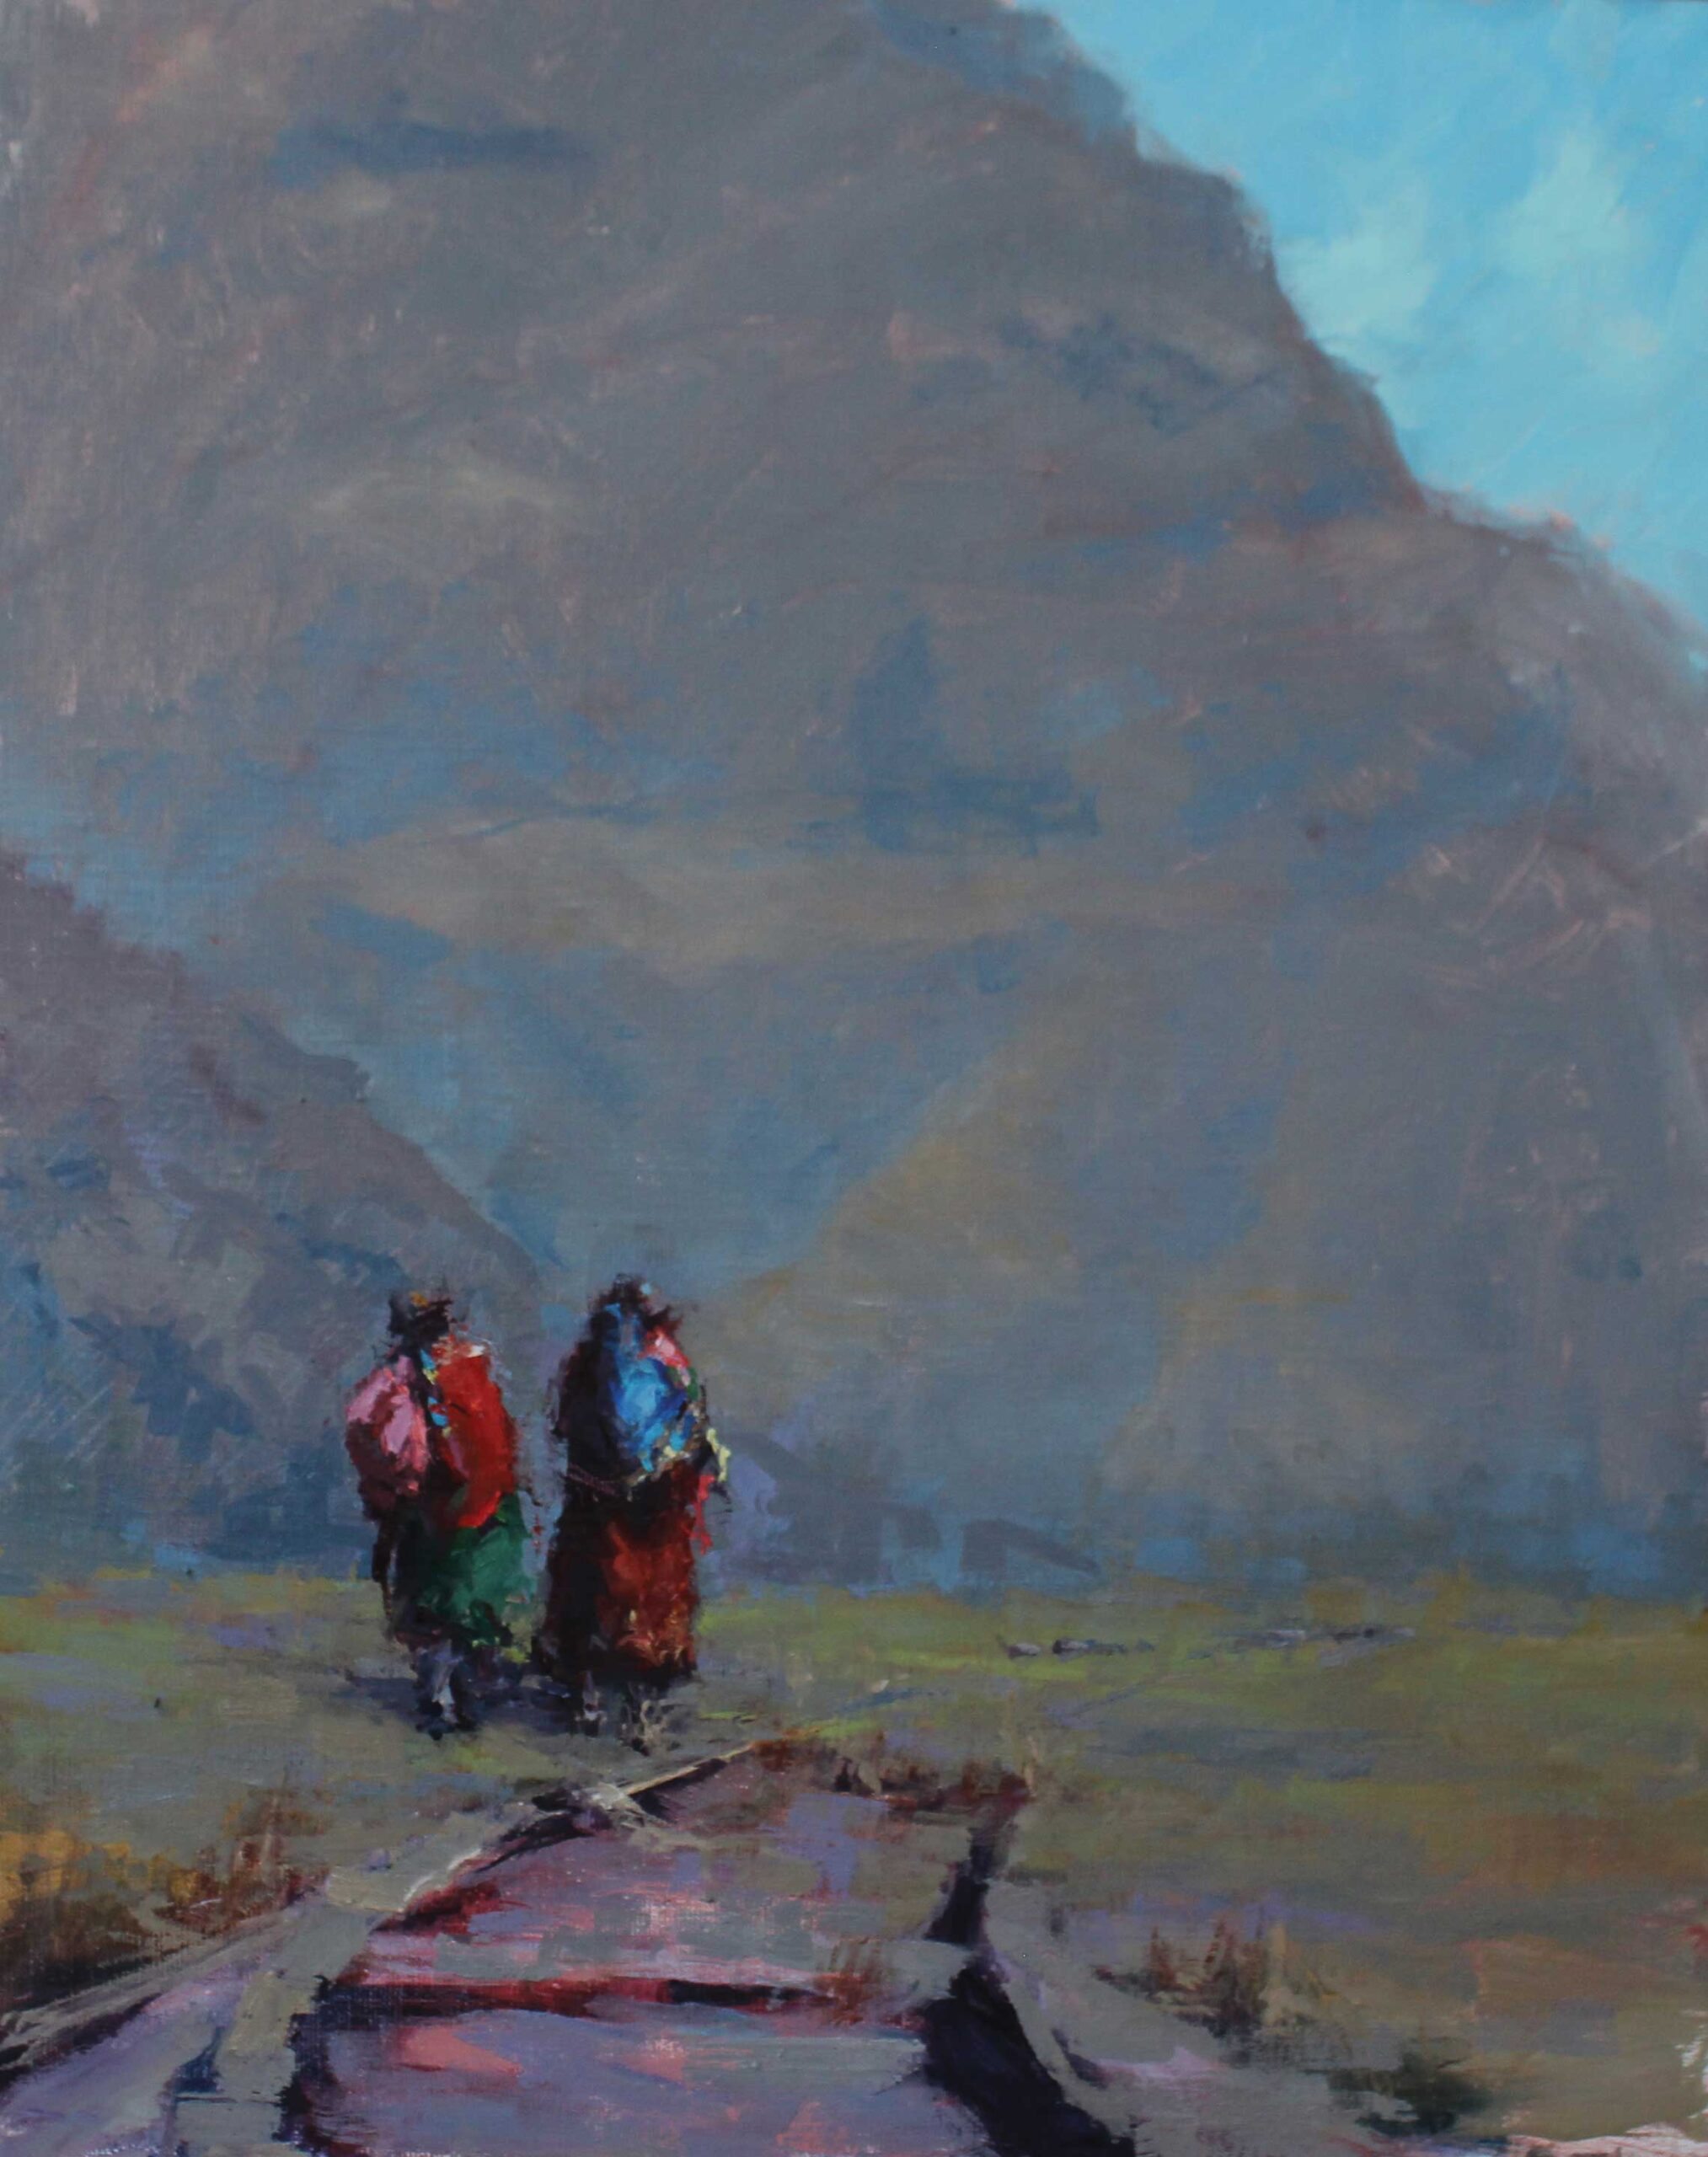
Final Step
I add finer detail to the figures and use more grays to harmonize the ground plane.
Connect with Nancy Macdonald at www.nancymacdonald.com.
Looking for MORE ways to improve your painting skills?
Don’t miss your opportunity to create lifetime memories at the Plein Air Convention & Expo! All training sessions are indoors on giant, high-def screens, with incredible paint-outs in the afternoons. Beginners and pros feel right at home, so register at PleinAirConvention.com to join us.
Browse more free articles here at OutdoorPainter.com
Blog post prepared for the web by Cherie Dawn Haas, Editor of Plein Air Today


